Searching for an effortless, economical method to embellish your residence for Halloween? This DIY Halloween ghost sign is an ideal endeavor! Whether you’re a practiced DIY enthusiast or a crafting novice, this ghost sign is straightforward to produce and infuses a spooky yet charming aspect into your Halloween decor. Most importantly, you can personalize it to match your aesthetic and space. Adhere to this detailed tutorial to craft your very own DIY Halloween ghost sign swiftly!
{Affiliate links are included in thisarticle. Click on any highlighted links to discover the products and sources I am mentioning. You can read my disclosureHERE.}
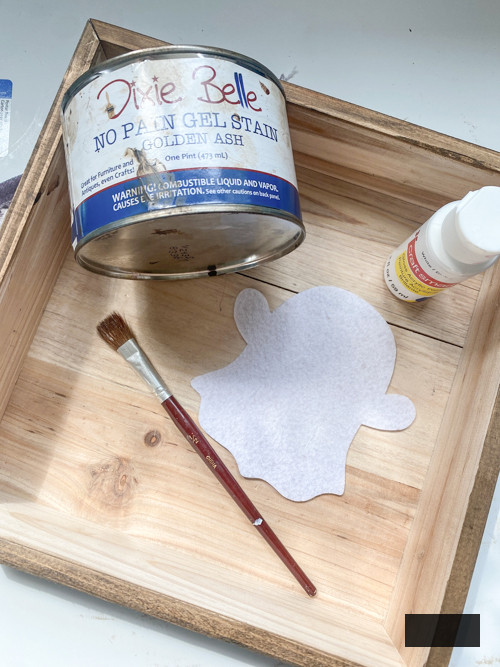
Materials Required:
Step 1: Prepare Your Wooden Board
Begin by preparing your wooden panel. If you’re utilizing an old wood piece, ensure to sand it to achieve a smooth finish. If you desire a more rustic or weathered appearance, either leave the wood untouched or lightly sand it. Clear away any dust and debris prior to applying the stain.
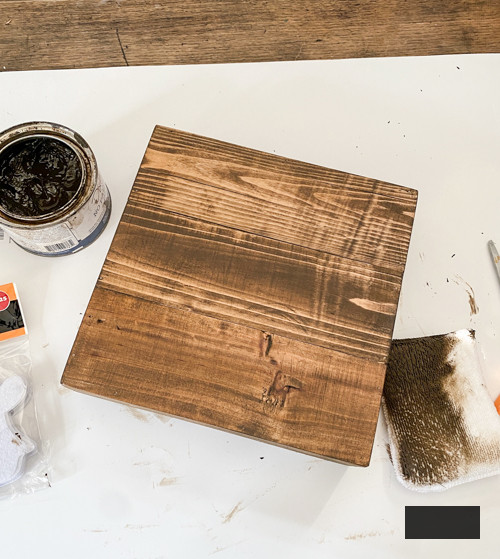
Step 2: Stain the Background
Apply stain over the entire area of the board. Painting is also an option. This forms the backdrop for your DIY Halloween ghost sign. Let the stain dry thoroughly before proceeding to the subsequent step.
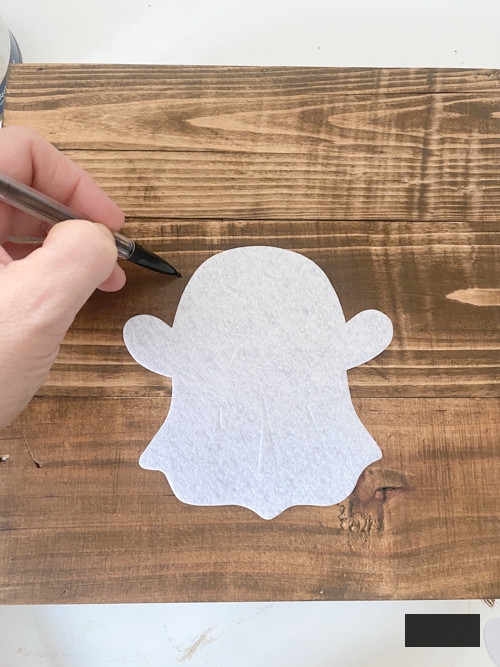
Step 3: Outline Your Ghost Design
After the stain has dried, it’s time to outline your ghost. I used a felt ghost from a pack of 12 I bought at Dollar Tree for my stencil. You can either print one out or sketch it freehand as well. Use a pencil to lightly trace it. Don’t fret if it’s not flawless; part of the allure of a DIY Halloween ghost sign is its artisanal quality!
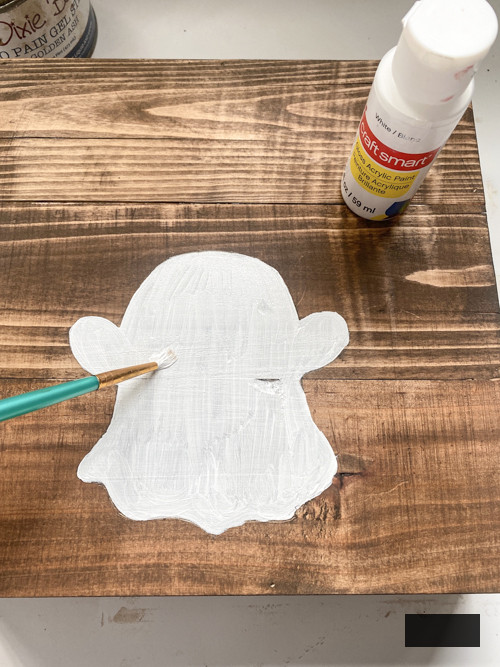
Step 4: Paint the Ghost Features
Using white crafting paint, fill in your ghost.
Step 5: Incorporate Additional Details
Now it’s the time to animate your ghost! Incorporate eyes and words onto your sign. You can add whatever appeals to you. I kept it straightforward. Utilize paint pens for detailing. Our daughter, Gabrielle assisted me with the wording.
Step 6: Optional Distressed Finish
If you favor a vintage or rustic appearance, grab your sandpaper and gently distress the ghost and the lettering. This imparts a weathered look to the sign, ideal for a farmhouse or shabby chic Halloween theme.
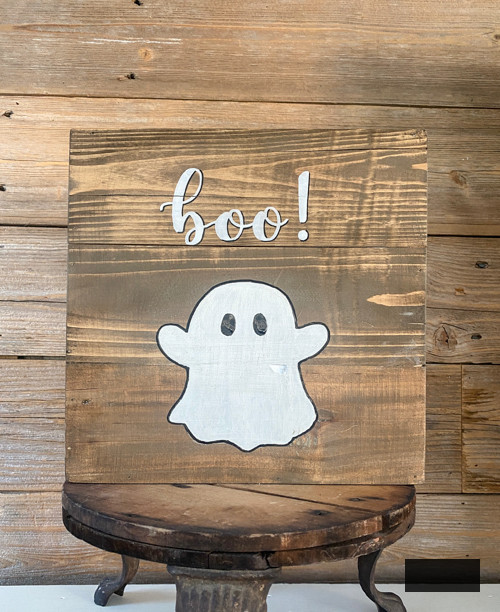
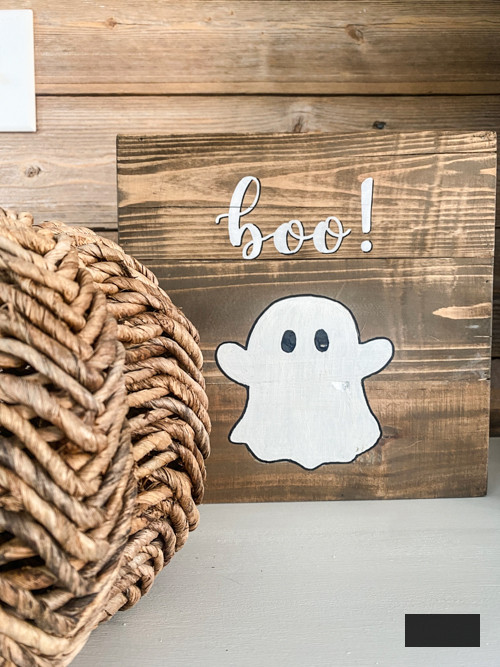
Step 7: Exhibit Your DIY Halloween Ghost Sign
Your DIY Halloween ghost sign is all set to be showcased! It’s a simple way to infuse amusing, festive character into your Halloween decorations without breaking the bank.
You can observe the sign being crafted in real-time in my YouTube video HERE. Be sure to SUBSCRIBE while you’re there. I’m releasing new videos weekly, and I don’t want you to miss out!

Suggestions for Customizing Your DIY Halloween Ghost Sign
- Experiment with different hues: While white and black are traditional for ghosts, you can explore colors like gray, purple, or orange to give your sign a distinctive spin.
- Incorporate additional components: Think about adding bats, stars, or other Halloween emblems around the ghost to enhance the sign’s detail and enjoyment.
- Utilize stencils for text: Stencils can assist you in crafting tidy, professional letters for phrases like “Spooky” or “Boo” on your sign.
- Adjust the size: If you desire a larger statement piece, choose a bigger wooden board. For something smaller, like a tabletop sign, select a more compact board.
Reasons to Create a DIY Halloween Ghost Sign?
Designing your own DIY Halloween ghost sign is not only simple and enjoyable, but it’s also a wonderful opportunity to express creativity with your seasonal decor. Rather than purchasing costly pre-made signs from stores, you can construct one that perfectly aligns with your style. Plus, DIY endeavors like this offer a terrific way to bond with family, and children can even assist in painting or adding their personal touches!
This DIY Halloween ghost sign is the perfect crafting project for anyone wishing to impart a personal flair to their Halloween decorations. It’s easy to create, customizable, and cost-effective. Whether you’re adorning indoors or outdoors, this ghost sign will contribute the ideal spooky ambiance to your abode. So gather your supplies, and commence crafting a Halloween decoration that’s bound to impress!
PIN THIS ARTICLE!

If you enjoyed this simple project, you will also appreciate these:
Tabletop Ghosts DIY
DIY Jack-O-Lantern Tealight Holder
DIY Dollar Store Ghost Garland