
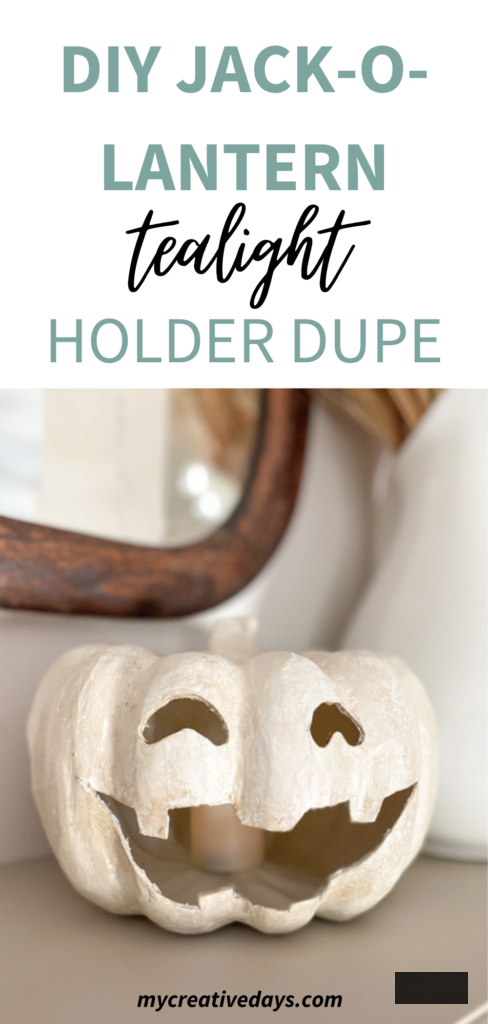
This DIY Jack-O-Lantern Tealight Holder is a simple undertaking that will provide you with the appearance of a pricey holder at a significantly lower cost.
Upon encountering this tealight holder from Luminara, I instantly fell for it. However, as the children have grown, I no longer really decorate for Halloween. Instead, I resolved to purchase the pumpkin candles from Luminara since I still adorn my space for fall. You can check out my evaluation of these candles (along with the Christmas tree candles I acquired) on my YouTube channel HERE).
As soon as the pumpkin candles arrived in the mail, I displayed them right away. They are fantastic.
BUT… I couldn’t shake the thought of the jack-o-lantern tealight holder, so I chose to recreate the style for considerably less.
(Affiliate links are included in this post. You can read my full disclosureHERE.)
Materials Required To Create This DIY Jack-O-Lantern Tealight Holder
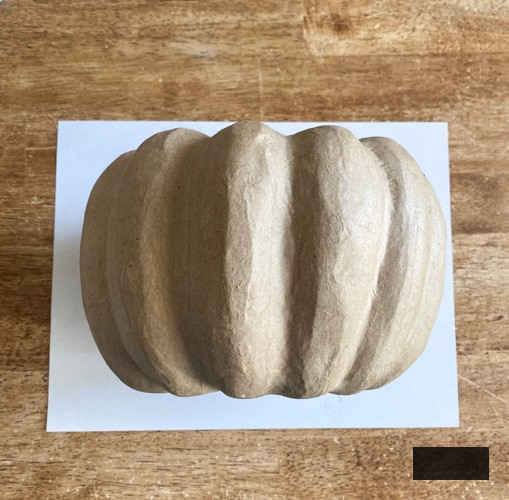
Paper Mache Pumpkin
Exacto Knife
Utility Knife
Paint
Antiquing Glaze (this link will provide you with 10% off your purchase)
Paper and pencil
Paintbrush
You can select any size pumpkin you desire. I found my pumpkin at a thrift shop. Ensure that the pumpkin is sufficiently large to create a mouth wide enough for a faux tealight candle to fit inside.
Instructions For Crafting This DIY Jack-O-Lantern Tealight Holder
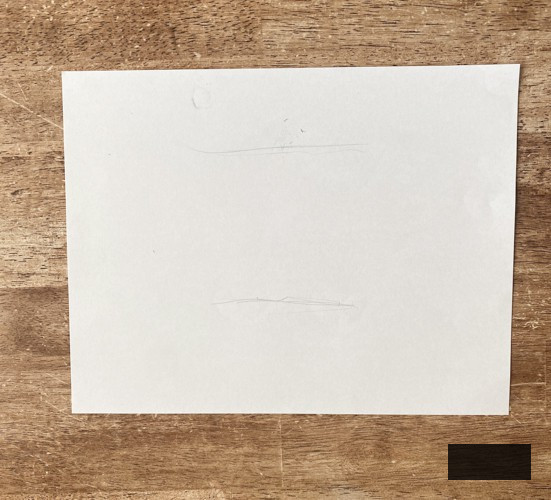
- First, measure the width of your pumpkin on a sheet of paper so you know how large you can make your jack-o-lantern’s face.
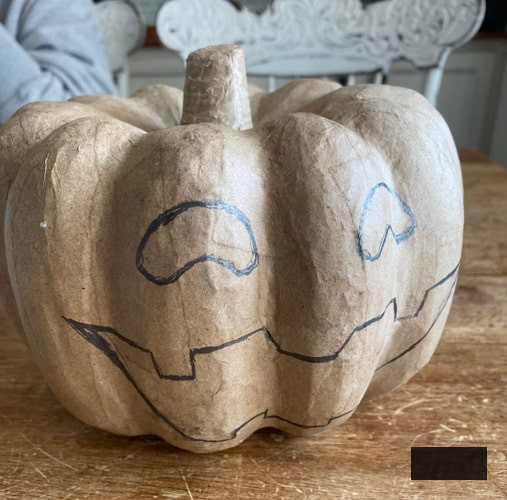
- Once you have the measurement, you can design the face however you wish. I truly wanted mine to resemble my inspiration, so I followed that design.
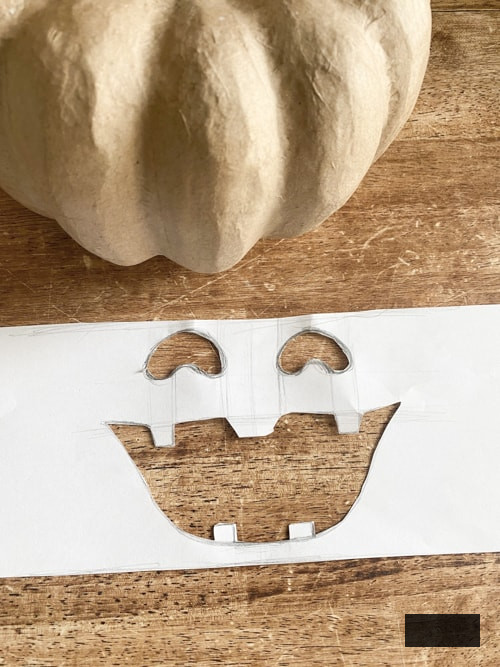
- Cut out the face so that you can trace it onto your pumpkin.
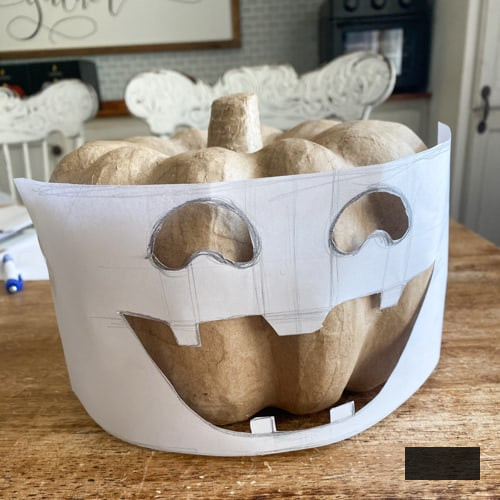
- My pumpkin had numerous “ridges,” so I took my time tracing the face. I secured it with tape on both sides to maintain its position.
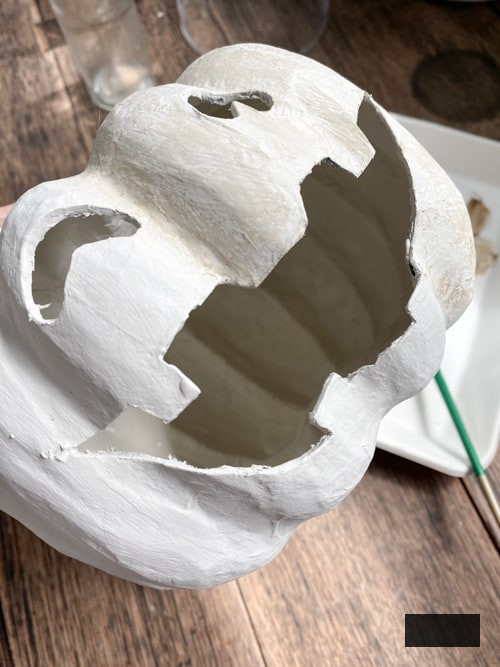
- We initiated cutting out the face using a utility knife for bigger sections, but discovered that the exacto knife was more effective as it allowed for better maneuverability around the intricate curves.

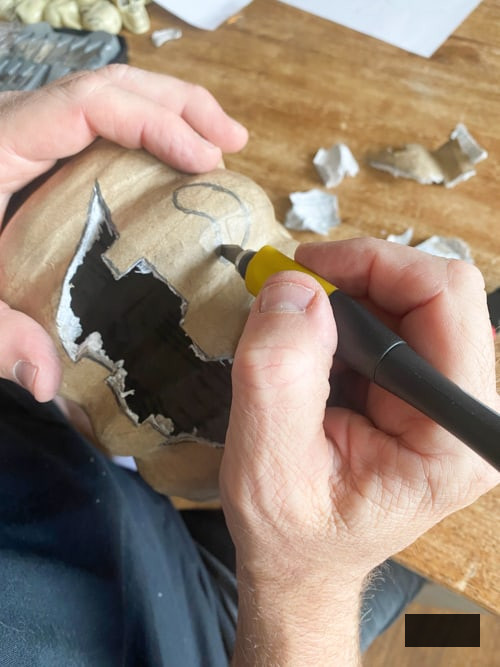
You can use sandpaper to smooth out any jagged edges.
- After the face was removed, I went around cleaning up the cut areas that were separating. If your cutting edges are particularly rough, you could utilize high-grit sandpaper. You’ll be painting the pumpkin, so there’s no need to stress over pencil markings.
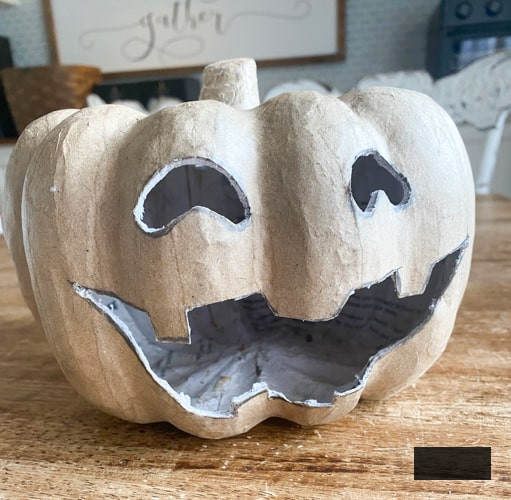
- Next, it was time to apply paint.
- I used my preferred all-in-one paint. This paint includes the primer, paint, and topcoat in a single product. It comes in various shades and was ideal for this venture. You can learn more about why I adore this paint in my post HERE.
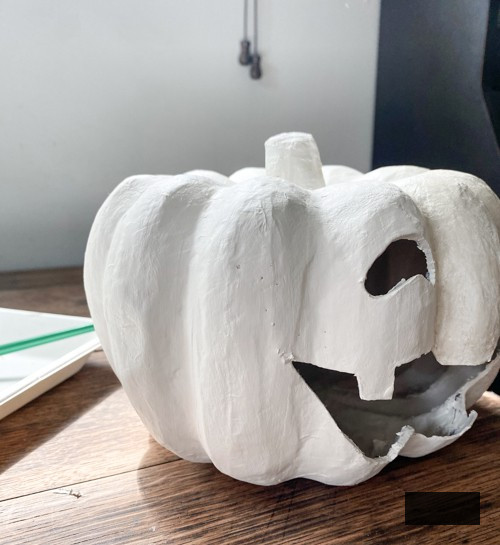
- I wanted to paint the interior so that the “paper” from which the pumpkin was made wouldn’t be visible. I poured some paint into the pumpkin and swirled it around to cover the inside. Be cautious not to pour too much paint inside, as it will take a long time to dry. Use a lengthy paintbrush to distribute the paint to any spaces it missed. Then, proceed to paint the exterior.
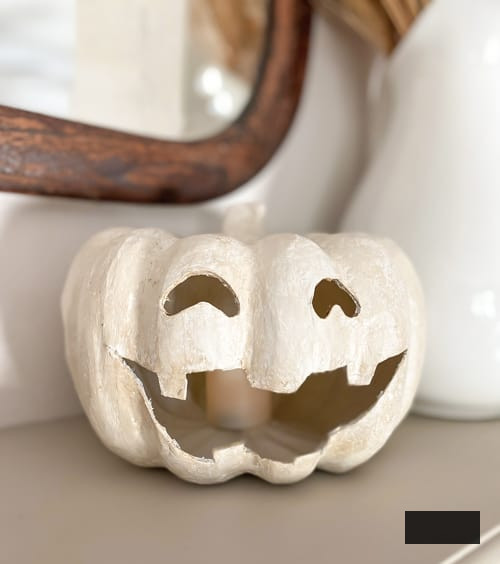
- Once the paint had dried, I applied a small amount of Antiquing Glaze to give my holder a patina like the one I admire at Luminara.
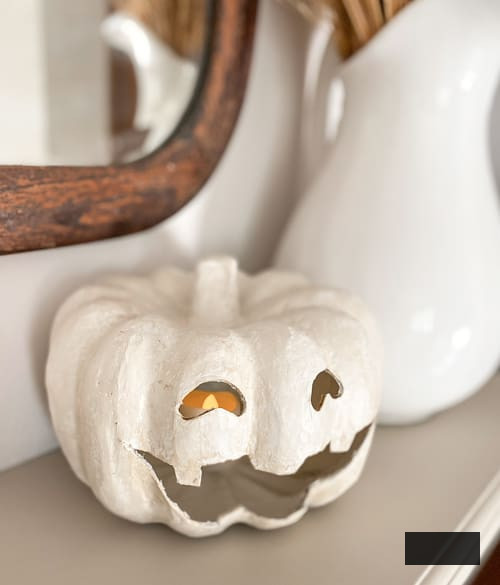
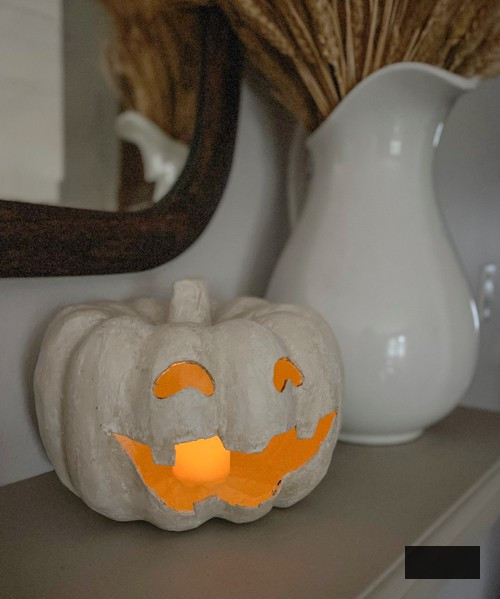
This tealight holder is straightforward to create and adds a delightful element to your mantel.
I couldn’t be more pleased with this small project. It certainly achieved the look I was aiming for, and it was quite simple to accomplish.
I was able to fit a taller tealight inside.
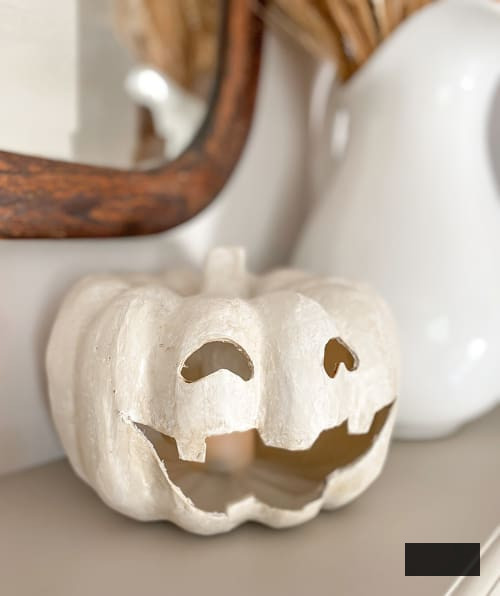
Luminara candles appear and feel like genuine candles (you can view this in my YouTube video linked above). They also offer aromatic options. The wicks flicker like actual candles and the radiance they emit resembles the authentic item. Additionally, they come with remote controls, allowing you to operate them from anywhere within the space.
One more delightful aspect of these candles is that I can place them anywhere without concern. Within cabinets I decorate for various seasons, underneath cloches for the festivities, inside the jack-o-lanterns I craft, atop old novels, etc. You should definitely have a look at Luminara if you’re in search of premium faux candles that emulate the look and feel of the real thing. I have a discount code for Luminara. You can explore their website HERE and apply the code “Mycreativedays10” to save on your purchase.
PIN THIS POST!
If you enjoyed this project, you will also appreciate these uncomplicated projects:
DIY Aged Copper Jack-O-Lanterns
DIY Wooden Jack-O’-Lanterns
Halloween Banner: Simple DIY Mummy Banner