Are you considering cultivating your initial cut flowers from seed, but unsure how to proceed? Understanding how to cultivate cut flowers from seed is a rewarding method to initiate a flower garden, providing access to significantly more variety than you can typically find at a garden center.
Establishing a cut flower garden from seed enables you to get ahead of the growing season, try out unique varieties, and cultivate an entire garden of blooms economically. One packet of seeds can yield numerous plants, which still seems a bit like gardening sorcery to me.
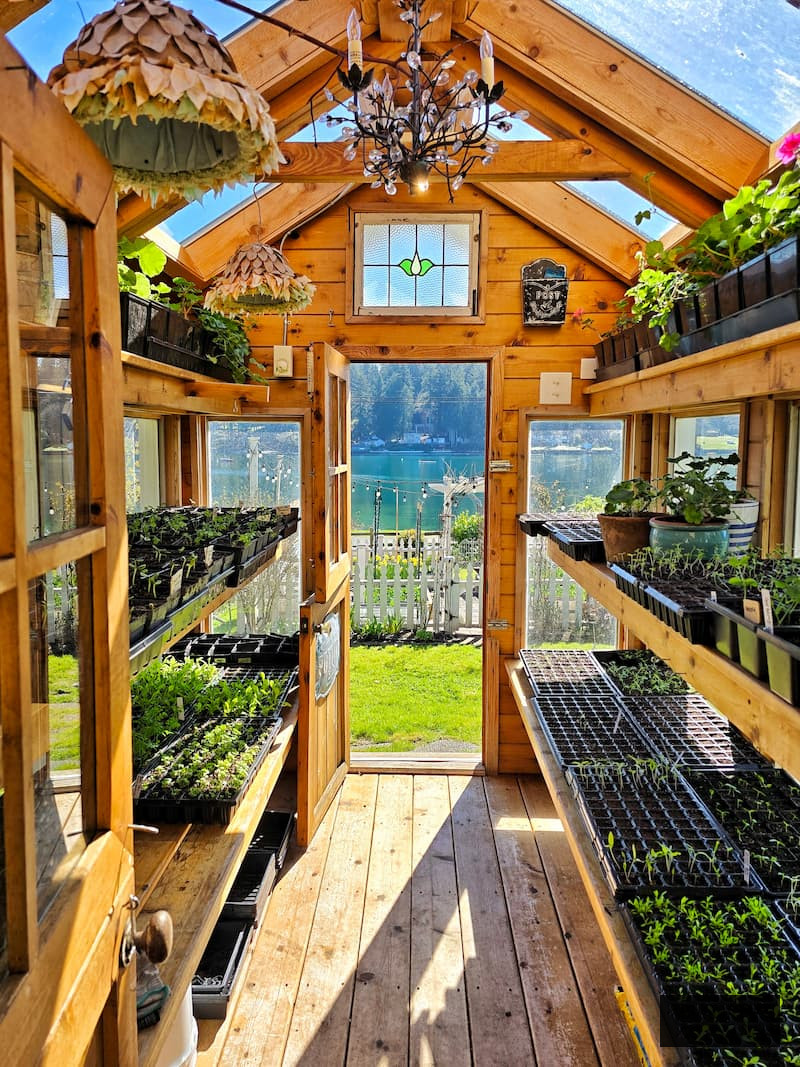
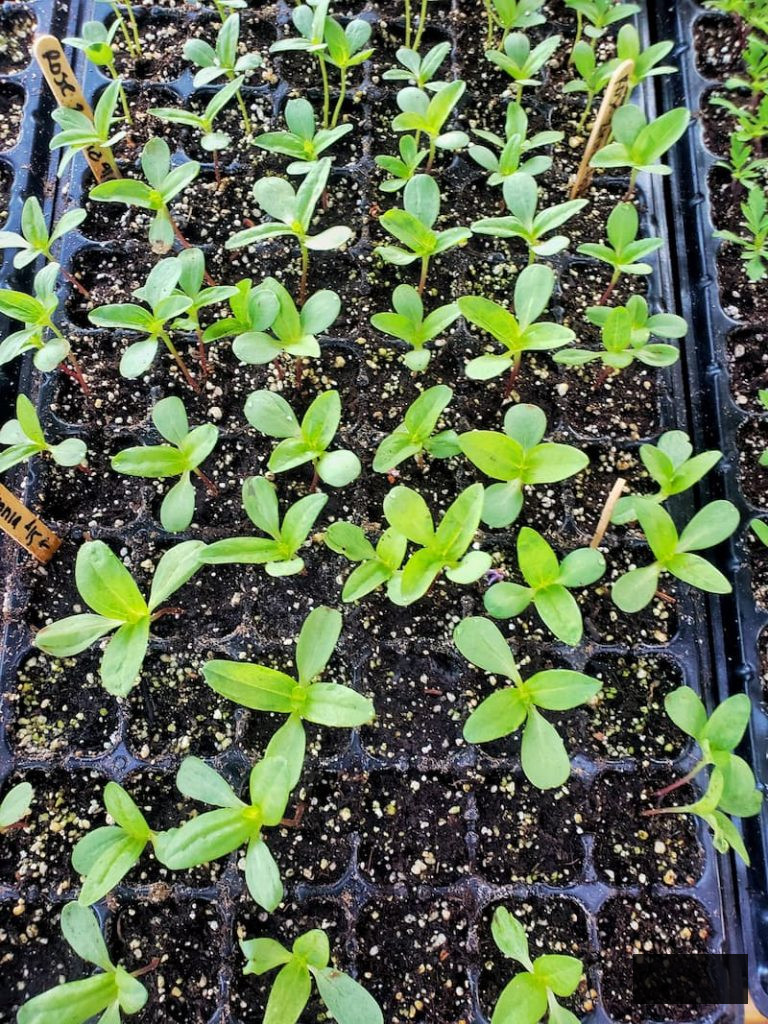
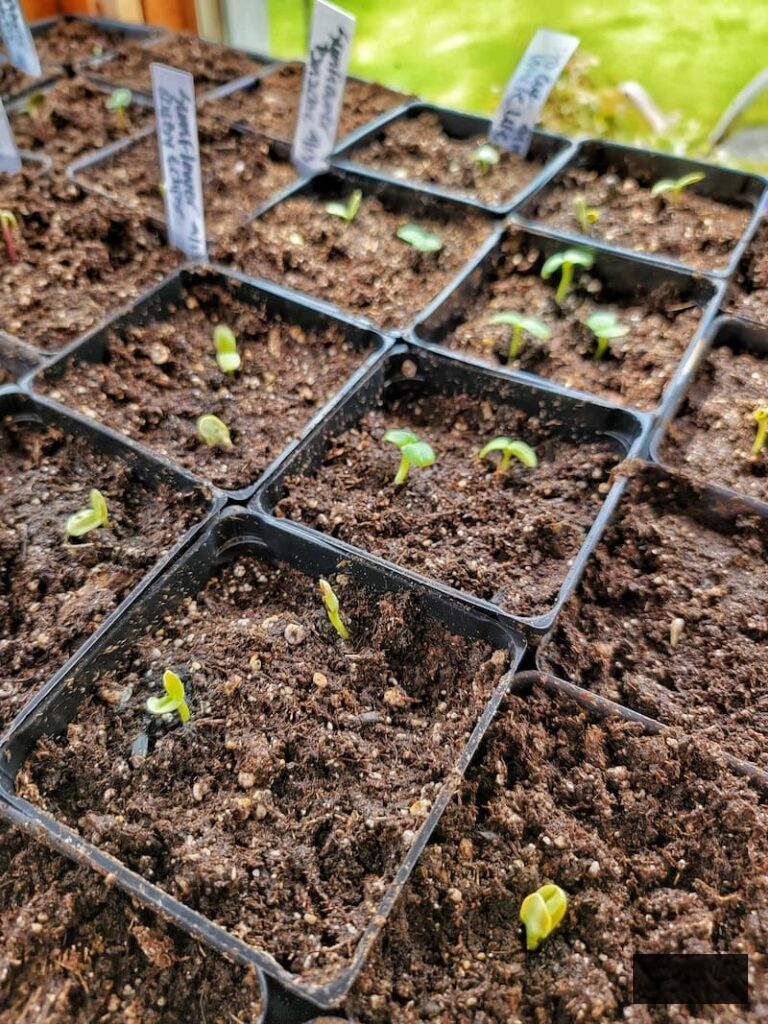
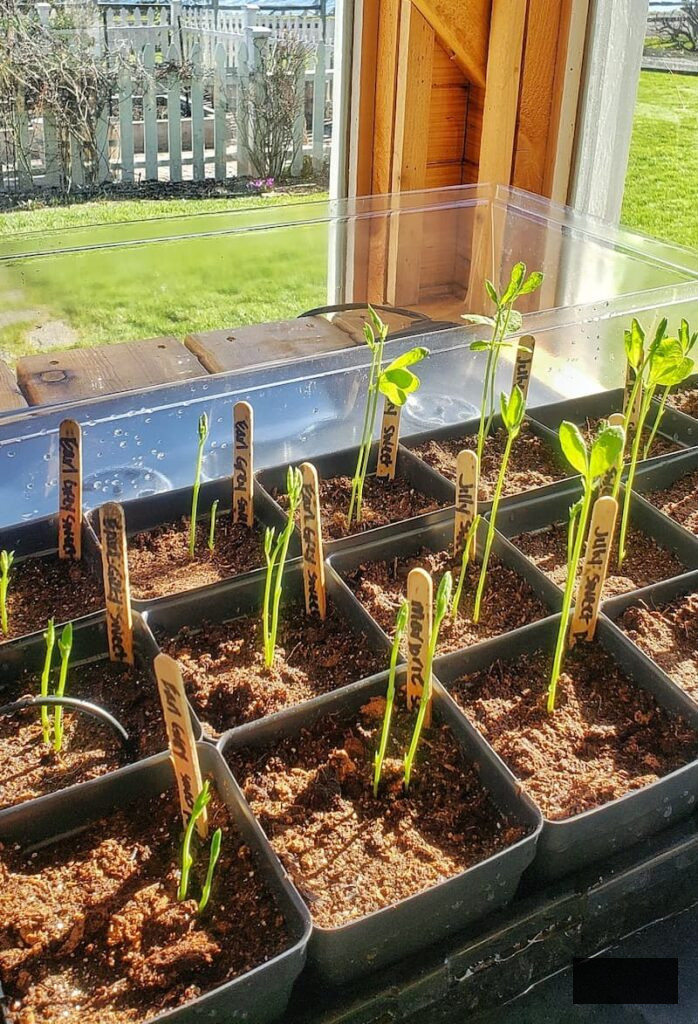
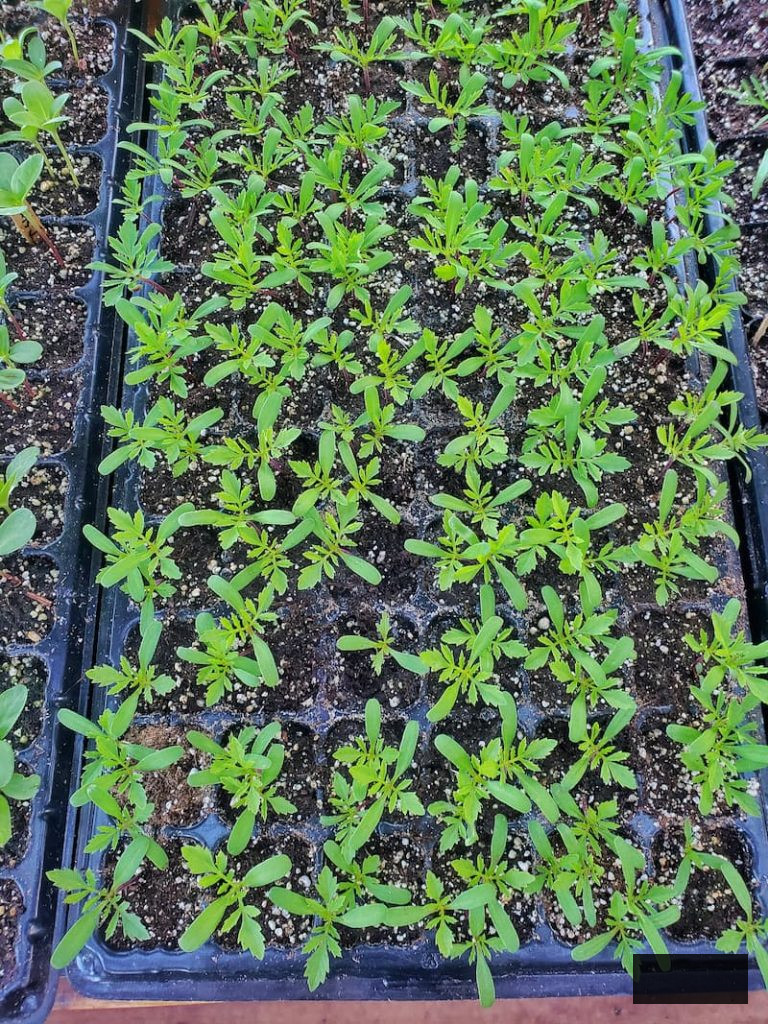
My favorite aspect of cut flower gardening is the initial seed-starting phase. There’s something incredibly thrilling about checking trays each morning. When those first minute sprouts break through the soil, I still feel exceedingly thrilled. I might have performed a small victory dance in the greenhouse on more than one occasion.
In this article, I will guide you through the fundamentals of seed starting for cut flowers, highlight the advantages of growing from seed, and share the practical tips I’ve gathered over the years to assist you in cultivating robust, healthy plants with assurance.
As an Amazon associate, I receive a commission from qualifying purchases at no extra cost to you. My blog also contains other affiliate links for your convenience.Click here to review my privacy policy.
What Is Seed Starting?

Seed starting is the practice of cultivating plants indoors prior to transplanting them outdoors into the garden. For cut flowers, this ensures seedlings have a robust, healthy beginning before they encounter unreliable weather, pests, and variable temperatures.
Instead of sowing seeds directly into the soil, seeds are placed in containers filled with a lightweight seed-starting mixture. This permits you to regulate moisture, temperature, and light, which are three factors that significantly influence when you’re working with small seeds.
Beginning seeds indoors also allows you to gain an advantage for the growing season. Depending on the variety, you can initiate seed-starting weeks or even months prior to the last frost date. This is advantageous for flowers that take longer to mature or for gardeners desiring earlier blooms and extended harvest periods.
Growing Cut Flowers from Seed vs. Seedlings
Cultivating cut flowers from seed presents multiple benefits compared to purchasing seedlings from a nursery, particularly if you seek variety and greater control over your garden from the outset.
One of the primary advantages is selection. Seed catalogs provide an astonishing array of flower varieties, hues, and shapes that you won’t find at most garden centers, which usually only carry the most common selections.
Seeds are also significantly more economical. A single packet of seeds usually costs less than one nursery-grown plant and can yield dozens of flowers throughout the season. If you’re establishing a cut flower garden, that difference truly accumulates.
Starting from seeds also enables you to oversee the growing environment from day one. You can select the soil mixture, avoid chemical fertilizers, and cultivate plants that are already adapted to your local conditions. Based on my experiences, seedlings raised at home tend to be more robust and resilient once they are transplanted outdoors.
In addition to the practical advantages, there is something immensely rewarding about cultivating flowers from seed. Observing a plant grow from a tiny sprout to a full, blooming stem gives you a deeper understanding of its growth process and makes the first harvest even more memorable.
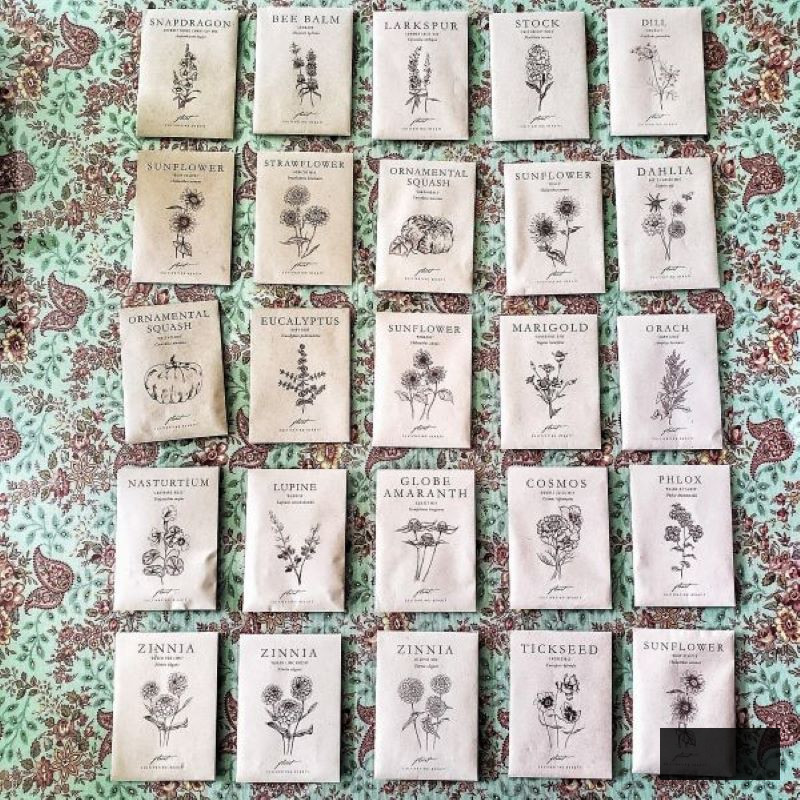
The Best Cut Flowers to Grow From Seed
When selecting cut flowers to cultivate from seed, I seek varieties that are straightforward to initiate, productive in the garden, and durable in a vase. These are flowers that consistently perform admirably and provide ample blooms for homegrown bouquets throughout the season.
Here are some of the finest cut flowers to cultivate from seed, particularly if you’re just beginning.
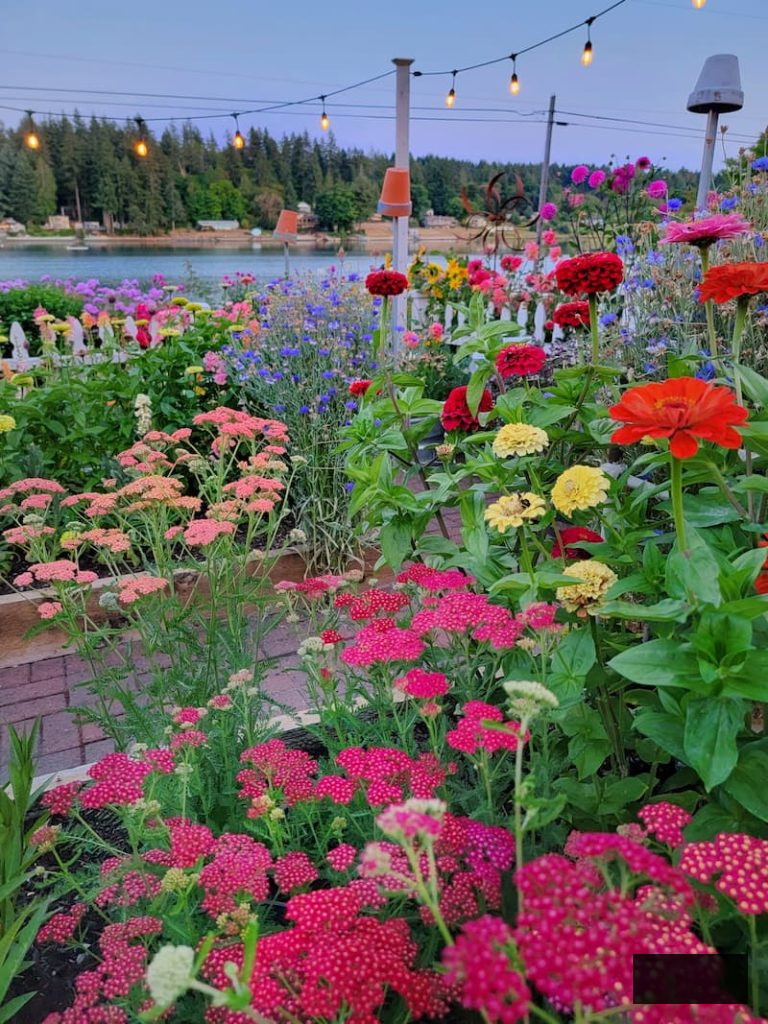
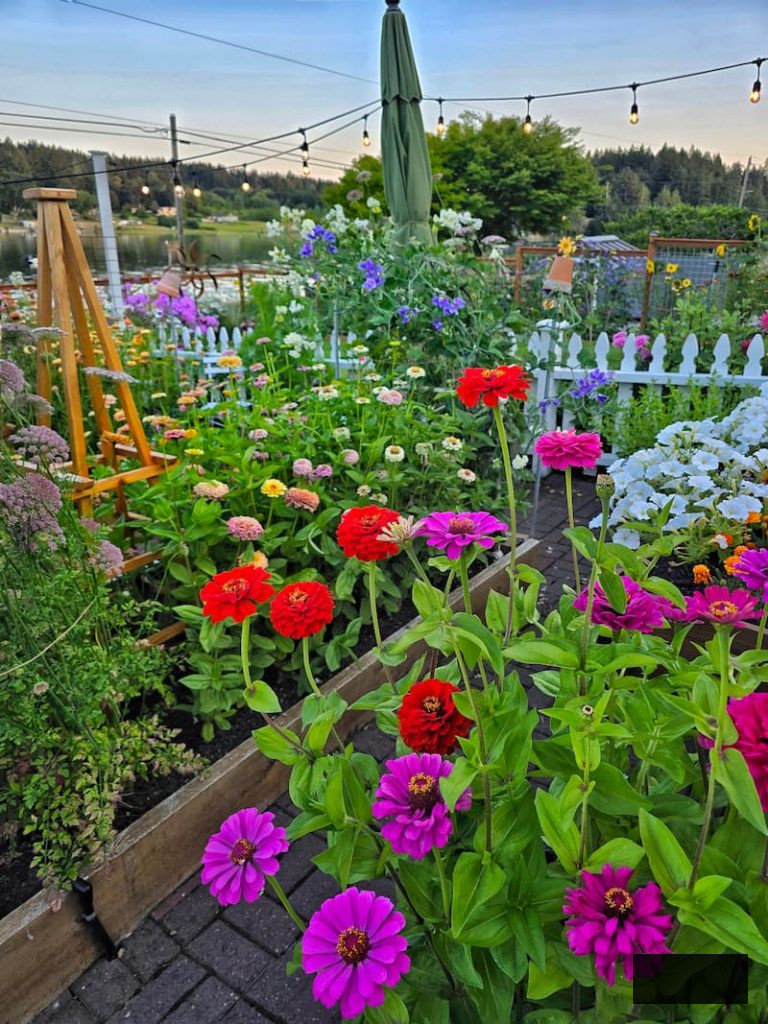
Zinnias
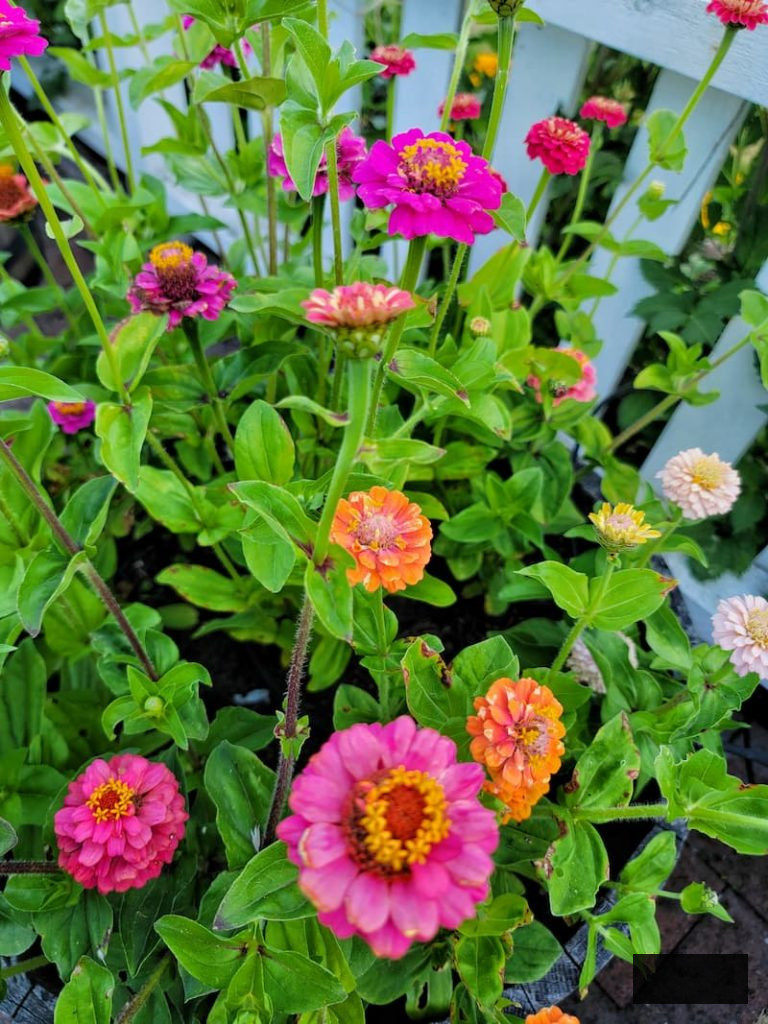
Zinnias are among the simplest and most delightful cut flowers to cultivate from seeds. They sprout rapidly, develop quickly, and yield a continuous array of vibrant blossoms throughout the summer.
They are available in a broad spectrum of hues and bloom shapes, varying from basic single flowers to large, dahlia-like blossoms, and are genuine “cut-and-come-again” plants. The more you pick, the more flowers they yield.
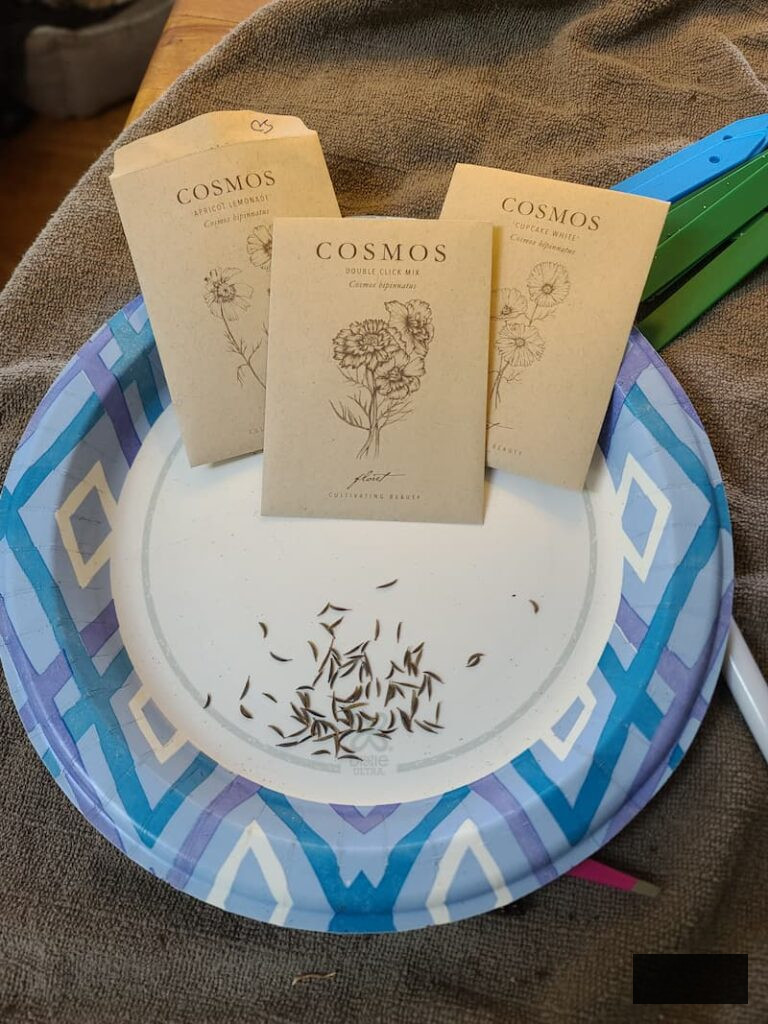
Cosmos
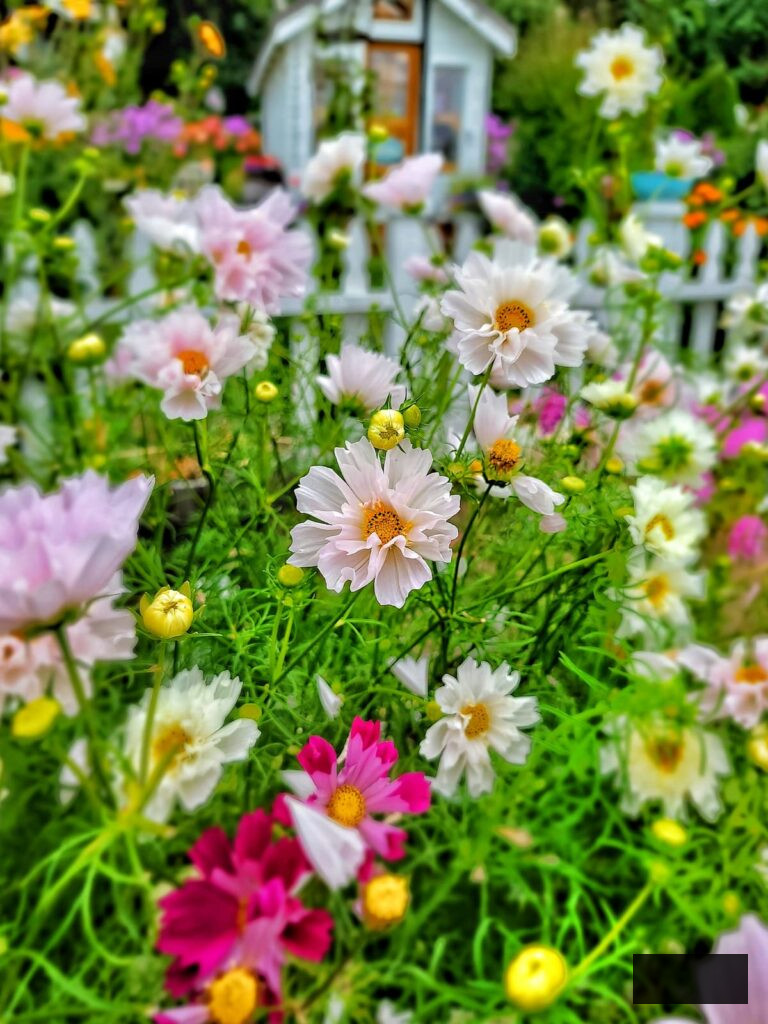
Cosmos are fragile, airy blossoms with feathery leaves that impart a soft, whimsical touch to arrangements. They are remarkably tolerant, prospering in less-than-ideal soil, making them an excellent choice for novice gardeners.
When harvested at the optimal time, cosmos can endure 5-7 days in a vase. They also entice bees and butterflies, rendering them a favorite in gardens that cater to pollinators.
Snapdragons
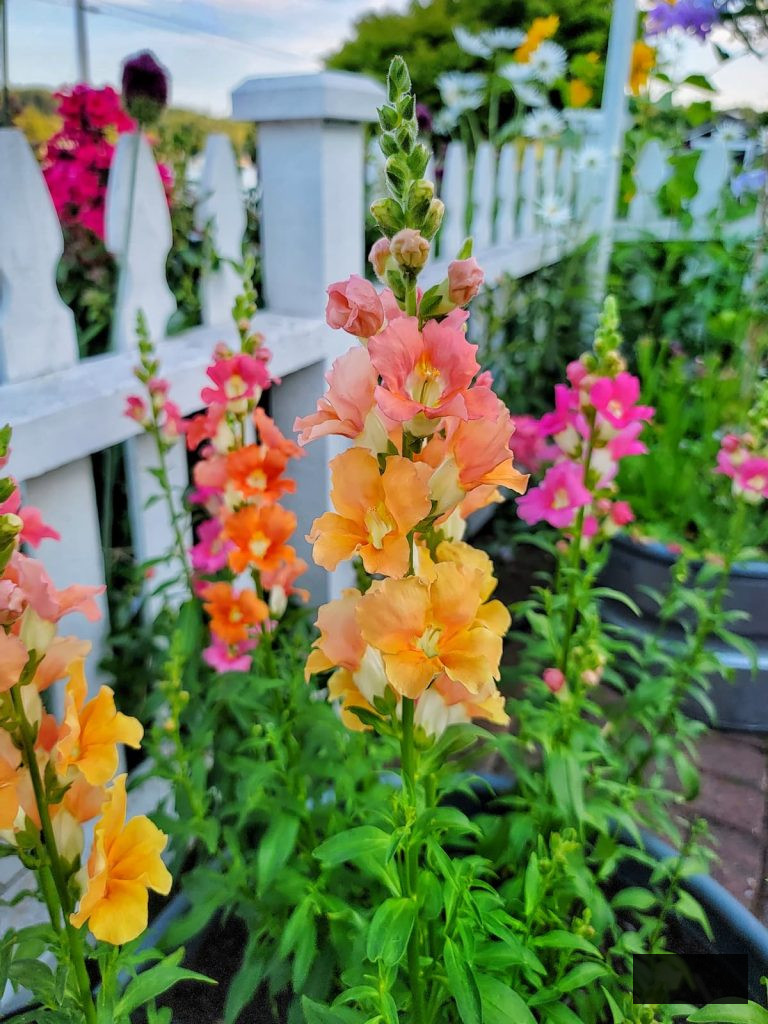
Snapdragons contribute height and framework to bouquets with their tall, spiky flower stems. Coming in nearly every possible shade, from soft pastels to vibrant bolds, they are incredibly adaptable for floral arrangements.
As cool-season flowers, snapdragons are ideal for cutting in early spring or autumn. They also flourish with succession planting, which helps prolong the blooming period.
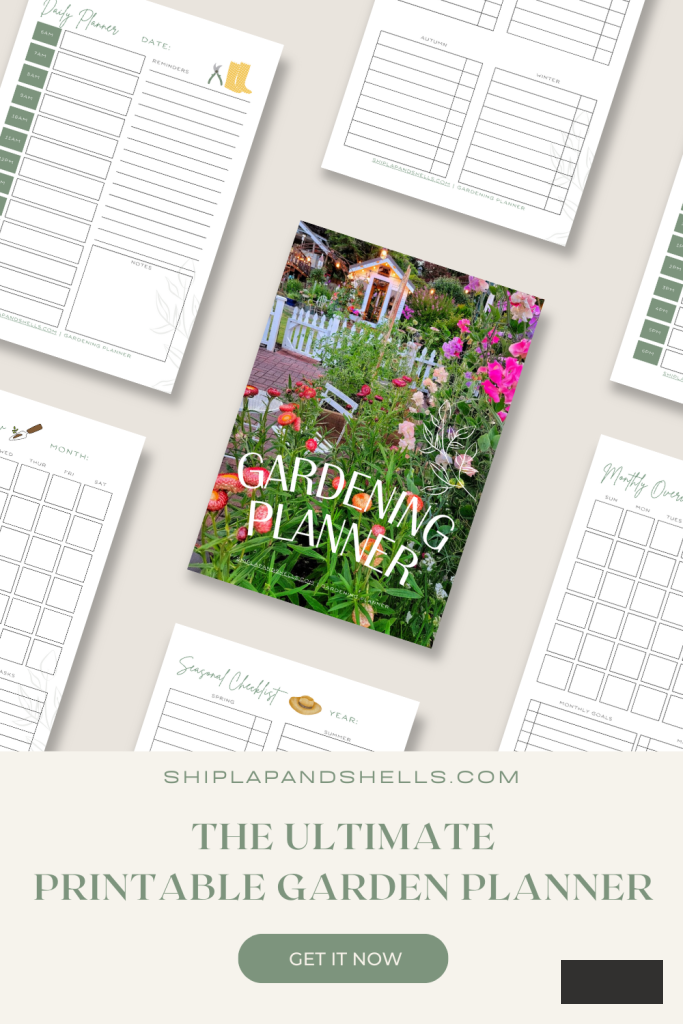
Let’s Design Your Ideal Garden With Our
Gardening Organizer
Unleash Your Garden’s Potential.
Our comprehensive 35-page Ultimate Garden Planner is crafted to assist you in organizing, tracking, and thriving in your gardening projects.
Get yours for $4.99
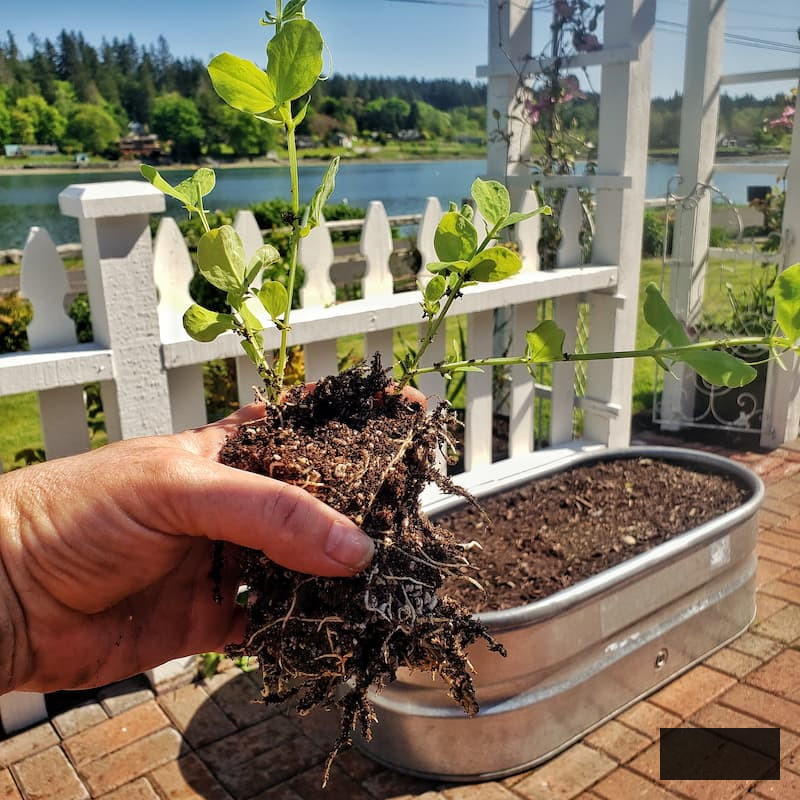
Sweet Peas
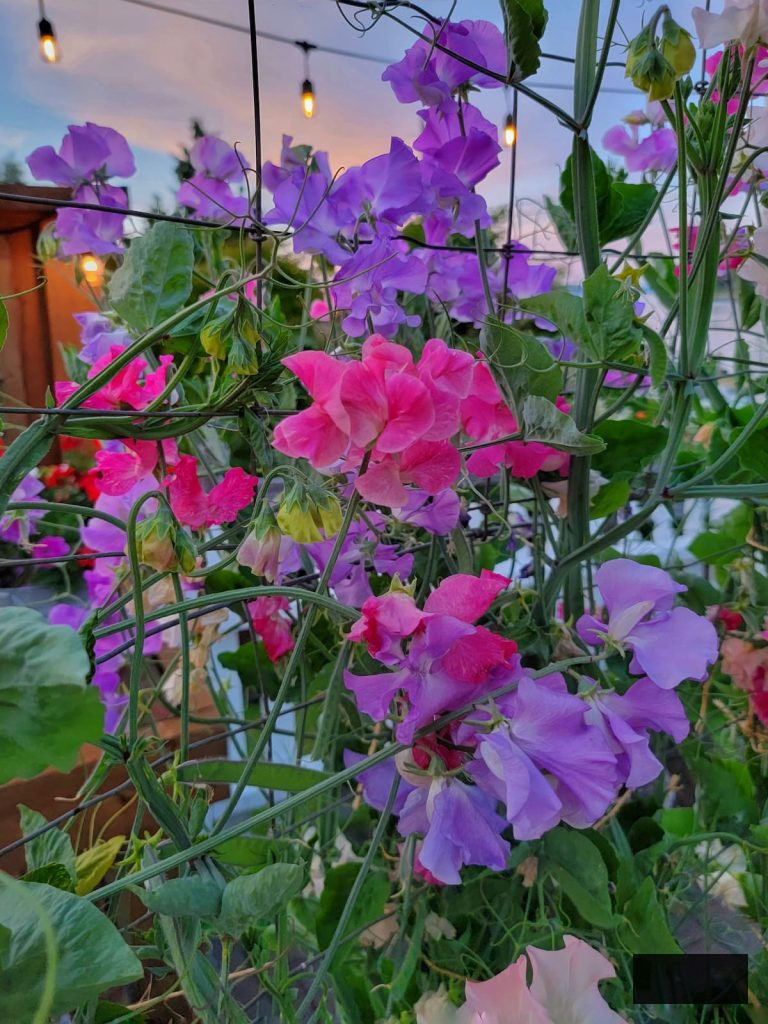
I appreciate sweet peas for their delicate, frilled petals and unforgettable scent. They favor cooler climates, making it crucial to begin them early in the season.
As sweet peas grow upwards, they are perfect for compact garden spaces and yield long, straight stems that are excellent for cutting. When picked early in the morning and treated appropriately, they can survive 4-7 days in a vase.
Sunflowers
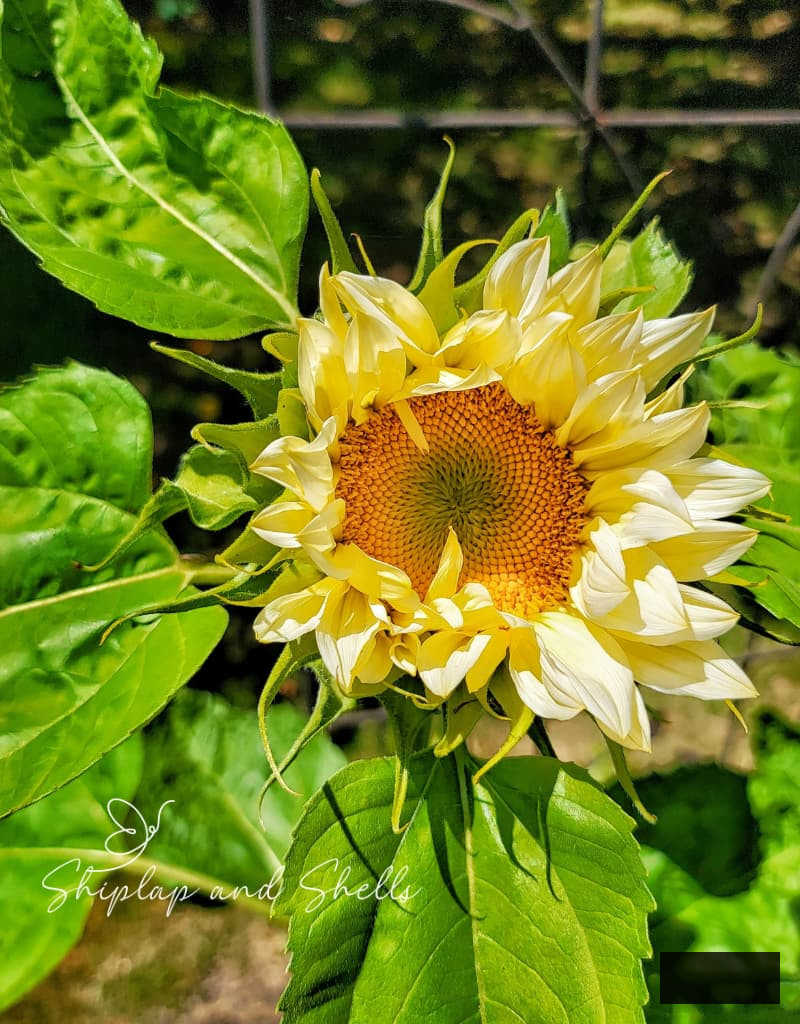
Sunflowers are a striking, upbeat addition to any summer arrangement and are surprisingly straightforward to cultivate from seeds. From towering single-stem variations to branching types with numerous blooms, there’s a sunflower to suit every gardening style.
Their robust stems render them excellent for anchoring larger arrangements or standing independently in simple vases.
Marigolds
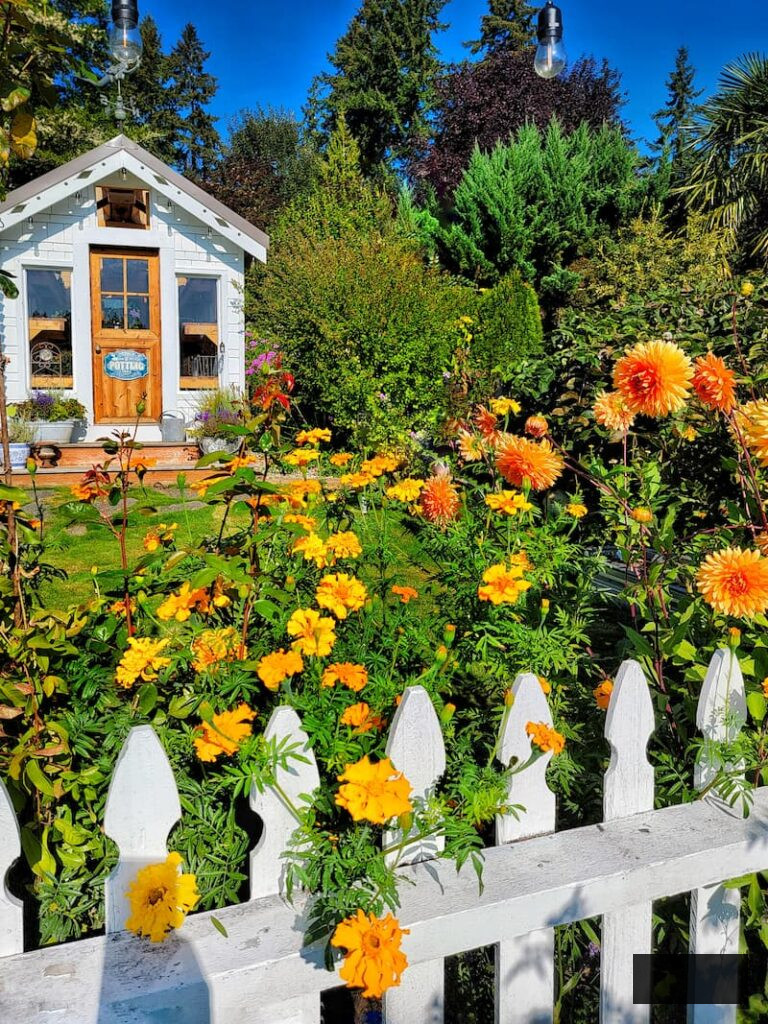
Marigolds are rapid-growing, dependable flowerers that contribute vibrant splashes of color to fresh floral compositions. They’re simple to cultivate from seed and thrive even in suboptimal conditions.
Here’s an additional perk for you: marigolds possess innate pest-repellent traits, which are extremely advantageous in your garden.
Dahlias
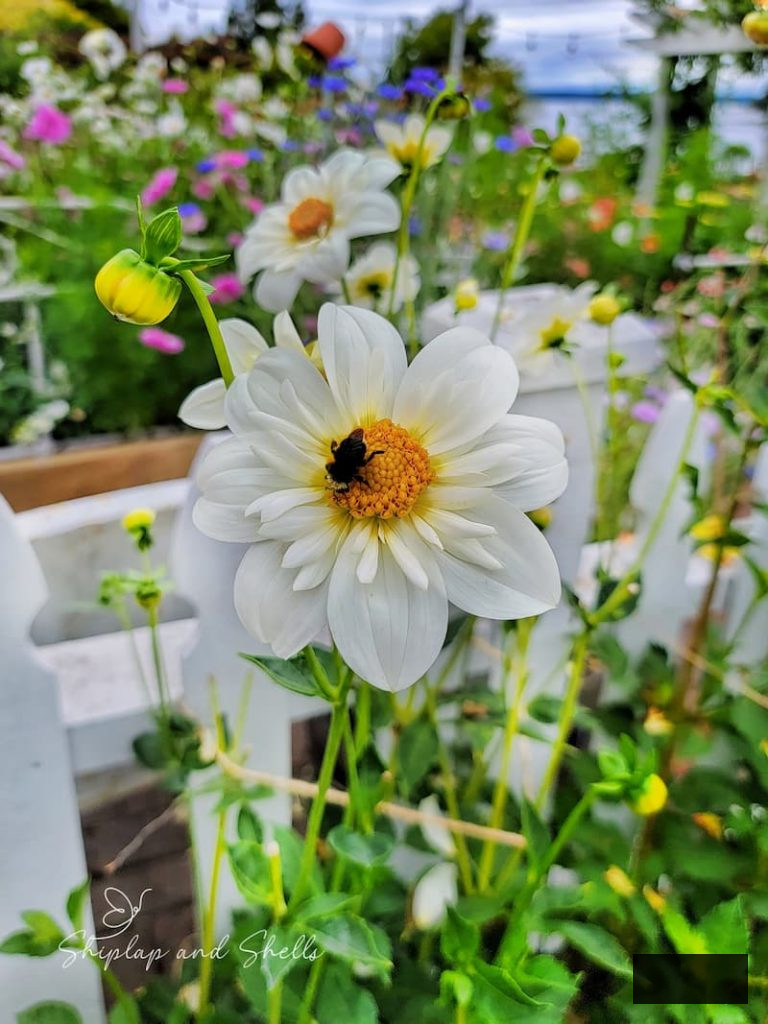
Dahlias are typically cultivated from tubers, however, they may also be initiated from seeds. Dahlias grown from seeds provide an enjoyable element of unpredictability, showcasing a diverse spectrum of hues and flower shapes.
I’ve nurtured the “Bee’s Choice” dahlia seed blend for numerous years, and it’s perpetually thrilling to witness which blooms emerge. Each time, the results differ. Pollinators are attracted to them, and they serve as the most stunning cut flowers with excellent vase longevity.
Bachelor’s Buttons (Cornflower)
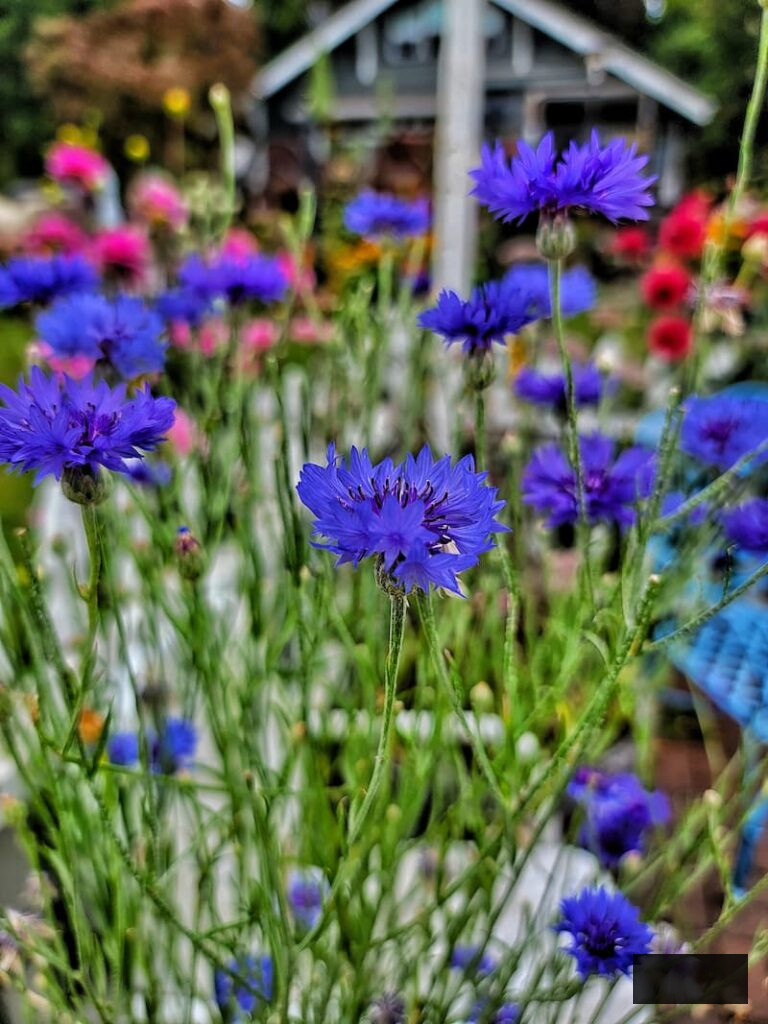
Bachelor’s buttons are straightforward-to-grow annuals with airy, ruffled blossoms. They are renowned for their exquisite blue petals, but they also bloom in shades of pink, purple, white, and burgundy.
These resilient plants require minimal upkeep, self-sow, and are ideal for filling garden gaps while enhancing arrangements with color.
Statice
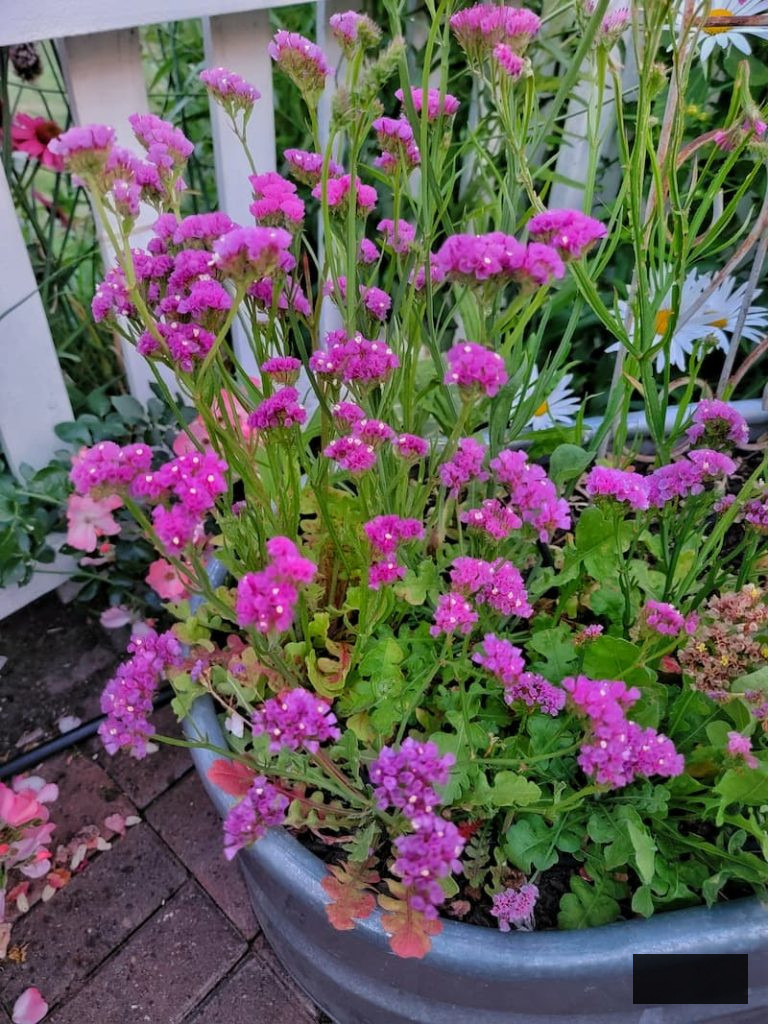
Statice is a favorite for both fresh and dried floral designs (my preferred method for displaying them indoors), owing to its paper-like texture and extended vase life. Freshly cut statice can endure 10-14 days, and the hues remain vibrant when dried.
It’s simple to cultivate from seed and flourishes in sunny, well-drained garden beds.
Gomphrena (Globe Amaranth)
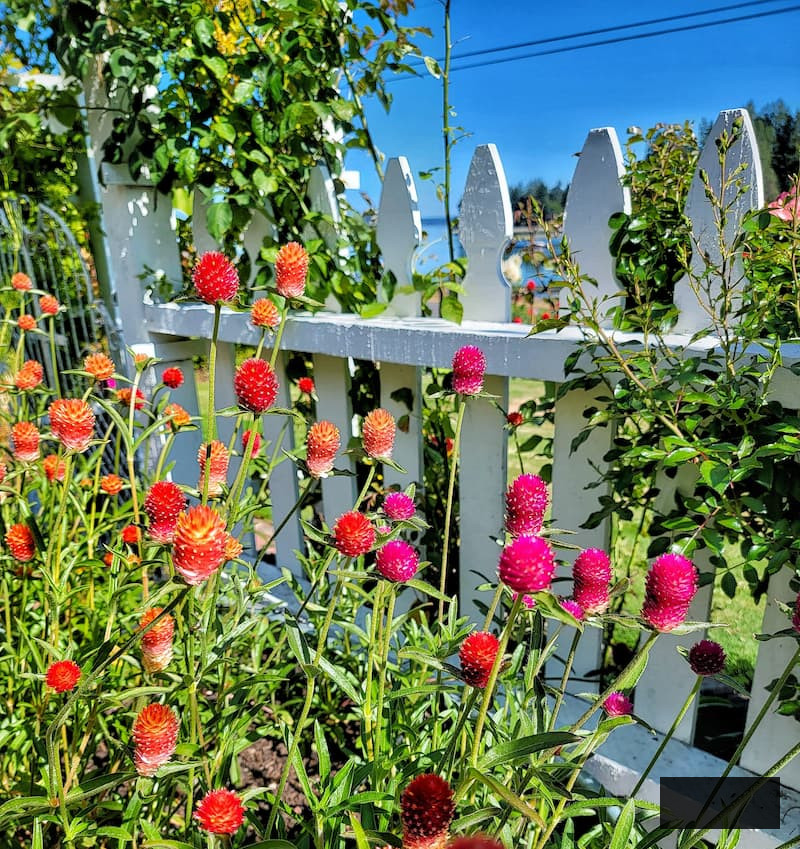
Gomphrena boasts diminutive, globular blossoms that introduce texture and lasting color to compositions. It thrives in warm, sunny environments and is drought-resistant once established.
Similar to statice, gomphrena appears stunning when dried and serves as an excellent selection for wreaths and various crafts.
Frequently Asked Questions
Essential Supplies for Seed Starting
You don’t require a complex arrangement to commence cultivating cut flowers from seeds. A few fundamental materials will suffice for the season, and you can always incorporate more tools as your garden expands.
Here’s a straightforward list of what you’ll require to begin:
For a more comprehensive exploration of seed-starting tools and what is genuinely worth purchasing, I provide further insights in my article on seed-starting essentials.
YOU MAY FIND THESE USEFUL
Supplies for Seed Initiation
Explore my preferred supplies and tools for starting seeds indoors. Whether you seek growth lights or a seed initiation mix, you will discover what I use in my own greenhouse.
Seed Initiation 101: My Top Recommendations for Cultivating Cut Flowers from Seed
Throughout the years, I’ve realized that effective seed initiation doesn’t stem from elaborate tools or perfection. Instead, it arises from consistency and focusing on several crucial aspects.
These are the procedures I adhere to each season when germinating cut flowers from seed.
Select Appropriate Containers
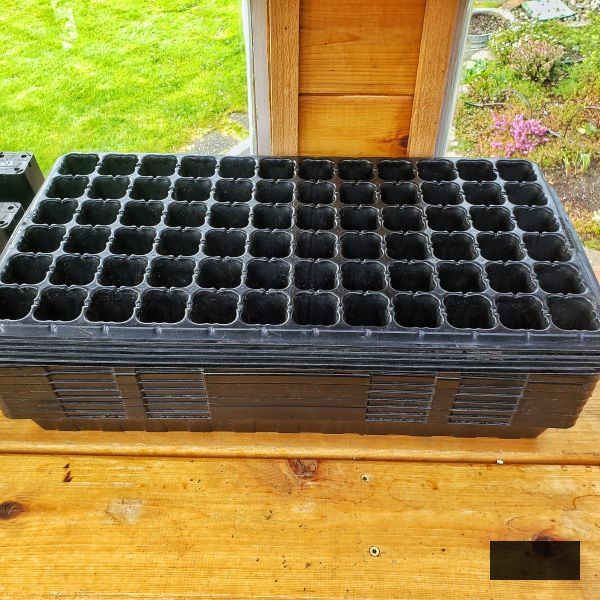
Almost any container can be utilized for starting seeds, as long as it contains soil and provides adequate drainage. Seed trays, cell packs, peat pots, or even repurposed plastic cups work effectively.
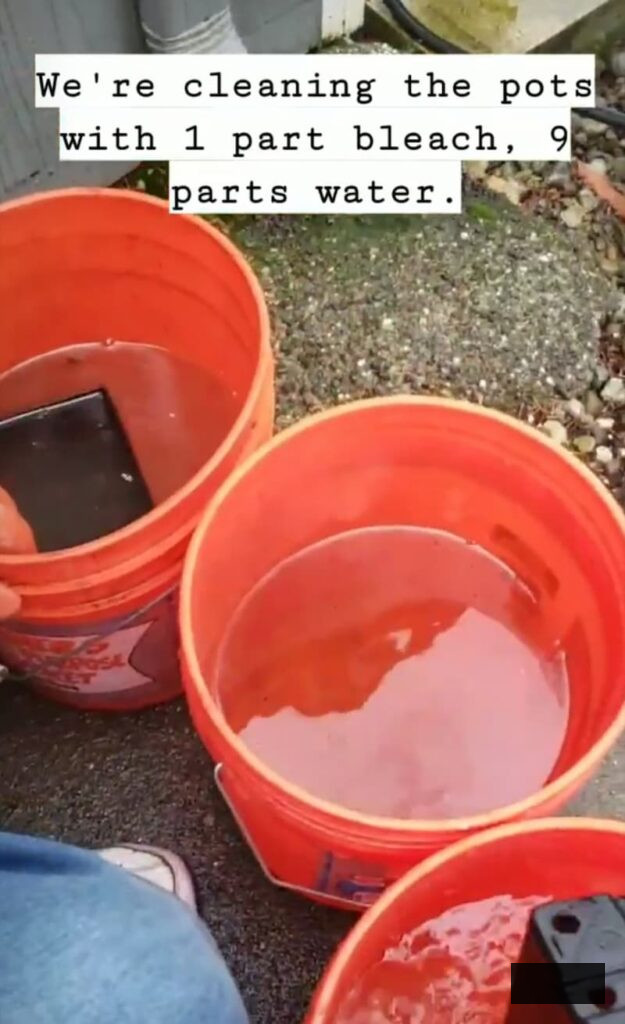
Should you choose to reuse containers, clean them meticulously with a diluted bleach mixture (one part bleach to nine parts water) to inhibit disease. Sanitized containers significantly contribute to healthy seedlings.
Employ a Moistened Quality Seed-Starting Blend
A seed-starting mix is considerably lighter and finer than standard potting soil, making it more suitable for minute seeds. It promotes proper air circulation, provides efficient drainage, and maintains moisture uniformly.
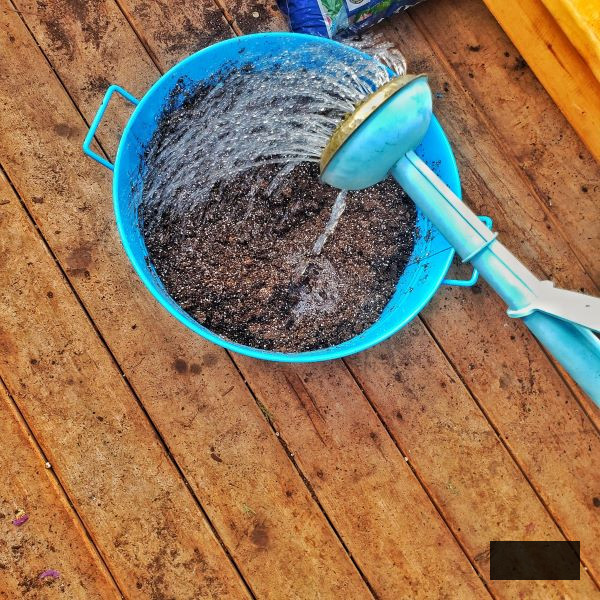
Seed-starting blends typically contain fewer nutrients, which assists in averting leggy seedlings. I always ensure the mix is damp before filling containers so it’s uniformly moist (not excessively wet) prior to planting.
Fill Containers and Prepare for Sowing
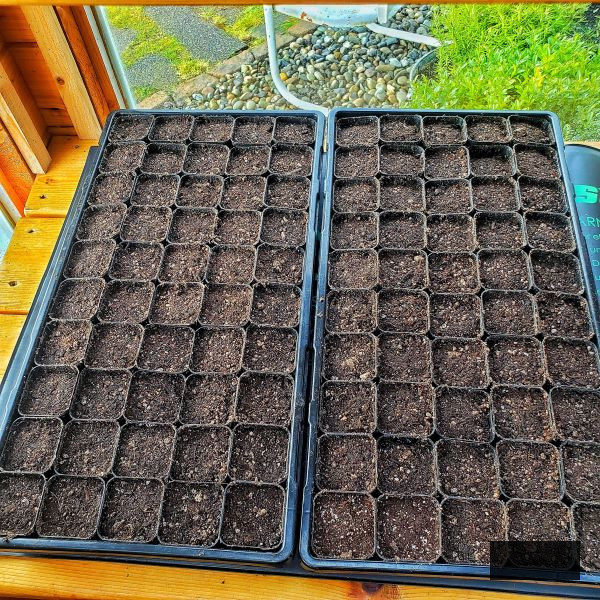
Top off containers with seed-starting mix, then gently tap them against a table or shelf to settle the soil and eliminate air pockets. This aids in maintaining consistent moisture across the container.
Once they are filled, you are set to plant your seeds.
Sow Seeds at the Correct Depth
Most seed packets provide instructions on how deep to plant, which simplifies the process for me when I sow my seeds. A helpful general guideline is to plant seeds approximately twice as deep as their size.
Insert one to two seeds per cell, then lightly cover them with seed-starting mix or vermiculite. Certain seeds need light to germinate, so make sure to verify the packet for which seeds should remain uncovered.
Utilize One Variety Per Tray
It is advisable to cultivate just one type of flower per tray or container. Germination rates and growth speeds differ, and combining varieties can complicate the management of watering, lighting, and height differences under grow lights. I once made the error of mixing seeds in a single 72-cell tray when I was new to seed starting, and it was not a successful endeavor.
Label trays promptly after planting. Seedlings often appear remarkably similar initially, making it easy to forget what is what.
Water From Below
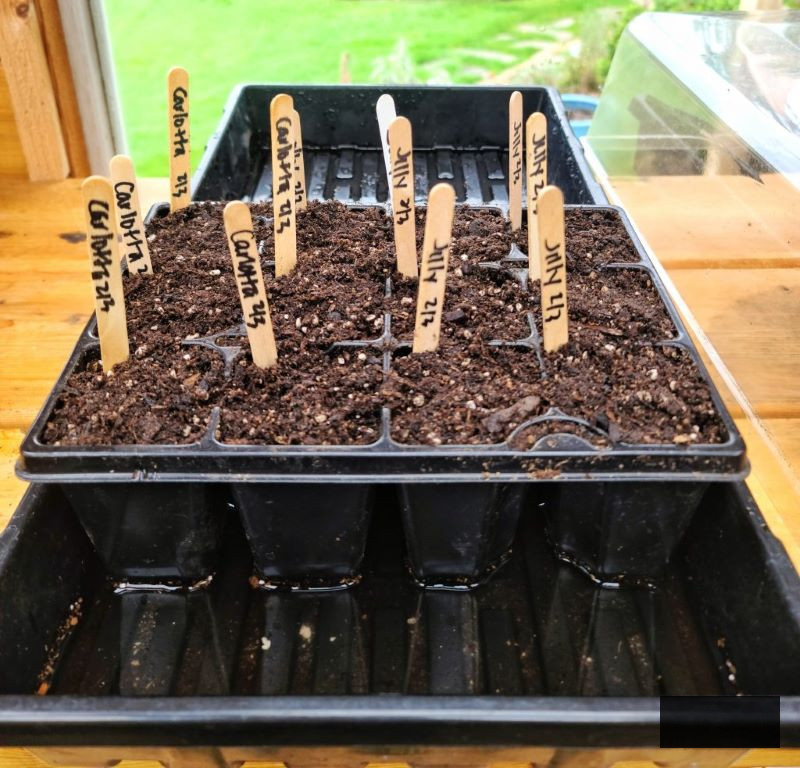
After sowing, refrain from watering from above. Top watering can displace seeds and lead to uneven germination.
Instead, position containers in a tray with about an inch of water and allow them to absorb moisture from the bottom. Inspect the soil surface every ten minutes and remove excess water once the soil is uniformly moist. Continue bottom watering until seedlings develop their first true leaves.
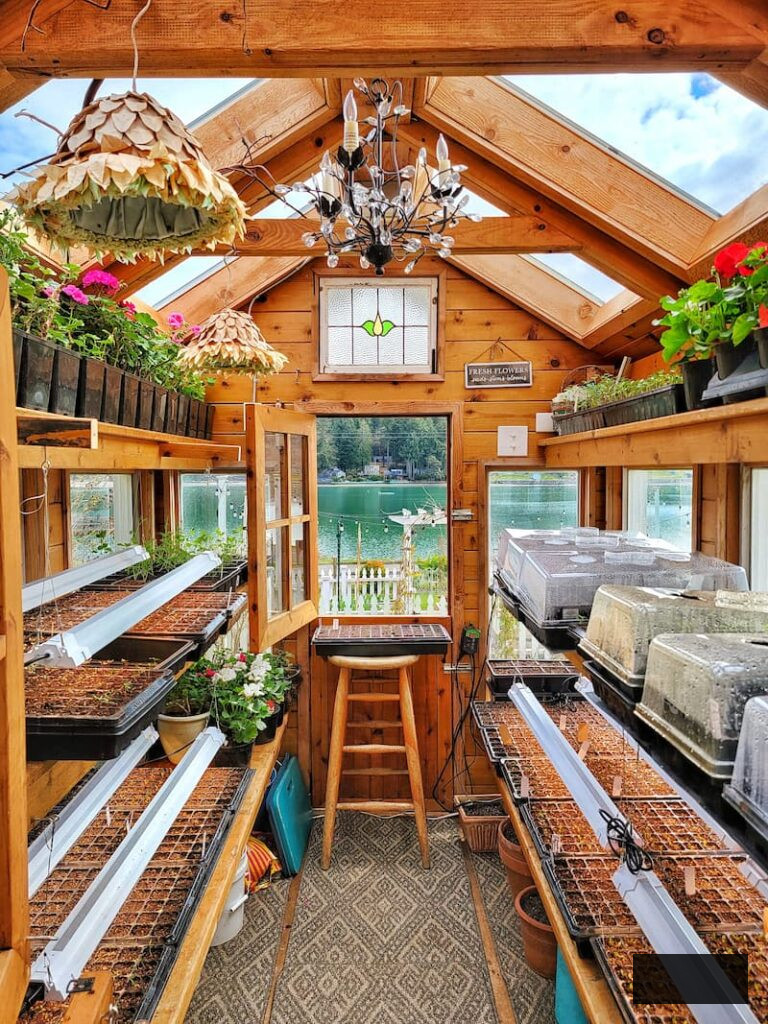
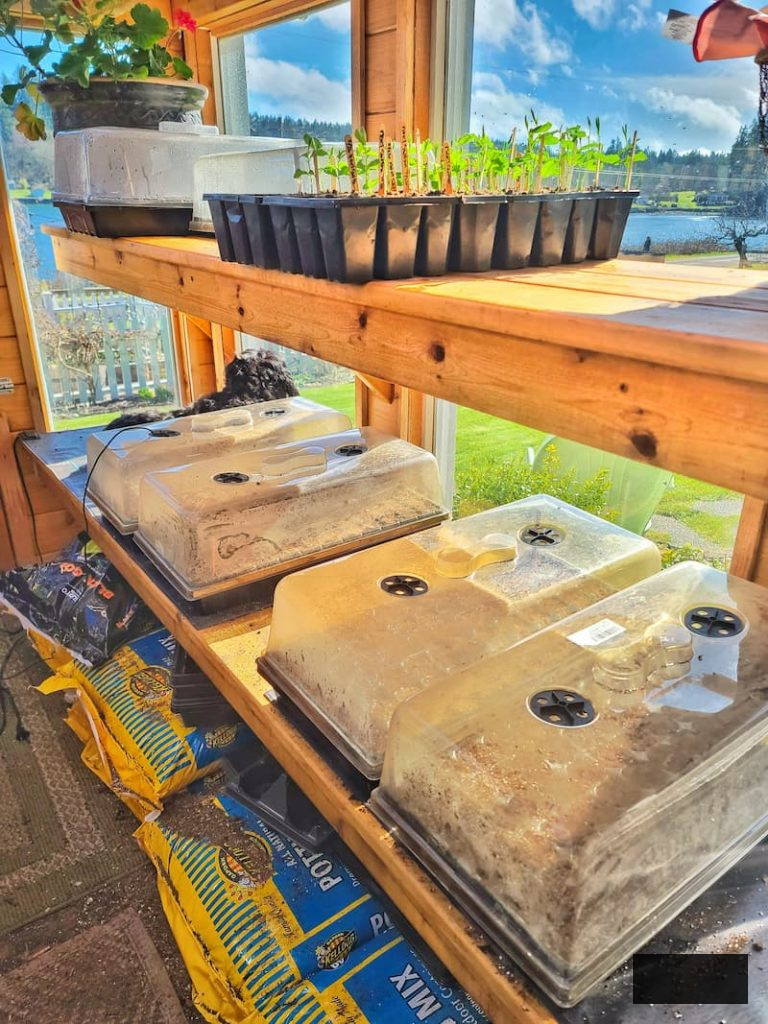
Foster Warmth for Germination

Seeds thrive best in warm, humid conditions. A heat mat set between 65-75°F can greatly enhance germination rates, especially in cooler areas.
Once seeds germinate, take away the heat mat and any humidity covers. Sustained heat might cause seedlings to grow too rapidly, resulting in weak plants.
Provide Ample Light for Seedlings
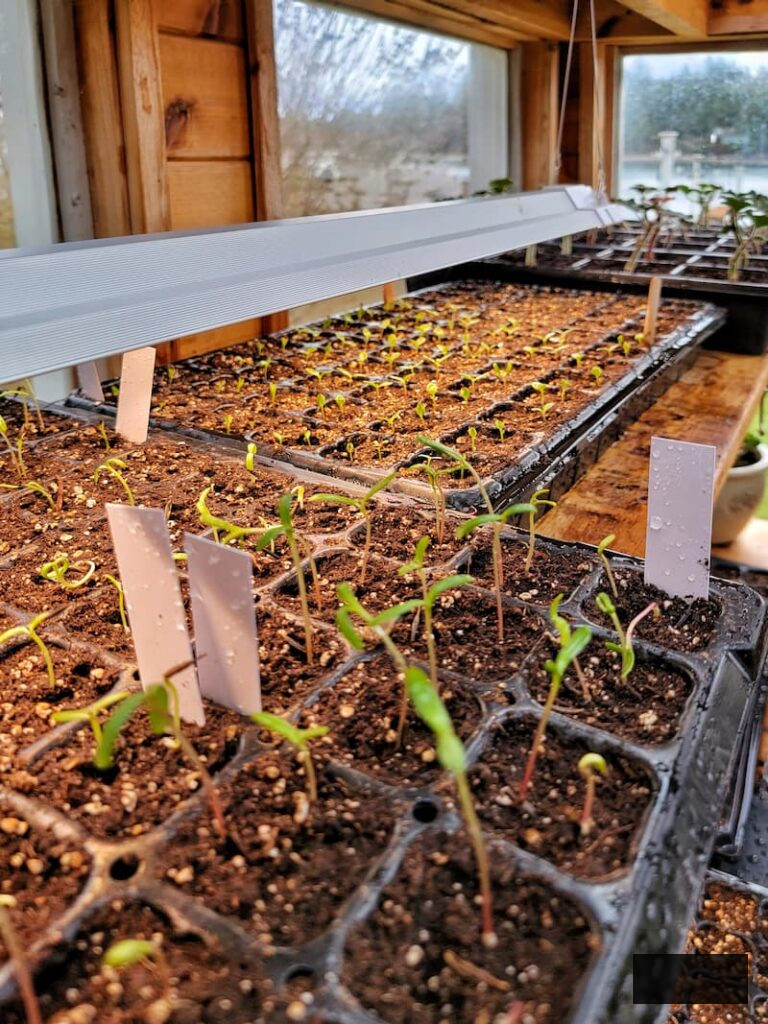
Seedlings require bright light for 12-16 hours daily to develop sturdy stems. Insufficient light will cause them to stretch and become leggy.
When using grow lights, keep them positioned about 2-3 inches above the tops of the seedlings and adjust them as the plants grow.
Promote Airflow
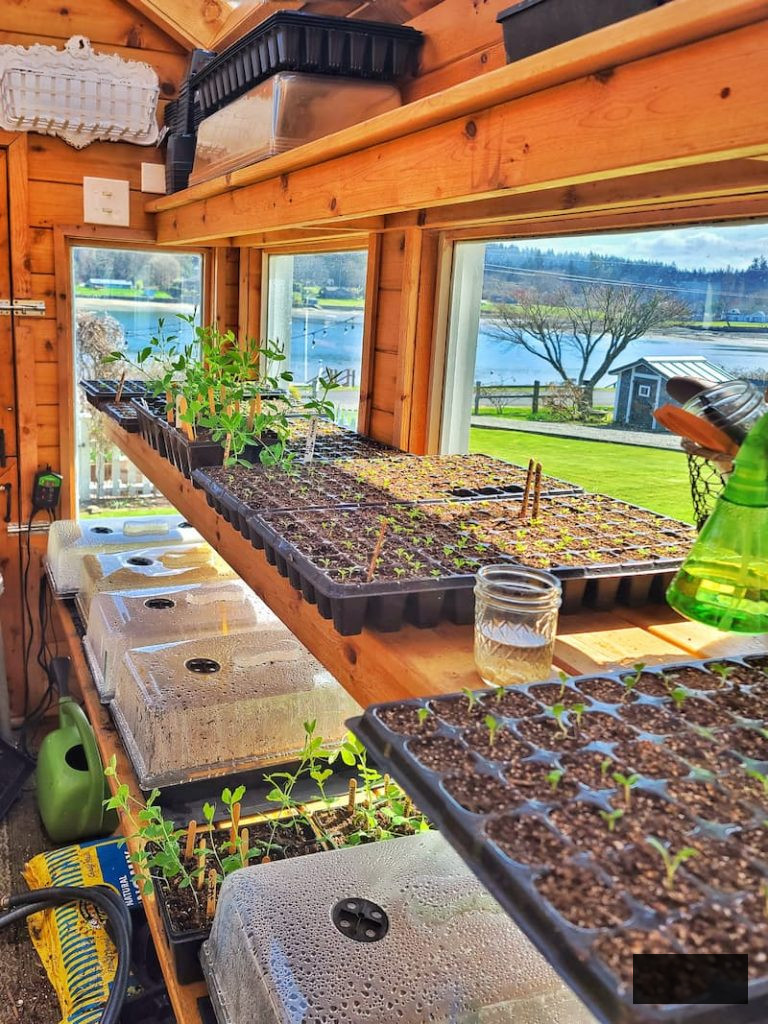
A gentle breeze aids seedlings in developing stronger stems and diminishes the risk of disease. A small fan operating on low settings, not directed straight at the plants, can make a considerable difference.
Effective air circulation is particularly vital in greenhouses or confined spaces.
Nourish Seedlings as They Develop
Once seedlings have multiple sets of true leaves, they will gain from mild fertilization. I utilize a diluted liquid seaweed and fish emulsion mix and administer it weekly per the product guidelines.
This supplies young plants with the essential nutrients they require without overloading them.
Replant When Required
If seedlings exceed their containers before it’s time to move them outdoors, repot them into larger vessels to provide their roots with additional room. Robust root structures contribute to healthier plants in the garden.
Do Not Overlook Hardening Off
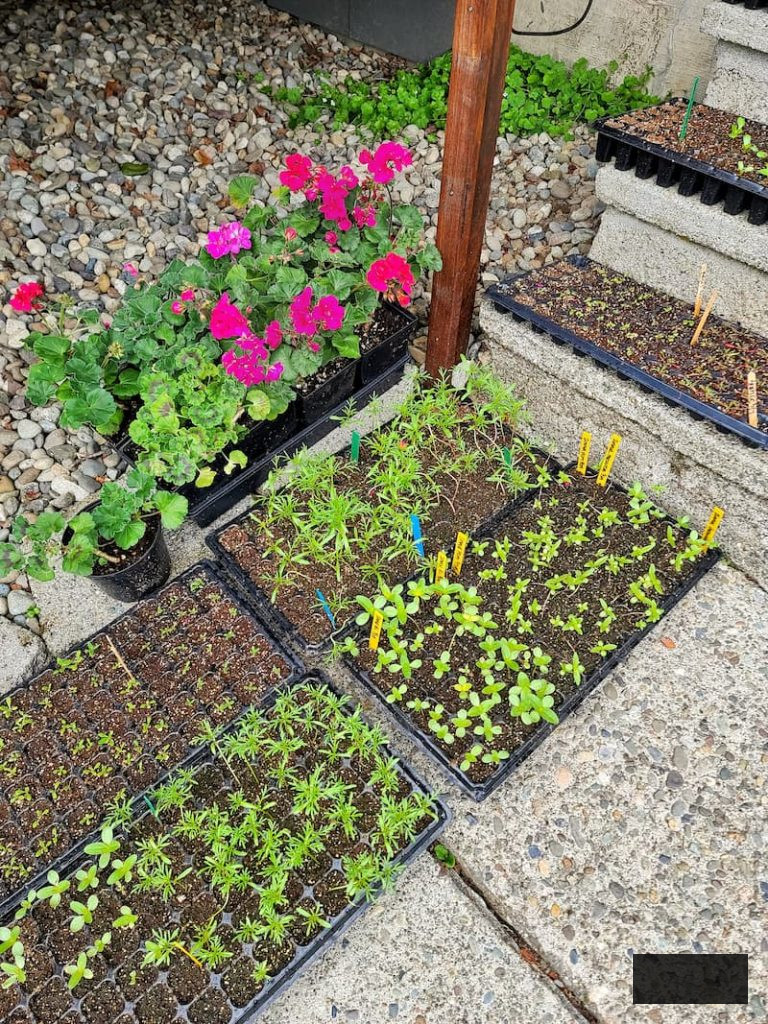
Prior to relocating seedlings to the garden, they must acclimate to outdoor circumstances. This phase, referred to as hardening off, aids in averting shock.
Commence by placing seedlings outside in a protected location for a few hours each day, progressively increasing their exposure over one to two weeks. I typically start with two to three hours on the initial day.
Sow Hardy Annuals Directly When Appropriate
Certain hardy annuals thrive best when sown directly in the garden as opposed to being transplanted. Always adhere to seed packet recommendations for direct sowing, particularly when frost resistance is a factor.
For specific cold-resistant seeds, chilling them in the refrigerator or freezer briefly before sowing can enhance germination.
LET US GO SHOPPING FOR
Garden Supplies and Equipment
Explore my preferred garden supplies and equipment for the growing period. Whether you need potting soil or deer deterrent, you’ll discover what I use in my own garden.
Store Excess Seeds Appropriately
If you possess leftover seeds, keep them in a cool, dark, dry environment. Most flower seeds maintain viability for up to two years, although germination rates may lessen over duration.
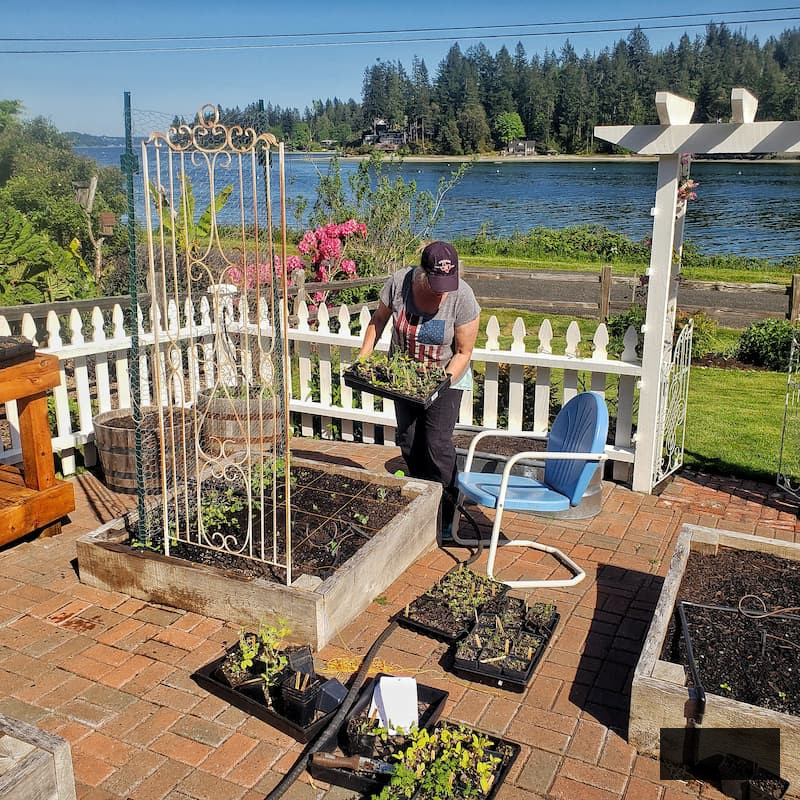
Design Your Cut Flower Garden Layout
Prior to purchasing seeds, strategize your garden layout to determine the available space. This aids in avoiding overcrowding and simplifies seed selection significantly.
I provide additional insights on designing a cut flower garden in a separate article if you wish to explore further.
Concluding Thoughts on Growing Cut Flowers from Seed
Cultivating cut flowers from seed can appear somewhat daunting initially, and honestly, it still occasionally makes me anxious. However, that’s a component of the journey. Initiating seeds involves as much learning and experimenting as it does nurturing flowers, and every season imparts fresh insights.
You don’t require a flawless arrangement or extensive experience to begin. With a handful of essential materials, a bit of patience, and a desire to absorb knowledge as you progress, you can cultivate robust, thriving plants and relish in an abundance of stunning, locally-grown blooms throughout the season.
Errors will occur (they always do), yet that’s how self-assurance develops, parallel to your seedlings. Appreciate the minor triumphs, learn from what fails, and remember to savor the journey. There’s nothing quite like harvesting flowers you nurtured from seed and bringing them indoors to admire.
If you found this article beneficial, don’t hesitate to share it with a fellow horticulturist contemplating growing cut flowers from seed this year. And as always, I’d be delighted to hear your inquiries or seed-starting narratives in the comments below.
Until next time,
Happy Gardening!
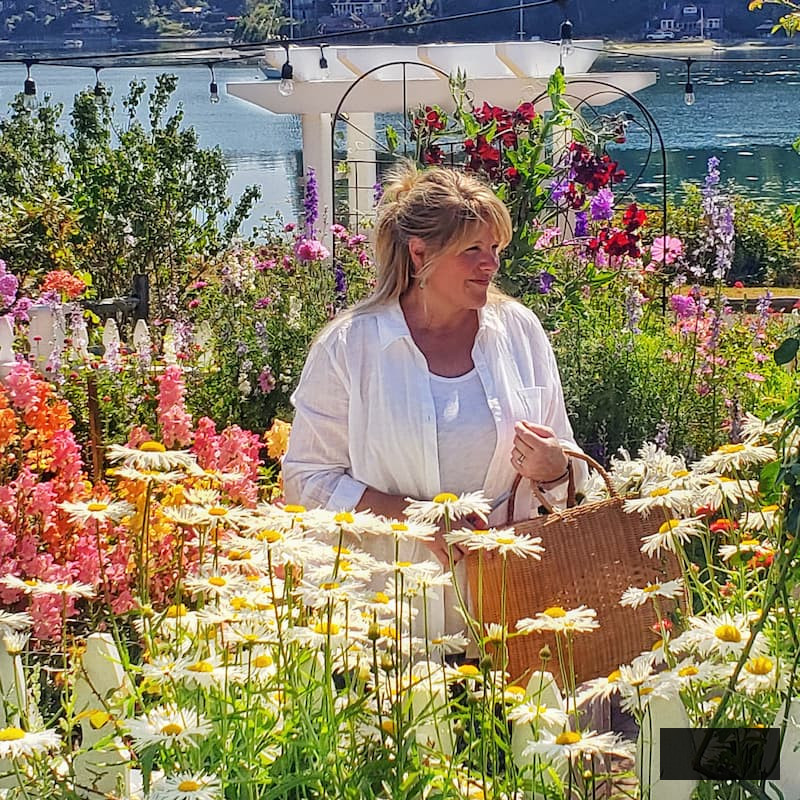
I’m a self-taught hobbyist gardener. Everything I share on my blog reflects my perspective and what has proven effective for me.
MORE POSTS
For You To Enjoy
Follow Me for More Inspiration