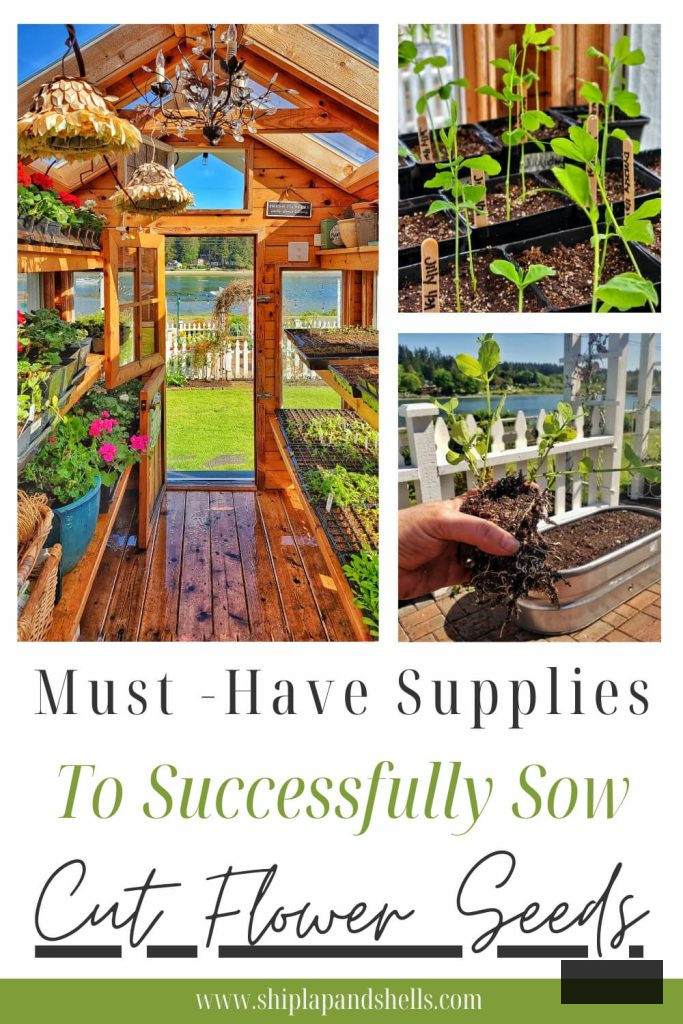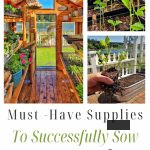
Are you eager to cultivate cut flowers from seed this year, but aren’t completely certain which supplies you genuinely require? Initiating cut flower seeds indoors is one of the optimal ways to achieve a vigorous start to the growing season, and possessing the appropriate tools can simplify the procedure significantly.
Residing in the Pacific Northwest has imparted much knowledge about navigating erratic weather conditions. Chilly springs, persistent frost, and moist climates are precisely why I opt to commence those fragile flower seeds indoors instead of planting them directly in the garden and relying on luck.
The positive aspect is that seed starting doesn’t need to be complex or pricey. With a straightforward arrangement and a few thoughtfully selected supplies, you can cultivate strong, healthy seedlings that will flourish once they are transferred outdoors.
In this article, I’ll outline the seed-starting supplies I utilize every season to initiate cut flower seeds indoors, highlighting what is crucial, what is optional, and what truly enhances the growth of healthy, exuberant seedlings.
As an Amazon affiliate, I receive a commission from qualifying purchases at no extra charge to you. My blog also contains other affiliate links for your convenience.Click here to access my privacy policy.
What is Seed Starting (and Why It is Important)
Seed starting is the method of nurturing plants indoors before transferring them into the garden once external conditions are favorable. For cut flowers, this early initiation significantly influences plant health, flowering timing, and overall effectiveness.
By commencing seeds indoors, you gain control over the environment during the most critical growth phase. Consistent moisture, stable temperatures, and dependable light contribute to more uniform seed germination and the establishment of robust root systems before confronting the adversities of the outdoors.
It’s particularly beneficial for cut flowers that require a prolonged growing season or gain from an early head start. Additionally, it enables you to cultivate a broader assortment of flowers, including specialized and heirloom varieties that aren’t always obtainable as nursery seedlings, all while maintaining budgetary constraints.
Where to Initiate Seeds Indoors
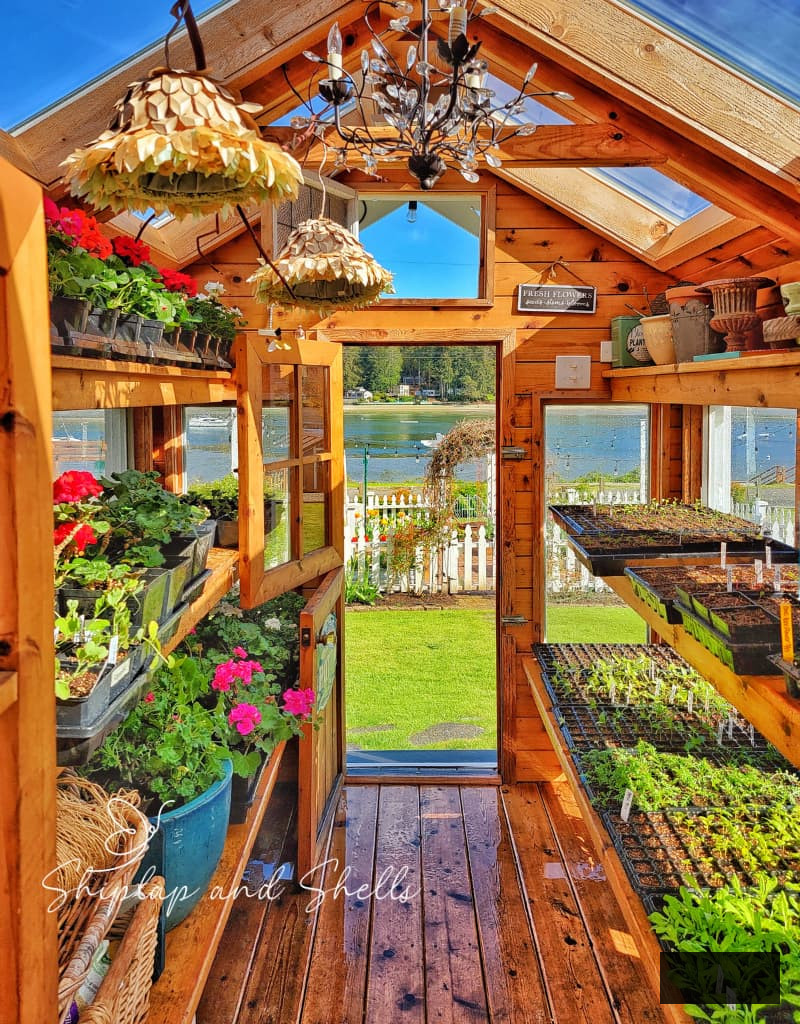
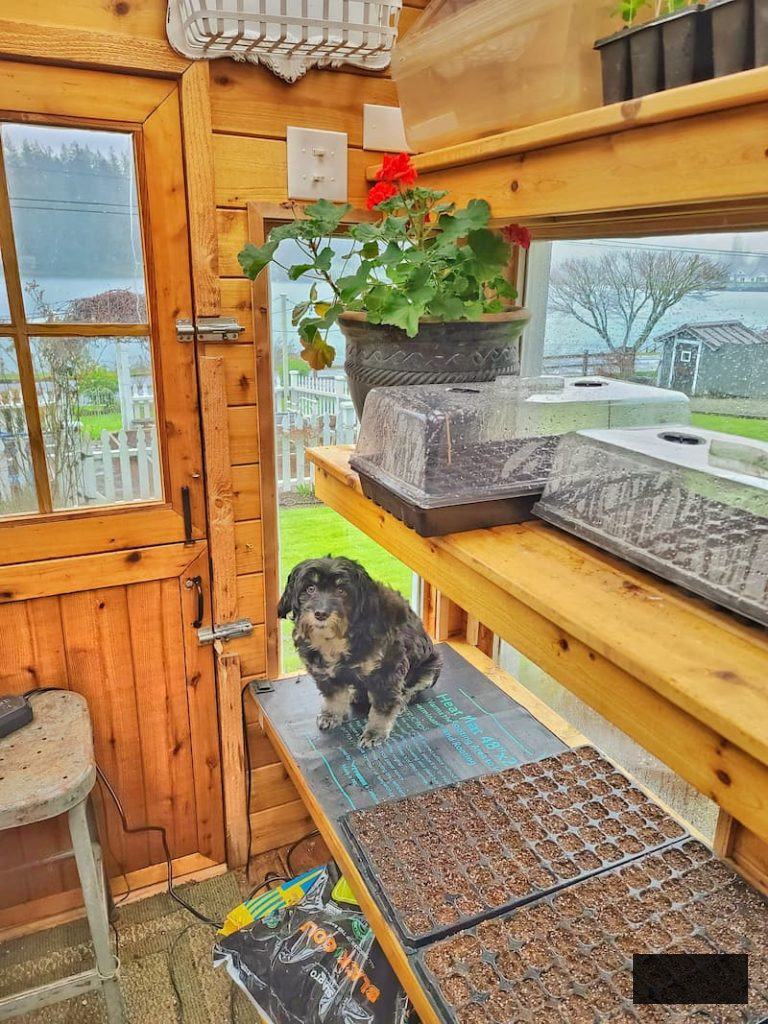
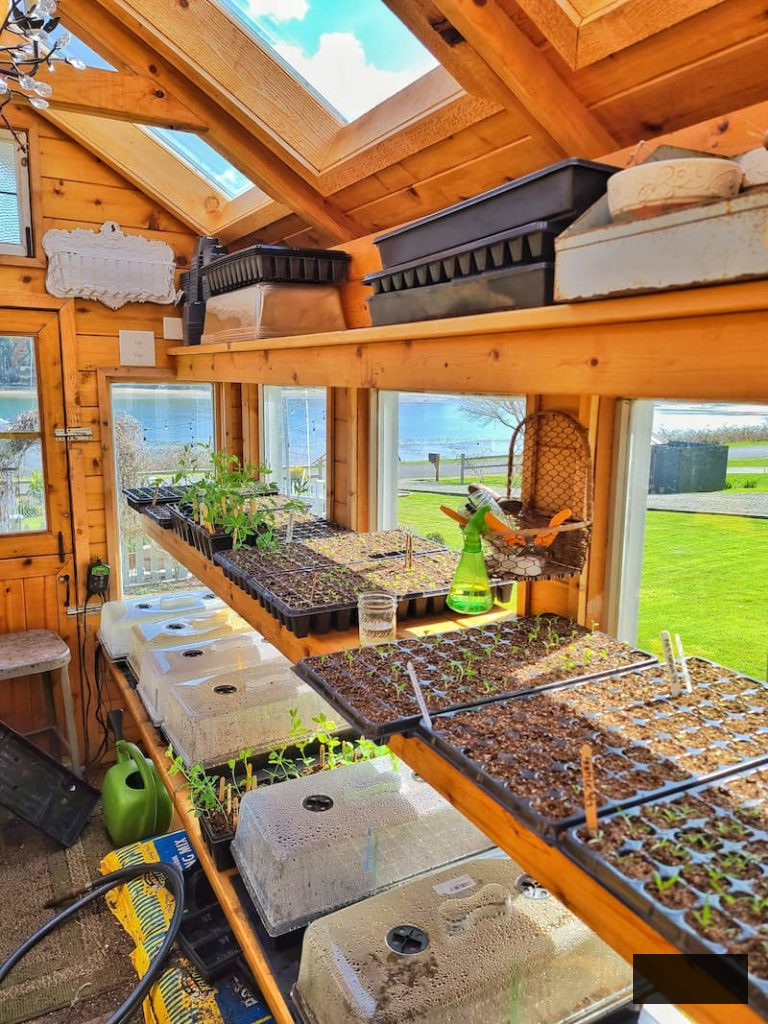
I initiate most of my seeds in a heated greenhouse, but that doesn’t imply you require one to achieve success. Seed starting can occur in various locations, and the optimal spot is simply the one that aligns with your home, your schedule, and your peace of mind.
The essential aspects to seek are warmth, consistent light, and a location where you can conveniently monitor your seedlings on a daily basis. Seeds don’t require anything elaborate, but they do enjoy a bit of care.
Many gardeners commence seeds on a sunny windowsill, an extra table, or a shelving unit equipped with grow lights. If natural light is scarce (or unpredictable… hello, Pacific Northwest winters), grow lights can be transformative and eliminate much of the uncertainty from the process.
Basements, garages, and laundry rooms can also serve well as long as temperatures remain above approximately 65°F and there’s space for trays, lights, and airflow. I always suggest selecting a spot that’s inaccessible to pets and away from chilly drafts. Seedlings are more resilient than they seem, but they still require a tranquil environment.
14 Best Seed Starting Supplies for Flower Gardeners
If this marks your initial year starting cut flower seeds indoors, encountering an extensive supply list can seem a bit daunting. I assure you, it’s not as complicated as it appears.
Throughout the years, I’ve experimented with numerous seed-starting tools in both my greenhouse and indoor environments, and I’ve discovered that you don’t need everything to be triumphant. A few key supplies will set you in motion, and the rest can be incorporated as your confidence (and seed inventory) expands.
Below is a compilation of the seed-starting supplies I utilize each season to cultivate healthy cut flower seedlings indoors. I’ll indicate what is crucial, what is useful (but optional), and where you can economize by keeping things straightforward.
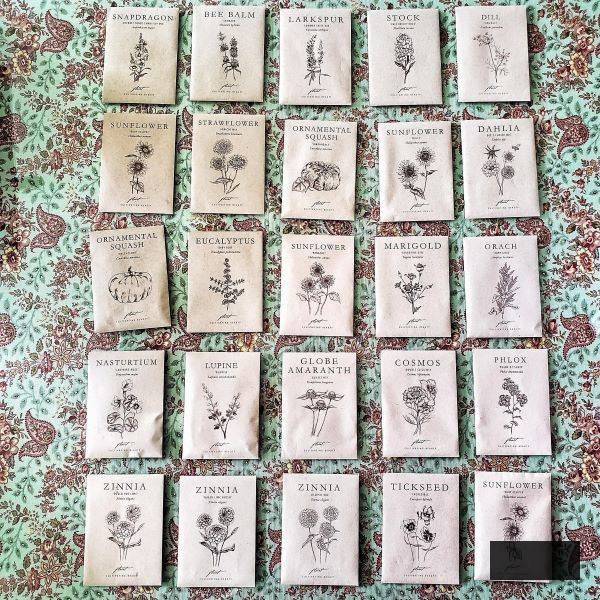
1. Quality Seeds
Commencing with superior seeds creates a significant impact when cultivating cut flowers from seeds. Vibrant, dependable seeds are more inclined to germinate effectively, develop uniformly, and yield robust plants that endure in the garden as well as in the vase.
Over the years, I’ve realized that investing in premium seeds alleviates a lot of later hassle. High-quality seeds generally translate to:
Previously, I sourced most of my seeds from Floret Flowers, and although they currently provide a limited selection of their Florest Originals (such as zinnias and celosia), these varieties remain stunning.
Nowadays, I relish exploring seeds from multiple suppliers, including Botanical Interests, Johnny’s Selected Seeds, Renee’s Garden, and Eden Brothers.
Testing seeds from diverse vendors has become an enjoyable aspect for me; each growing season resembles a mini-experiment to determine which performs optimally in my garden. If you are just beginning, it’s advisable to stick with one or two trusted seed brands and expand as you build confidence.
YOU MAY REQUIRE THESE
Seed Starting Essentials
Explore my preferred tools and supplies for initiating seeds indoors. Whether you’re in search of grow lights or a seed starting mix, you’ll discover what I utilize in my greenhouse.
2. Seed Starting Mix
When initiating cut flower seeds indoors, the soil is one area where I do not skimp. A quality seed-starting mix is genuinely worthwhile, and once you witness the improvement, you’ll realize the rationale.
Seed-starting mix is specifically formulated for fragile seeds and tender seedlings. It possesses a finer consistency than ordinary potting soil, facilitating the growth of delicate roots, drains effectively preventing seeds from remaining in overly wet conditions, and retains moisture uniformly, ensuring the soil does not dry out too rapidly.
Employing regular potting soil ranks among the most frequent errors novice gardeners commit when starting cut flowers from seed. It is often excessively dense and may contain bark, fertilizers, or additives that are too overwhelming for tender seedlings to manage.
When selecting a seed-starting mix, seek one that is:
I always commence with a top-notch seed-starting mix and dampen it prior to filling containers. That simple action alone simplifies seed sowing and aids in promoting more uniform germination.
3. Vermiculite
Vermiculite is a naturally occurring mineral frequently utilized in seed initiation to assist in moisture retention and enhance germination. When subjected to heat during processing, it expands into lightweight, porous flakes that are gentle on budding seedlings.
I prefer to apply vermiculite in two straightforward manners:
A thin layer of vermiculite assists in maintaining an evenly moist soil surface without causing water accumulation. It also permits light to penetrate to seeds that require it for germination, facilitating the emergence of tiny seedlings as they break through the surface.
Vermiculite may also aid in minimizing fungal growth by preventing the soil from forming a crust. However, it serves as a beneficial addition rather than a necessity.
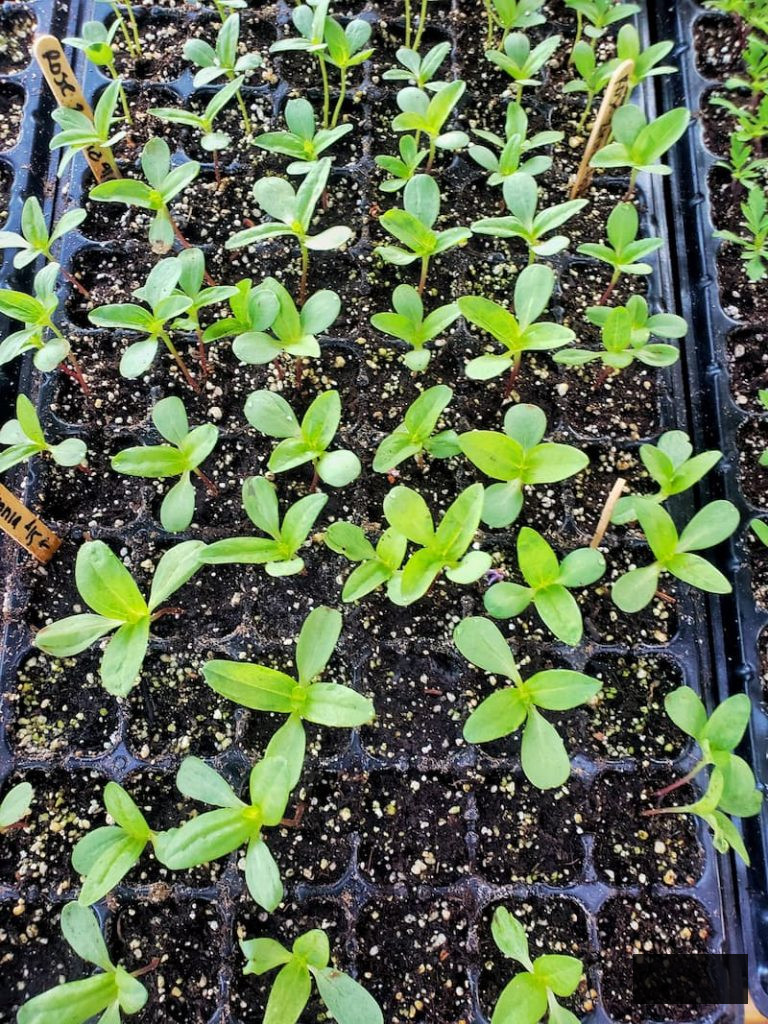
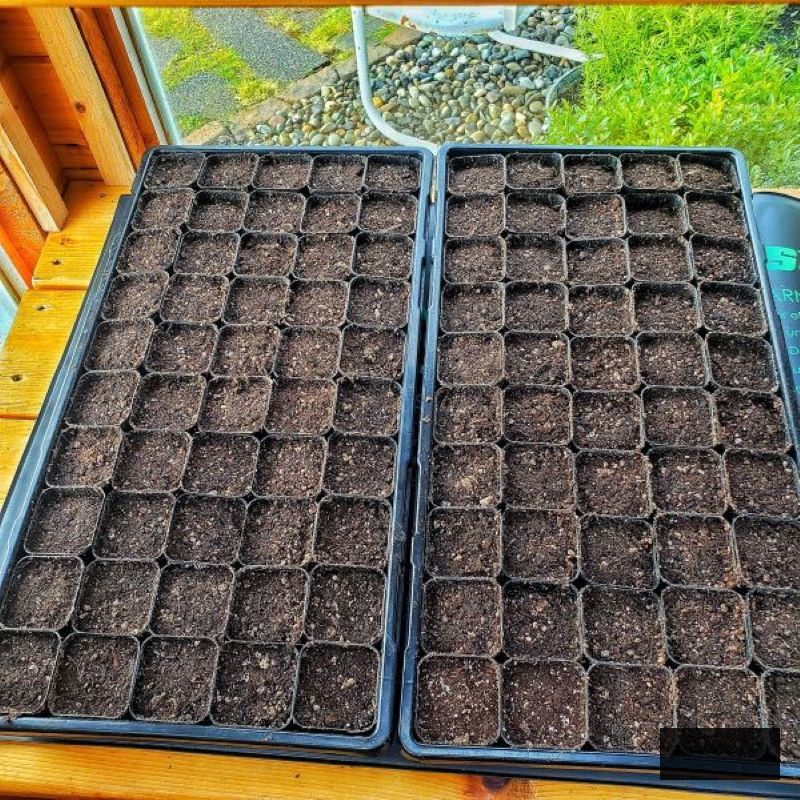
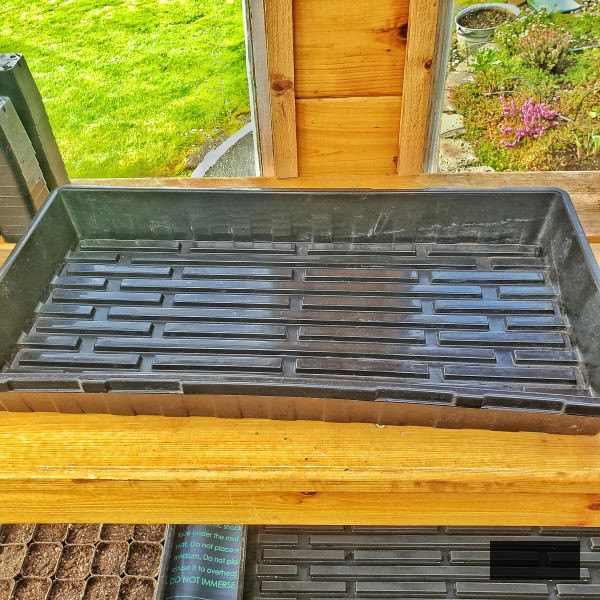
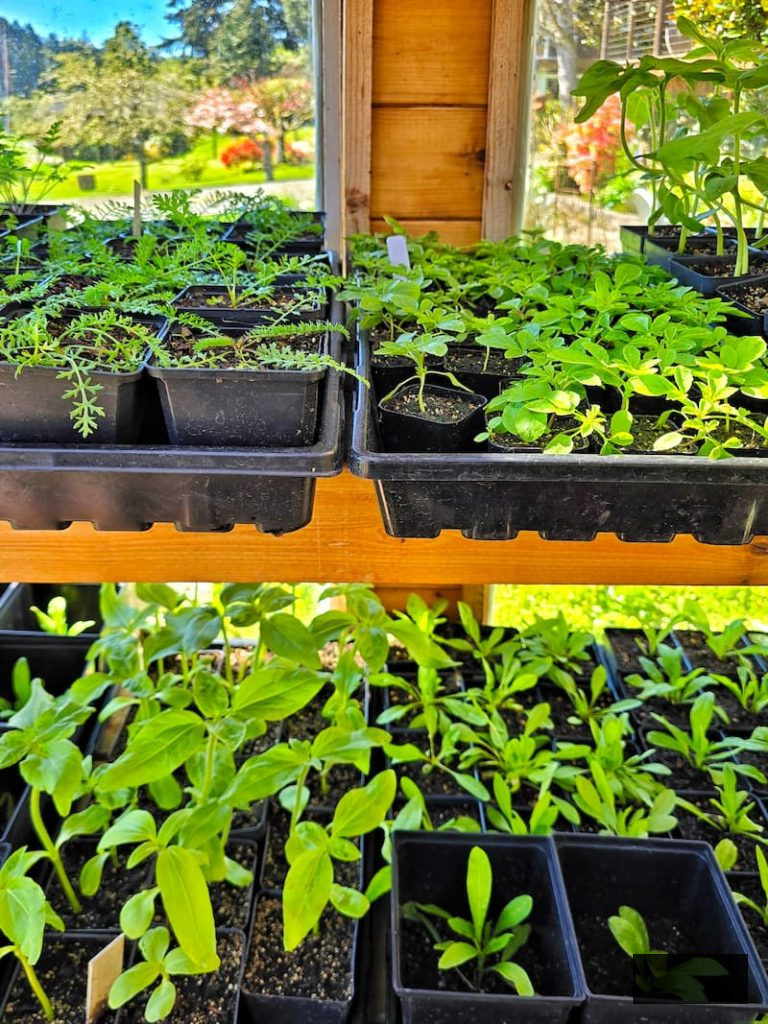
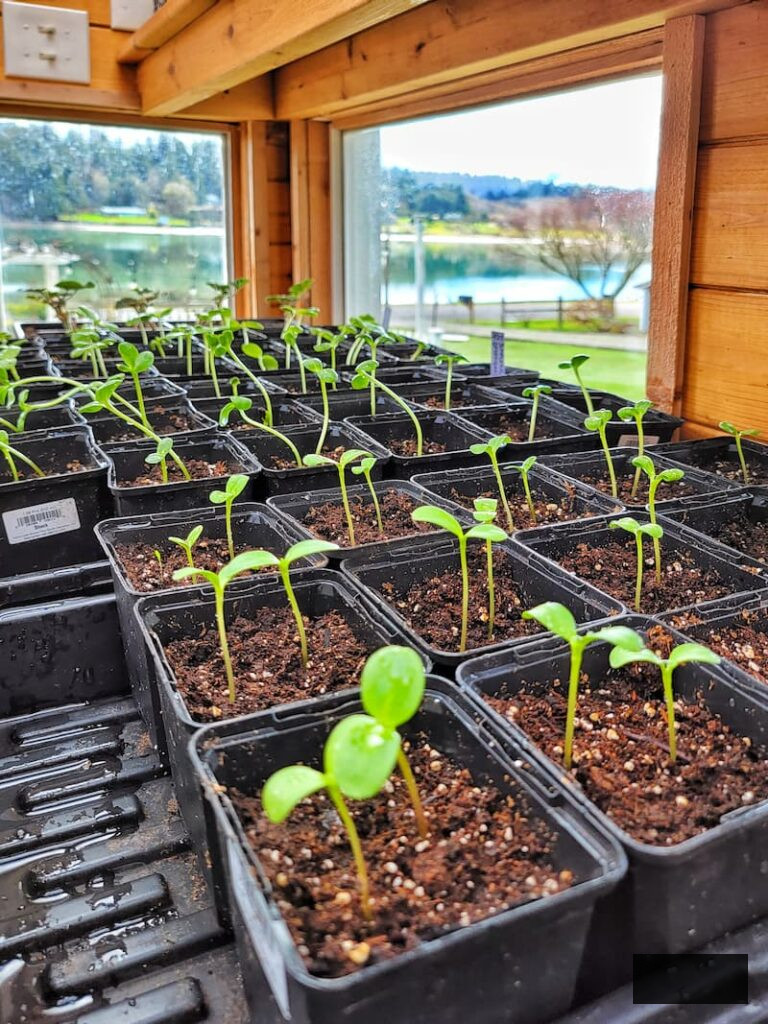
4. Seed Starting Containers
Selecting the appropriate container is among the most crucial aspects of initiating cut flower seeds indoors, but it does not have to be intricate or costly.
Any vessel capable of holding soil and possessing drainage holes can suffice. Seedlings require space for root development and a method for excess water to escape, preventing them from sitting in saturated soil.
What You Can Use as Seed-Starting Containers
There are numerous alternatives, and you might already possess some of these at home:
You need not purchase everything new. Repurposing containers is an excellent approach to conserve funds, particularly when you’re just embarking.
What I Use Most Often
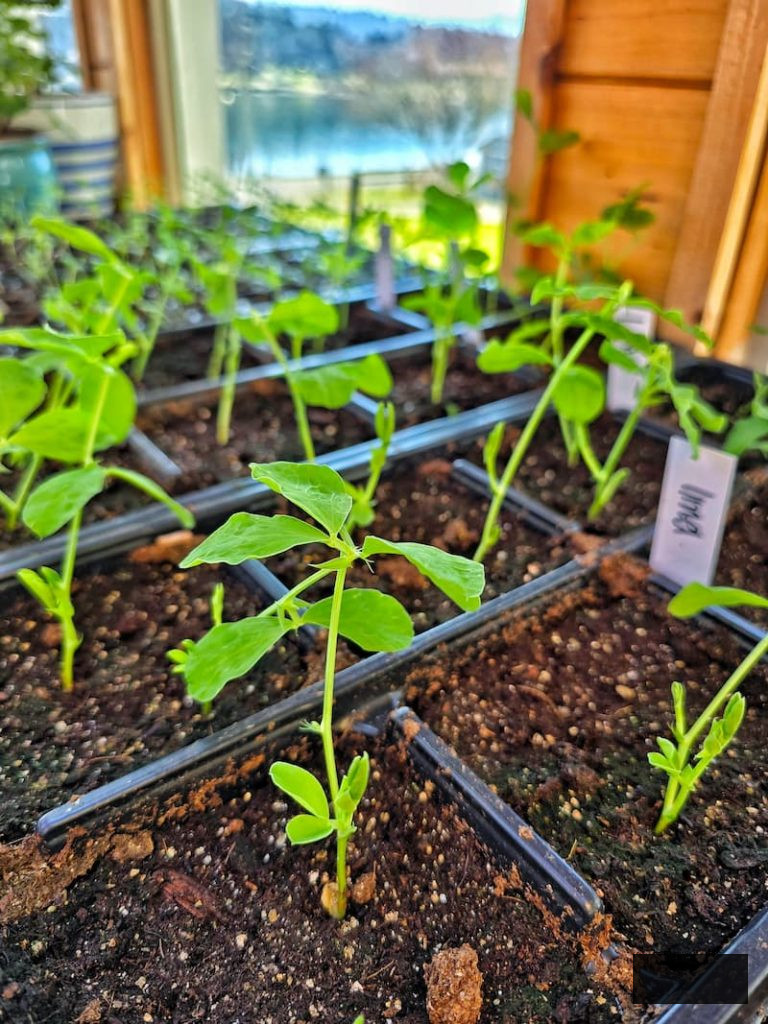
For the majority of my cut flower seeds, I achieve the best outcomes with 72-cell trays. They provide seedlings with ample space to grow without necessitating repotting before it’s time to transfer them to the garden, which saves considerable time later.
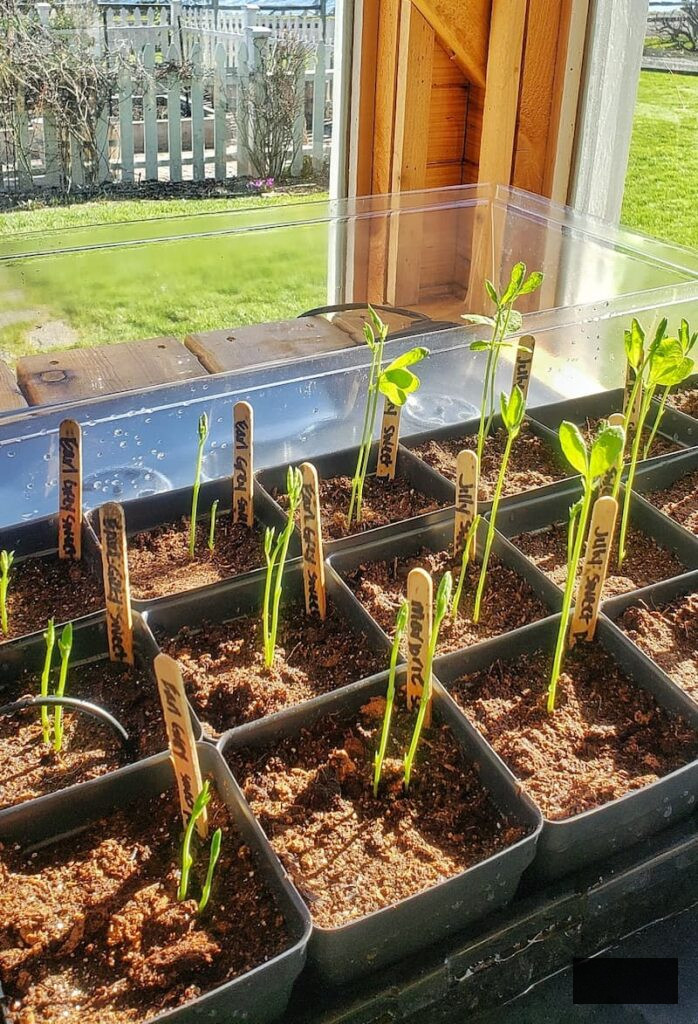
For larger seeds or rapidly growing plants, such as sweet peas, pumpkins, or climbing flowers, I switch to 4-inch pots or deeper containers.
Sweet peas particularly appreciate additional root space. Root trainers are effective, but I’ve also experienced success using rolled-up newspaper tubes. This exemplifies how seed starting need not be elaborate to be productive.
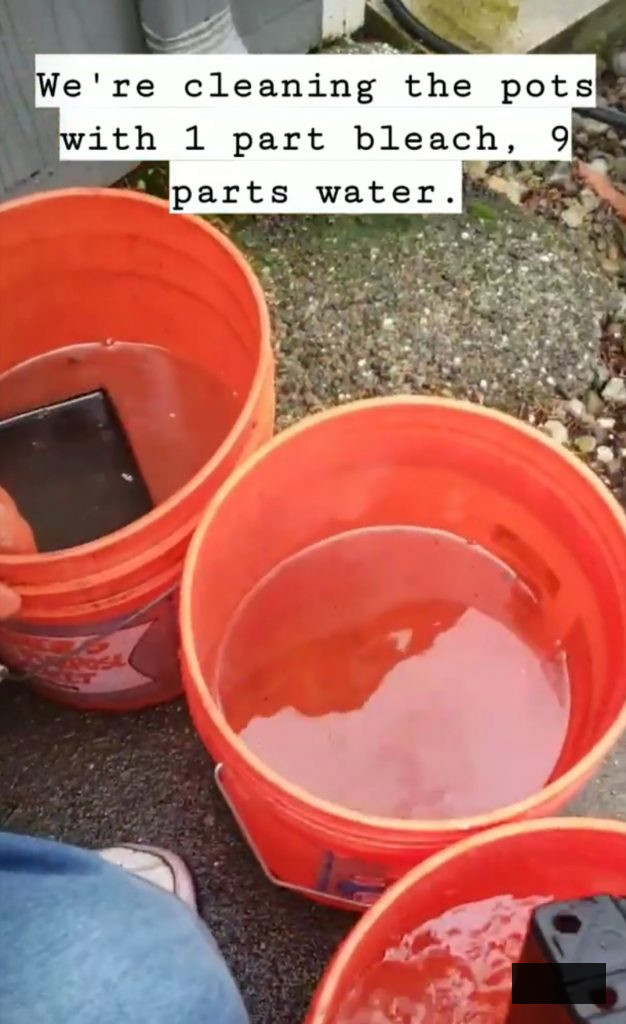
Clean Reused Containers
If you are reusing pots or trays, it’s essential to clean them beforehand. I clean mine with a straightforward mixture of one part bleach to nine parts water to aid in removing any persistent diseases or pathogens from prior seasons.
5. Drainage Trays
Drainage trays are among those behind-the-scenes tools that simplify seed starting considerably, especially when you begin employing bottom watering.
These trays are positioned beneath your seed-starting vessels and catch surplus water, enabling seedlings to absorb moisture through the drainage openings rather than being watered from the top. Bottom watering helps avert seeds from being dislodged and promotes robust root development.
When I initially plant seeds, I fill the bottom tray with water and let the containers soak moisture as necessary. Once the soil surface is uniformly moist, I discard any excess water so seedlings are not left sitting in damp conditions. I persist with bottom watering until the plants establish their first true leaves.
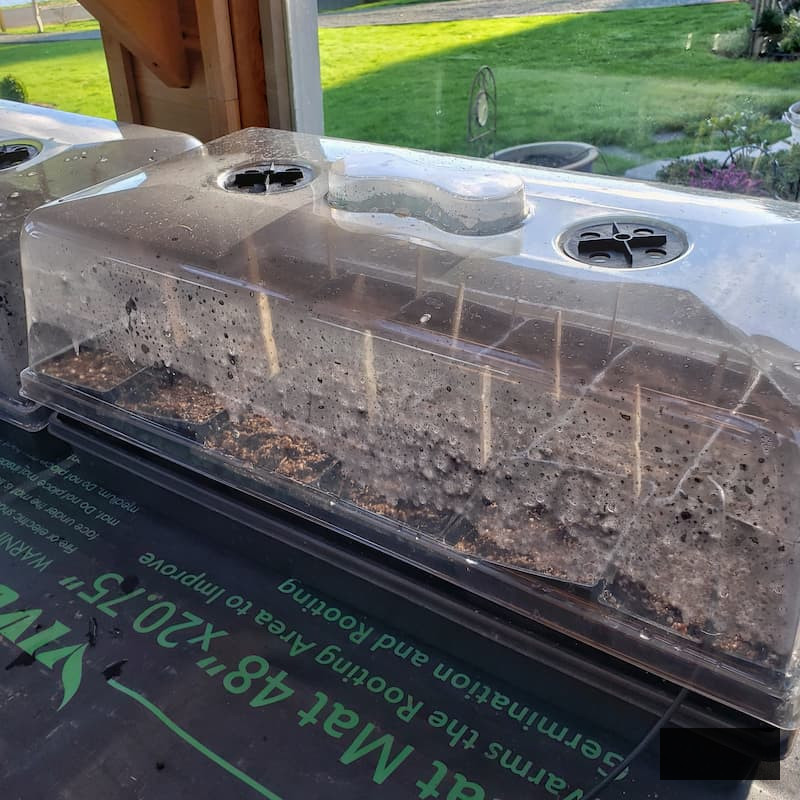
6. Humidity Domes
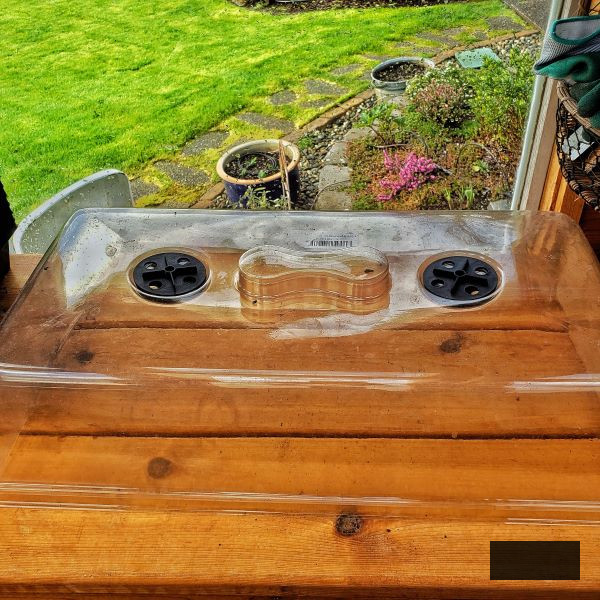
Moisture domes assist in producing a warm, humid environment that promotes seeds to sprout more swiftly and uniformly. They rest over seed trays or vessels, retaining moisture during the initial phases of seed cultivation.
I prefer utilizing transparent plastic or acrylic domes as it allows me to easily monitor the developments below. They’re particularly beneficial in arid indoor settings or when germinating seeds that favor steady moisture during sprouting.
Bear in mind that once the seeds start to germinate, it’s crucial to take off the dome to prevent seedlings from remaining overly damp or becoming weak due to excessive humidity.
I tend to view moisture domes as temporary aids that are valuable during the germination process, but once the seedlings have emerged and are growing, they have fulfilled their purpose.
7. Heating Mats
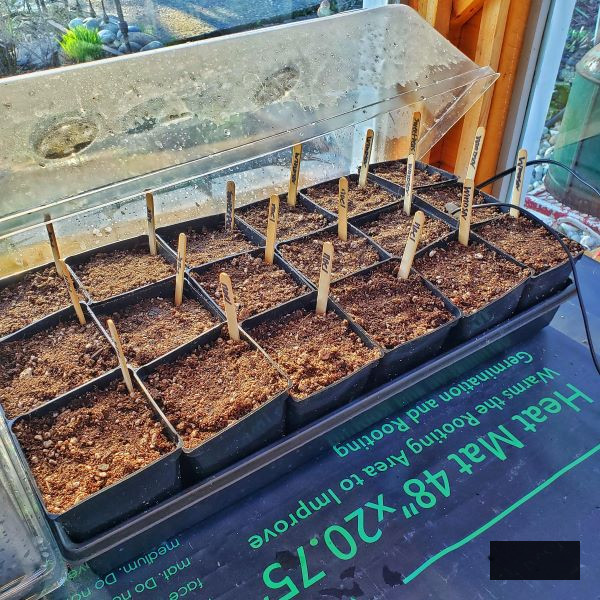
Warm mats deliver gentle bottom heat that can greatly enhance germination, particularly for seeds that require warmer soil temperatures. They’re especially useful if you’re germinating seeds in a cool space, cellar, or greenhouse at the onset of the season.
The purpose of a heat mat isn’t to warm the air; rather, it’s to heat the soil. That consistent bottom heat assists seeds in germinating faster and more uniformly, which can create a significant difference with warm-season blooms.
I utilize heat mats equipped with thermostats for better temperature regulation, but you don’t require anything elaborate to begin. If necessary, positioning seed trays atop a refrigerator or near a radiator can provide comparable warmth.
Duration for Using a Heat Mat
Heat mats are only essential until the seeds germinate. For the majority of flowers, this duration ranges from several days to a couple of weeks, depending on the type.
Once you observe seedlings rise, take them off the heat mat. Persistent warmth after germination can prompt seedlings to grow too quickly, making them leggy or frail.
Seeds That Don’t Require Heat Mats
Not all seeds benefit from added warmth. Cool-season flowers like sweet peas, poppies, and larkspur generally thrive in cooler settings and often germinate adequately without extra heat.
A quick glance at the seed packet will typically indicate whether bottom heat is advantageous. When uncertain, I prefer to keep things straightforward. Most cut flowers don’t require continuous warmth once they’ve sprouted.
LET’S GO SHOPPING FOR
Garden Supplies and Tools
Explore my preferred garden supplies and tools for the growth season. Whether you’re in search of potting mix or deer deterrent, you’ll discover what I utilize in my own garden.
8. Grow Lights
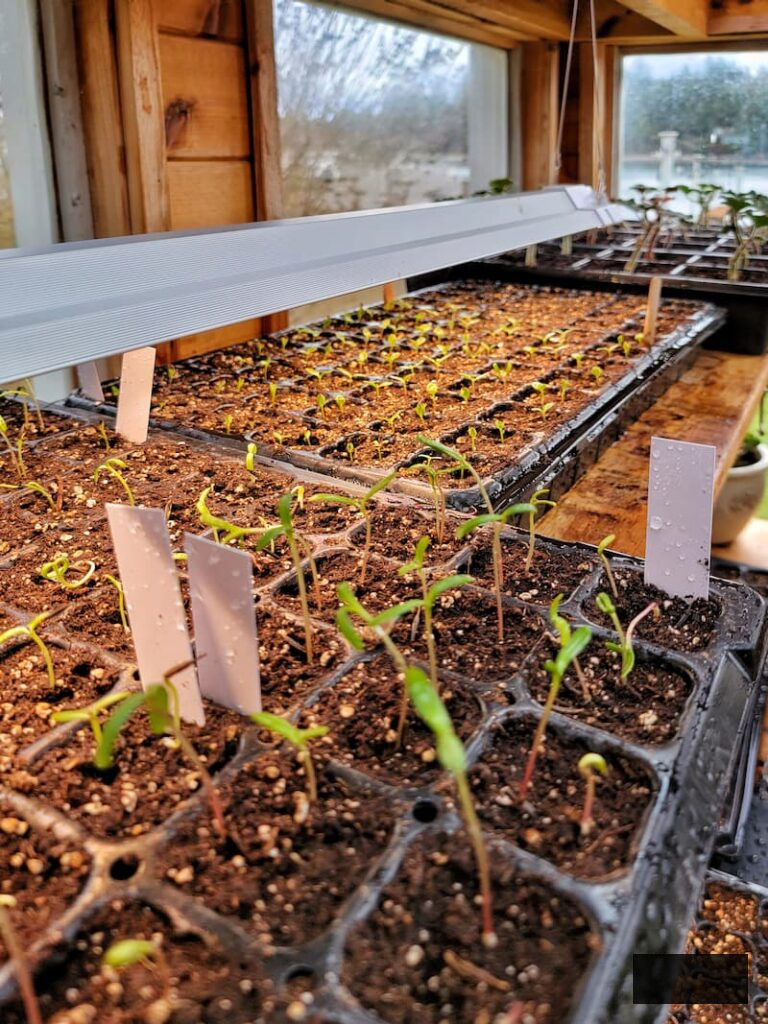
Once seeds sprout, light becomes one of the most crucial elements in cultivating robust, healthy seedlings. Without sufficient light, young plants will stretch towards the nearest source, becoming tall, slender, and frail.
For most indoor arrangements, grow lights are the most convenient method to provide consistent, dependable light, especially if you lack a bright, south-facing window. I began using grow lights in my greenhouse last year, and while my flowers thrived with natural light, the additional grow lights enhanced my seedlings’ growth even further.
Seedlings generally necessitate 12 to 16 hours of light each day. This resembles the natural daylight they would receive outside and aids in maintaining steady, balanced growth.
When employing grow lights, keep them situated close to the seedlings, about 2-3 inches above their tops, and elevate them as the seedlings develop. Lights positioned too distantly are one of the most frequent causes of leggy seedlings.
You don’t need anything intricate. Basic shop-style LED grow lights function well, and utilizing a timer can eliminate the uncertainty of turning lights on and off each day.
Utilize a power strip if you’re operating multiple grow lights and heat mats.
9. Seed Starter Kits
Seed propagation kits can be a practical choice if you’re cultivating a limited quantity of seeds or simply prefer a straightforward, all-inclusive arrangement. Typically, these sets comprise a seed-starting tray, a drainage container, a humidity cover, and occasionally a grow light.
If you’re a novice to seed propagation and feeling uncertain about what to purchase, a propagation kit can eliminate the uncertainty from the endeavor. All components fit seamlessly together, allowing you to begin immediately without gathering materials individually.
However, if you’re embarking on a larger cut flower plot or planting numerous trays like I do, acquiring items separately may prove more advantageous. You’ll enjoy greater flexibility regarding container dimensions and arrangements, and it may be more economical in the long run.
SHOP FOR: Seed Propagation Kits Available
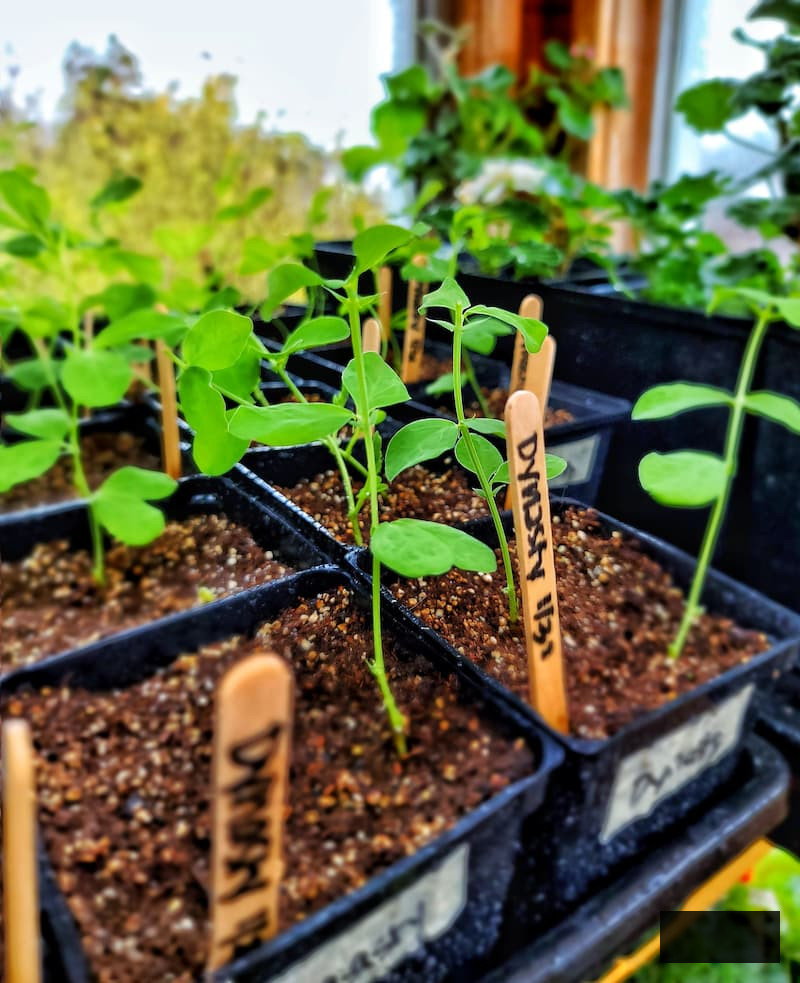
10. Plant Labels or Tags
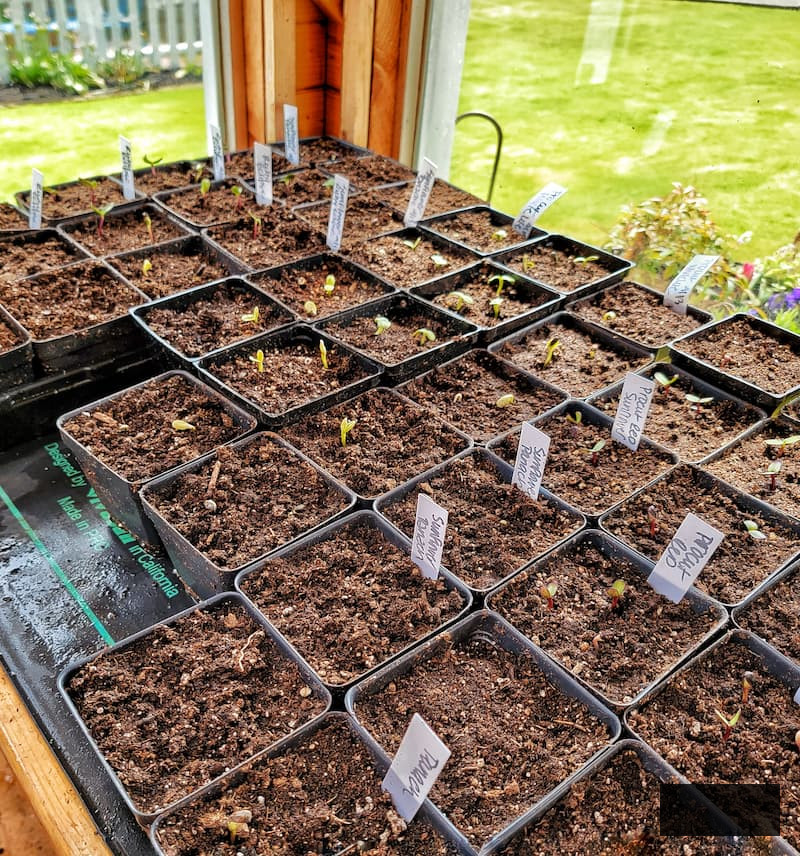
Plant labels are among those seed-propagation items that appear non-essential until you forgo them once and immediately regret it.
As soon as you plant your seeds, mark each tray or container with the plant variety and the planting date. I utilize straightforward plant markers and a permanent pen, but anything that remains intact will suffice.
Seedlings initially appear remarkably similar, and it doesn’t take long to lose track of what’s what, particularly if you’re planting multiple trays simultaneously. Ask me how I know.
Taking a moment to label everything promptly prevents a great deal of confusion later, especially when it comes time to relocate seedlings into the garden or monitor how long specific varieties require to sprout.
11. Table or Shelves
When initiating seeds indoors, the extent of space you require relies on the number of seeds you’re cultivating and your arrangement. The positive aspect is that seed propagation doesn’t necessitate a dedicated area or permanent arrangement; you can adapt it to what you already possess.
Tables
A robust table is ideal for small to medium seed-propagation setups. Dining tables, folding tables, or work surfaces can all serve this purpose. I advise protecting the surface with a waterproof tray, plastic table cover, or an old shower curtain to catch spills and excess moisture.
Tables are straightforward to access, making daily monitoring, watering, and light adjustments significantly easier—something you’ll value once the seed-propagation season is in full swing.
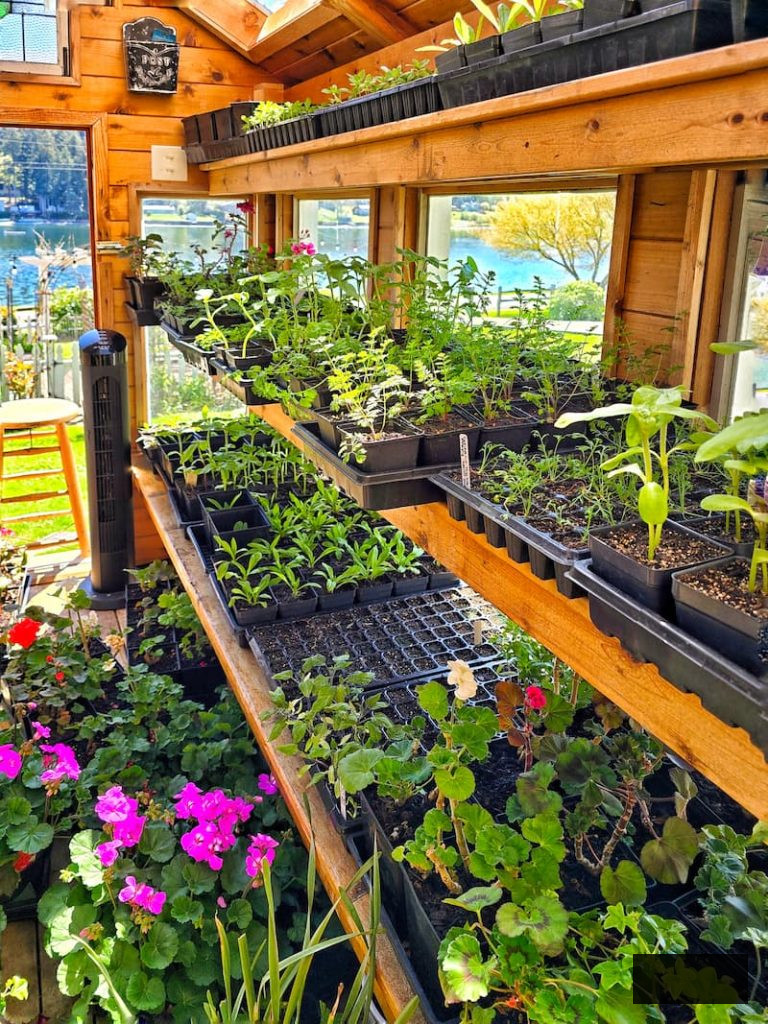
Shelves
Shelving units are excellent for optimizing vertical space, particularly if you’re starting numerous trays. Multi-tiered shelves enable you to stack trays and utilize grow lights on each level, ensuring all seedlings receive uniform lighting.
Wire racks are lightweight, economical, and promote good air circulation around the trays. Adjustable shelves facilitate raising lights as seedlings develop.
Other Options That Work Well
12. Temperature-Regulated Heater and Fan
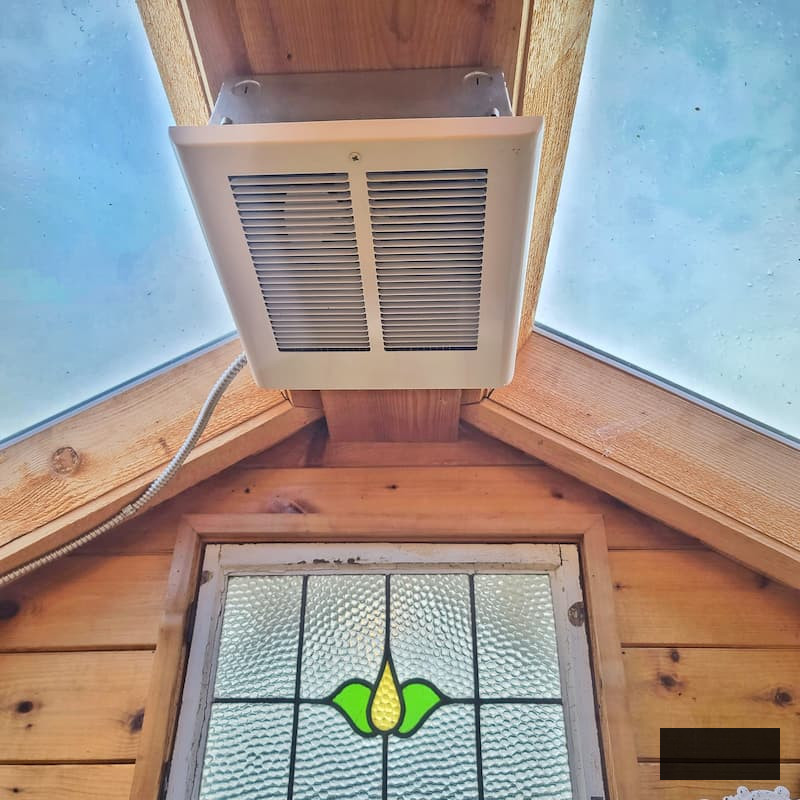
Heater
A temperature-regulated heater is incredibly beneficial if you’re sowing seeds in a greenhouse or an unheated area during the chillier seasons. Stable temperatures assist seeds in germinating more dependably and prevent young seedlings from experiencing stress due to cold evenings or abrupt temperature shifts.
I maintain our greenhouse at a minimum of 45°F during winter, which enables me to begin seed sowing early and protect delicate plants like geraniums during the winter. You don’t require tropical circumstances, merely consistent, secure warmth so seedlings can develop at their own speed.
Variable temperatures can hinder germination or lead to uneven development, thus possessing an automatic heater that activates and deactivates makes seed sowing significantly less daunting.
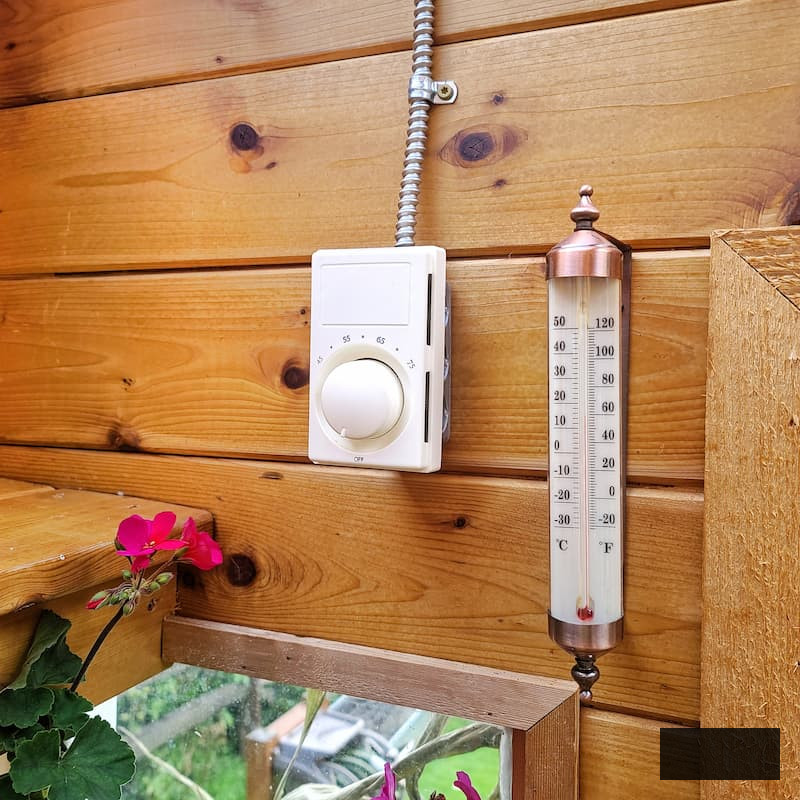
Fan
A fan may not appear critical initially, but it holds a significant part in fostering a healthy, growth-promoting environment. Soft air circulation aids in preventing excessive moisture build-up on seedlings, thereby lowering the risk of fungal infections.
Operating a fan also fortifies young plants. The light movement simulates outdoor conditions and promotes stronger stems instead of weak, sprawled growth.
Even a small, low-velocity fan directed away from the seedlings can create a marked improvement. The goal isn’t a gust, it’s airflow.
13. Watering Can or Hose
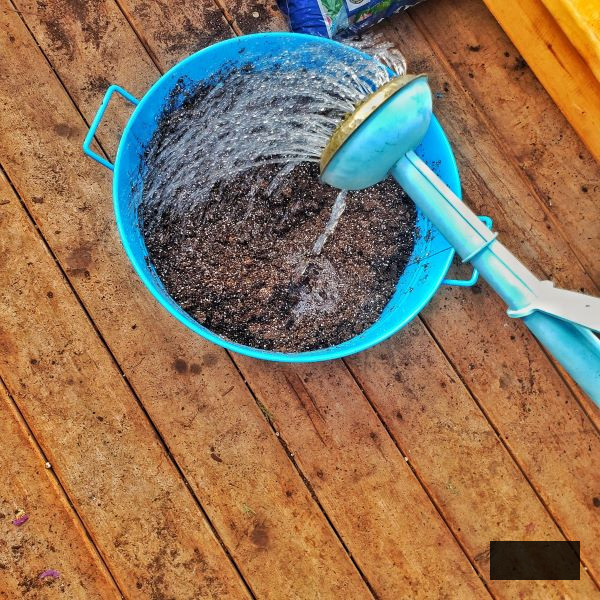
A watering can or hose is essential for maintaining seedlings at an even moisture level throughout the seed-initiating procedure. Until seeds germinate, I prefer bottom watering to prevent displacing tiny seeds.
Once the seedlings are set and possess their initial set of true leaves, gentle overhead watering is acceptable. A watering can with a slender spout allows for superior control and assists in averting overwatering.
If you’re operating in a greenhouse, a hose featuring a soft spray nozzle functions effectively, particularly as plants grow larger. The key is consistency: daily monitoring of moisture levels and watering as necessary, as opposed to adhering to a fixed schedule.
14. Plant Journal/Planner
A plant journal or gardening planner is one of the most invaluable devices you can possess, especially when propagating seeds annually. It serves more than as a place to record thoughts; it evolves into a documentation of successes, failures, and ideas for the upcoming season.
I utilize mine to document seed varieties, planting dates, germination durations, and transplant notes. It’s astonishing how beneficial this becomes the following year when you’re in the greenhouse, attempting to recall which flowers thrived and which ones faced difficulties.
Maintaining a journal also aids you in fine-tuning your timing. Over time, you’ll identify patterns, what germinates swiftly, what favors cooler conditions, and which varieties are worthwhile to cultivate again.
Even a simple notebook suffices. The objective isn’t flawlessness, just regularity. A few notes each season can enhance your seed-starting routine, making it smoother, more fruitful, and significantly less reliant on guesswork.
Let’s Organize Your Ideal Garden With Our
Gardening Planner
Unlock Your Garden’s Potential.
Our 35-page Definitive Garden Planner is crafted to assist you in organizing, tracking, and thriving in your gardening pursuits.
Acquire yours for $4.99
Discover Additional Articles About Seed Starting
Below are some key articles from my ‘Cultivating a Cutting Flower’ series to help you get started:
Final Reflections on Supplies for Seed Starting in a Cutting Flower Garden
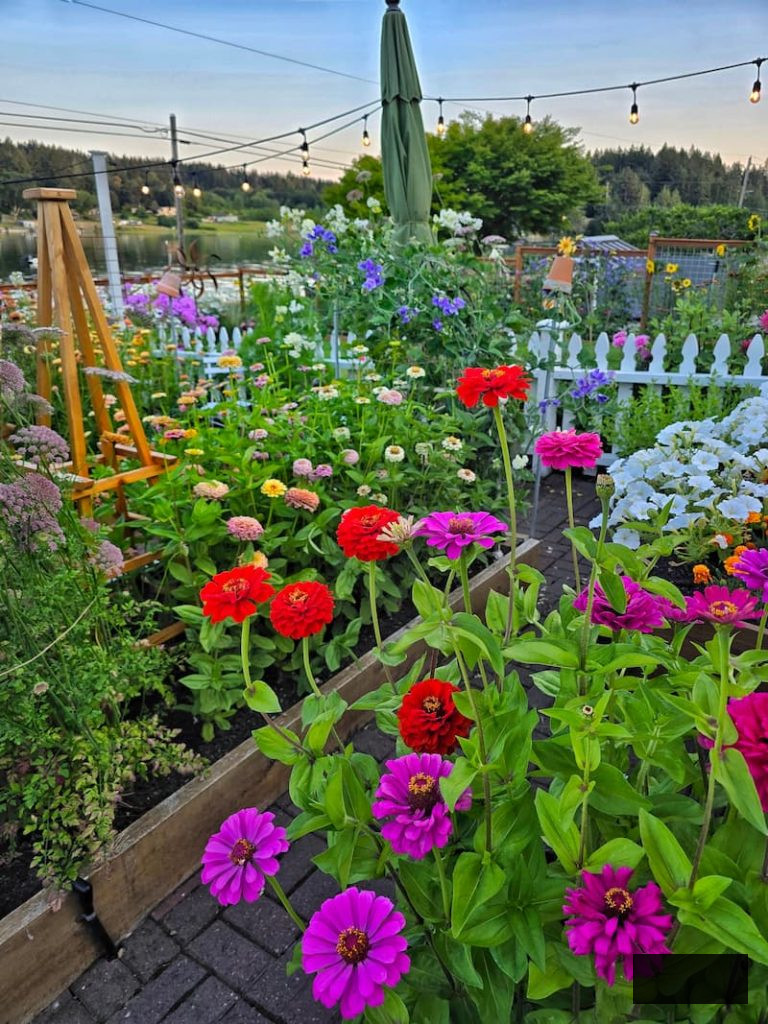
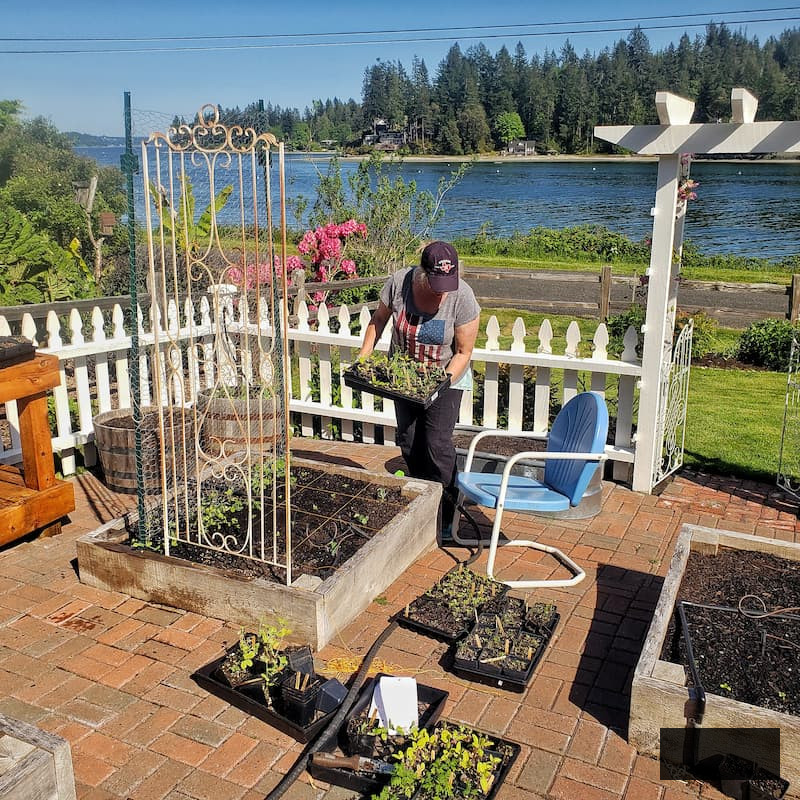
Initiating a cut flower garden from seeds does not necessitate an involved setup or a greenhouse filled with extravagant equipment. With the appropriate supplies and a dash of patience, you can cultivate robust, flourishing seedlings that will present you with bouquets of flowers throughout the season.
Throughout the years, I’ve discovered that effective seed starting is truly about fostering a nurturing environment for tender plants and observing their growth. A few dependable tools, a cozy spot, sufficient light, and daily check-ups can make a significant difference.
You need not feel pressured to purchase everything at once or achieve perfection in your first year. Begin modestly, utilize what you possess, and gradually incorporate supplies as you discern what functions best for your space and gardening approach.
If you found this article useful, be sure to share it with a fellow gardener who imagines seed trays, blooming spring flowers, and that initial tiny sprout breaking through the earth.
Until next time,
Happy Gardening!
I’m a self-educated amateur gardener. Everything I present on my blog reflects my personal views and what has proven effective for me.
ADDITIONAL ARTICLES
For Your Enjoyment
Connect With Me for More Inspiration