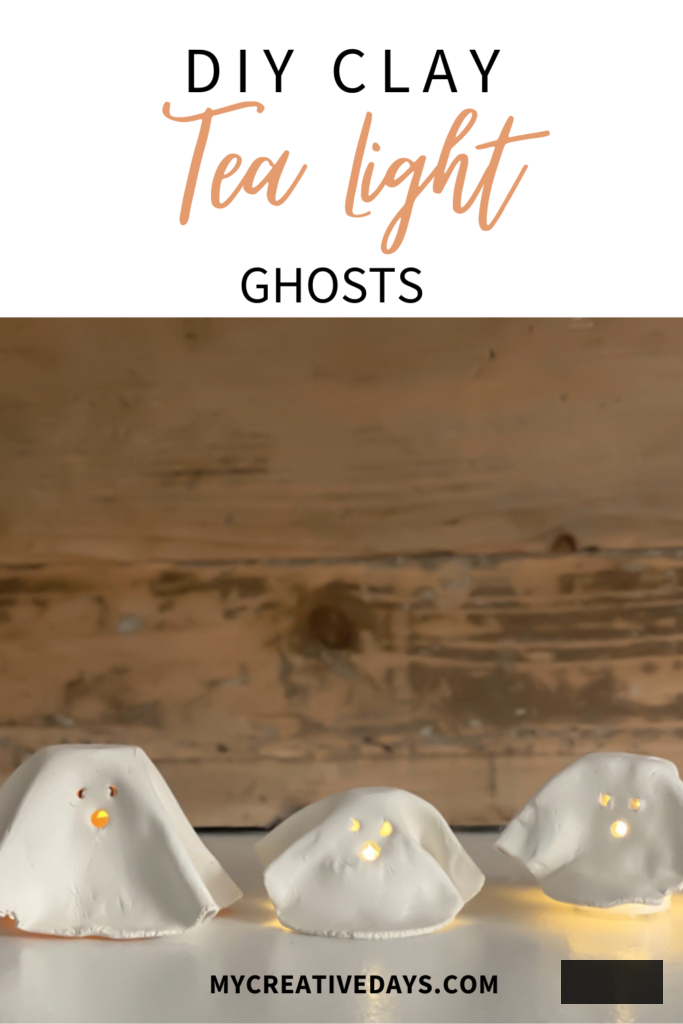
Are you prepared to introduce some charming, spooky flair to your Halloween decorations this year? These DIY clay tealight phantoms are an ideal project! They’re delightful, straightforward to create, and provide a magical glow to any space when illuminated with a battery-operated tealight. Whether you’re an experienced DIY enthusiast or just starting out, these small clay phantoms will quickly turn into your preferred handmade Halloween ornament. Let’s jump into the guide and breathe life into these ghostly cuties!
{Affiliate links appear in thispost. Click any underlined links to discover the products and sources I’m referencing. You can read my disclosureHERE.}
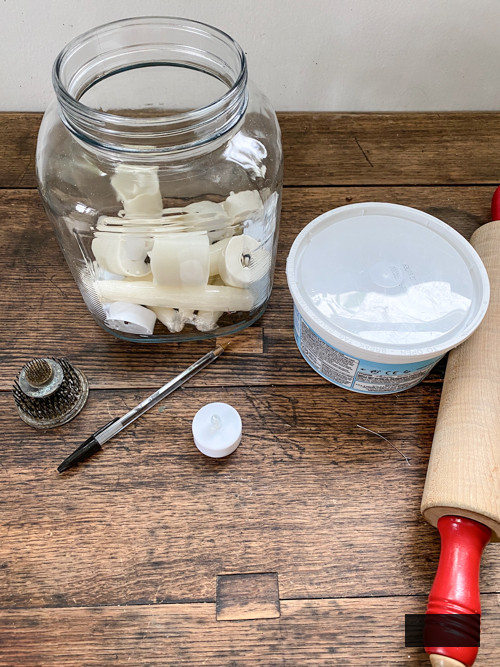
What You Will Require:
Step-by-Step Instructions for Crafting DIY Clay Tea Light Ghosts
Step 1: Prepare Your Workspace
Begin by placing wax paper or a crafting mat on your working area. This will stop the clay from adhering and simplify cleanup.
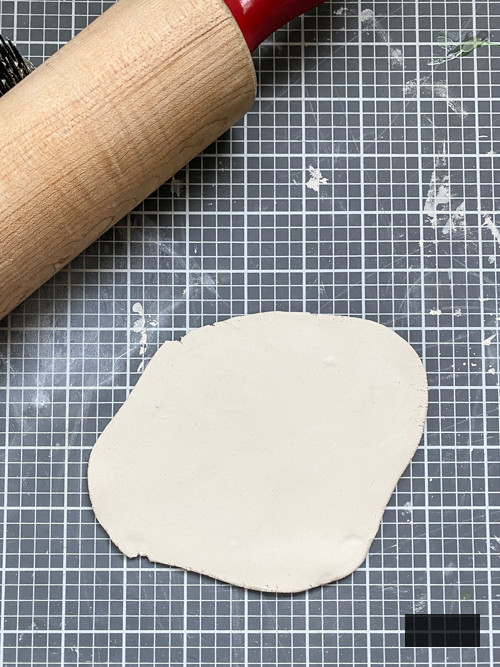
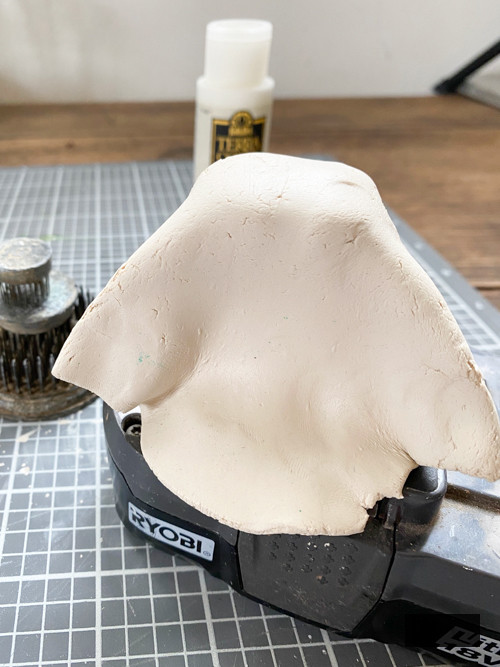
Step 2: Roll Out the Clay
Take a piece of air-dry clay and roll it out until it’s approximately 1/2 inch in thickness. You want it thin enough for easy shaping but sturdy enough to remain upright when dry. If it’s too thin, it will disintegrate into pieces once dry. Trust me, that happened with my first one.
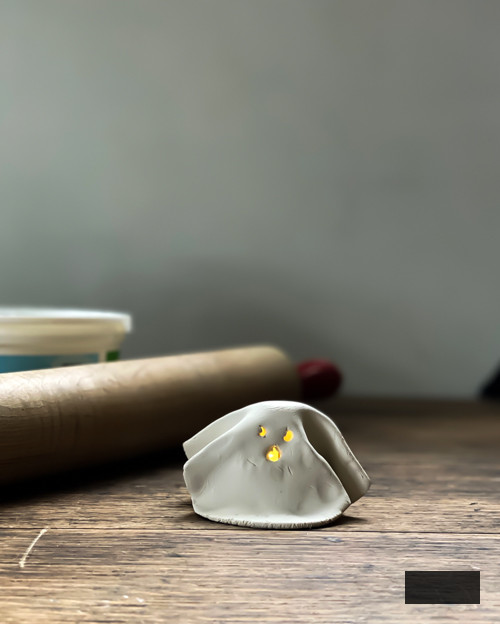
Step 3: Form the Ghosts
Gently drape the clay disc over the top of a small item (I utilized a pile of floral frogs) to create the ghost’s flowing silhouette. The object should be slightly taller and larger than the tealight you are using so it fits nicely beneath your ghost when it dries. When you lay the clay over the object, it should have a gentle drape, similar to fabric! Smooth out any imperfections or rough edges with a touch of water on your fingers if desired. Add the ghost’s folds to your preference at this stage.
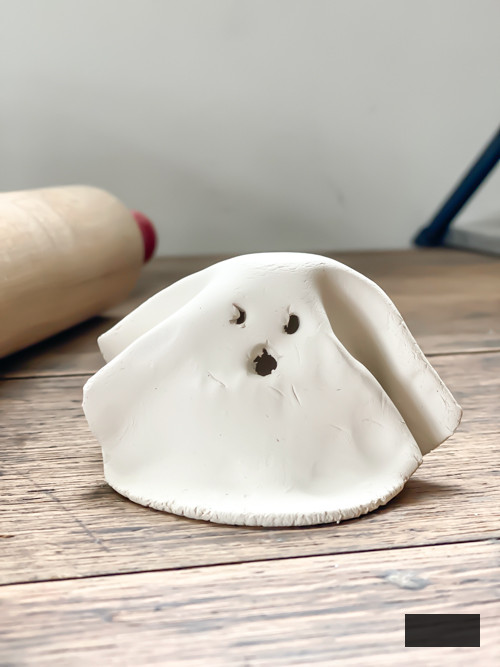
Step 4: Carve the Face
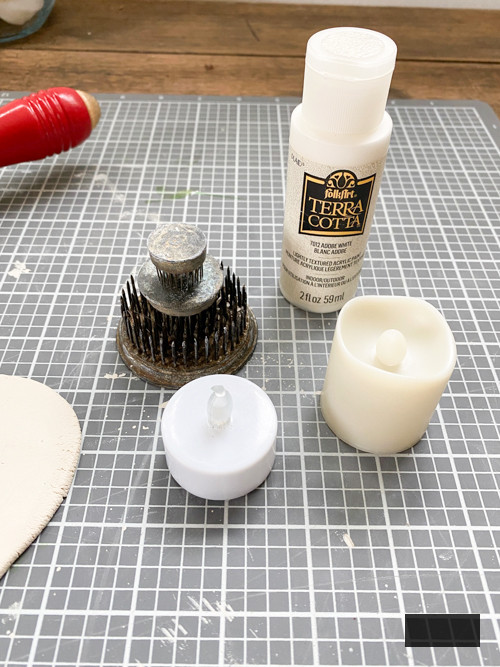
While the clay remains pliable, take your sculpting tools (I used a pen cap) to carve out the ghost’s eyes and mouth. This step is the most enjoyable—you can make your ghost appear adorable, spooky, or silly based on how you shape the facial features!

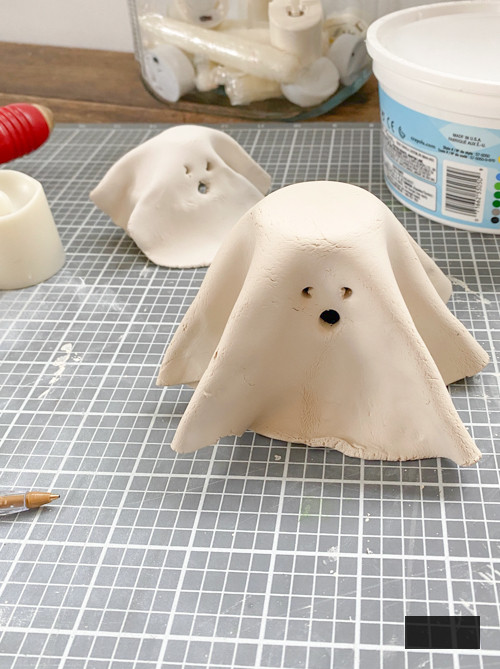
Step 5: Allow to Dry
Once you are satisfied with your ghost’s shape and facial features, let it dry overnight. Air-dry clay solidifies on its own, so be patient. The wait will be worthwhile when you witness the final glowing effect!
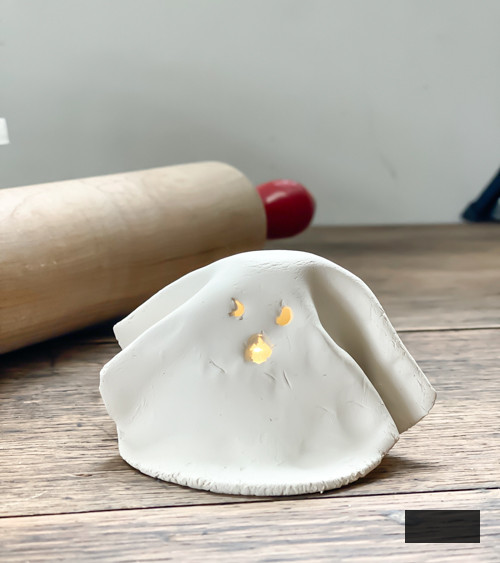
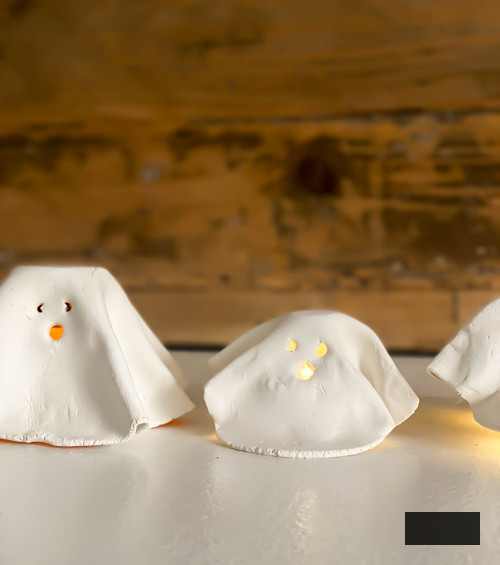
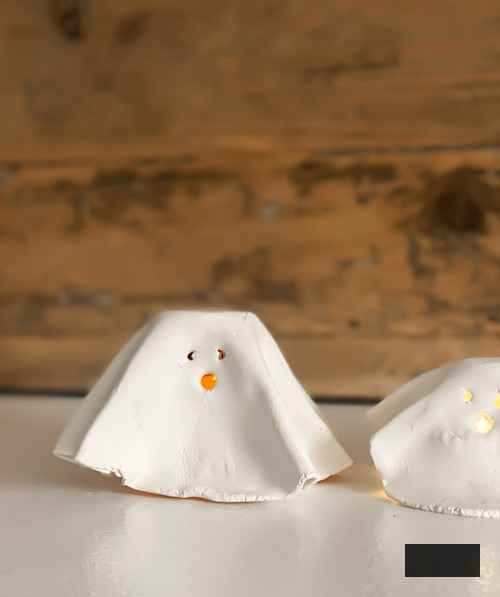
Step 6: Insert the Tea Light
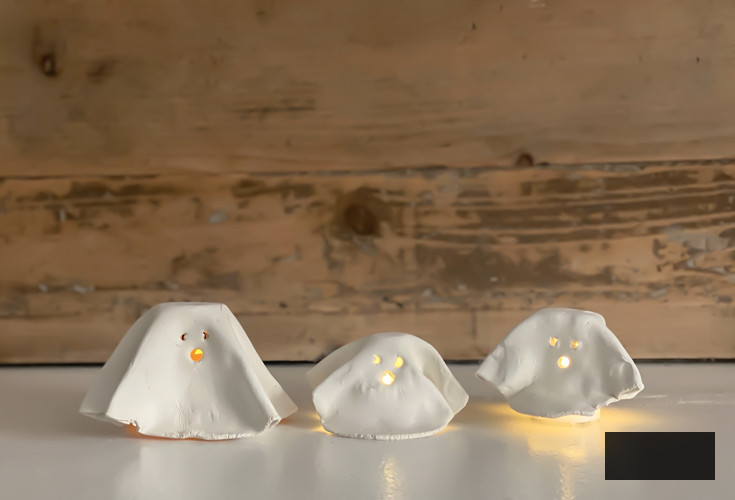
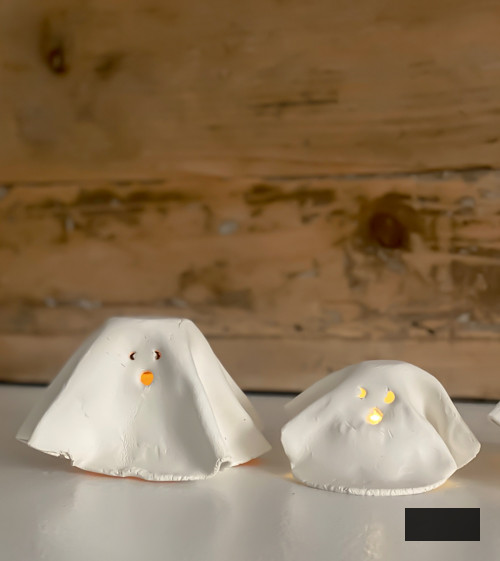
Once your ghost is fully dried and hardened, place a battery-operated tea light underneath. The light will illuminate through the eyes and mouth you carved, giving your ghost a charming, eerie radiance. Adorable, isn’t it?! I adore the handcrafted appearance of these DIY clay tealight ghosts.
Each one will appear unique, and you can infuse so much character into each ghost simply by adjusting the way you cut the eyes and mouth.
You can view my live crafting process on my YouTube channel HERE. Be sure to SUBSCRIBE while you’re there. We are releasing numerous new videos every single week! I wouldn’t want you to miss any of them!
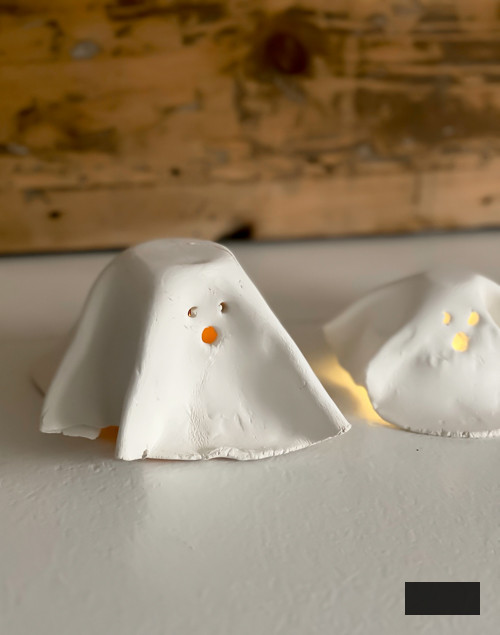
Reasons We Adore These DIY Clay Ghosts
These little creations are not only incredibly easy to craft, but they also possess an undeniable cuteness! Each one turns out uniquely, giving them distinct personas. You can opt for a delightful ghostly visage or embrace the eerie atmosphere—it’s entirely your choice! Moreover, the gentle, flickering glow from the tea lights contributes the ideal cozy Halloween ambiance to your decorations.
They also serve as a wonderful DIY activity to enjoy with children!
With proper storage, these ghosts can endure for years, allowing you to bring them out every Halloween to add that unique, handmade flair to your seasonal decorations.
Success Tips:
- Refine edges: Keep a small bowl of water nearby to smooth any rough edges or flaws in the clay before it sets.
- Play with sizes: Consider making a whole family of ghosts by varying their sizes.
- Enjoy painting: Once set, you can leave your ghosts white for a traditional appearance or paint them for added personality (perhaps a delightful blush or eerie glow-in-the-dark paint!).
- Choose strong battery-powered tea lights: They provide the best illumination through the clay while ensuring safety.
These DIY clay tea light ghosts strike a perfect balance between adorable and spooky, making them a fantastic Halloween craft. Whether you’re placing them on your mantel, positioning them on a windowsill, or incorporating them into your outdoor decorations (on a covered porch, naturally), these charming ghosts will bring a touch of handmade enchantment to your Halloween festivities.

SAVE THIS POST!
If you enjoyed this straightforward DIY clay tea light ghosts project, you might also adore these:
DIY Tabletop Ghosts
DIY Jack-O-Lantern Tealight Holder
Dollar Store Ghost Garland DIY