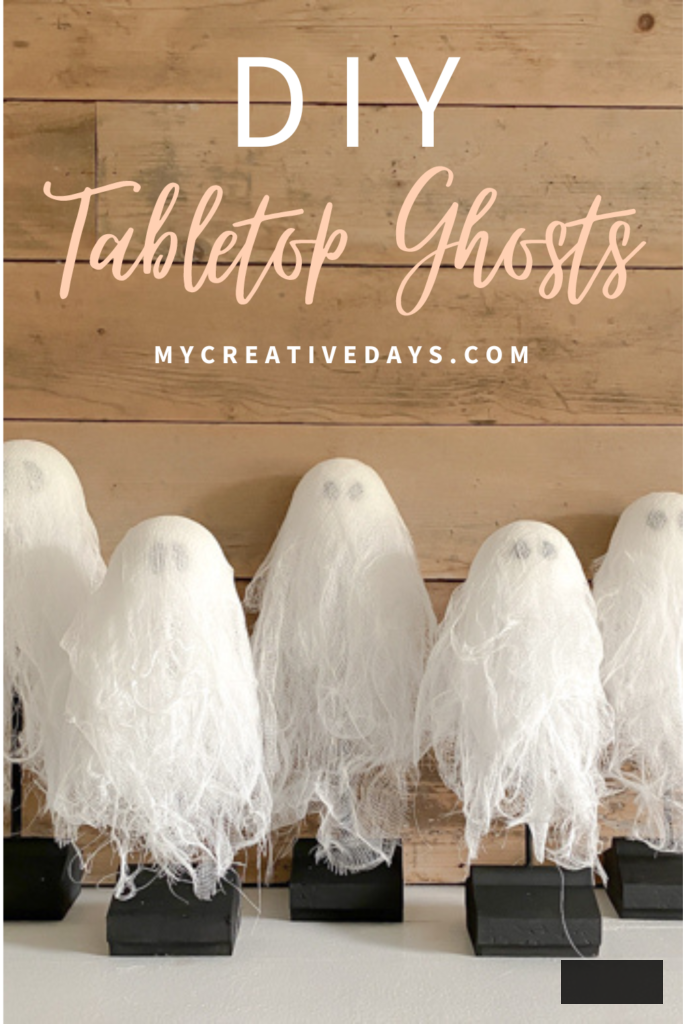
If you’re aiming to introduce a bewitching yet delightful aspect to your Halloween decorations this year, these DIY tabletop phantoms are the ideal choice. They are not only straightforward to create, but they also contribute a playful touch to any dining arrangement. In this guide, we’ll lead you through every phase to craft these charming spectral figures utilizing basic materials.
{Affiliate links are incorporated in thisarticle. Click on any highlighted links to discover the products and sources I am referencing. You can review my disclosureHERE.}
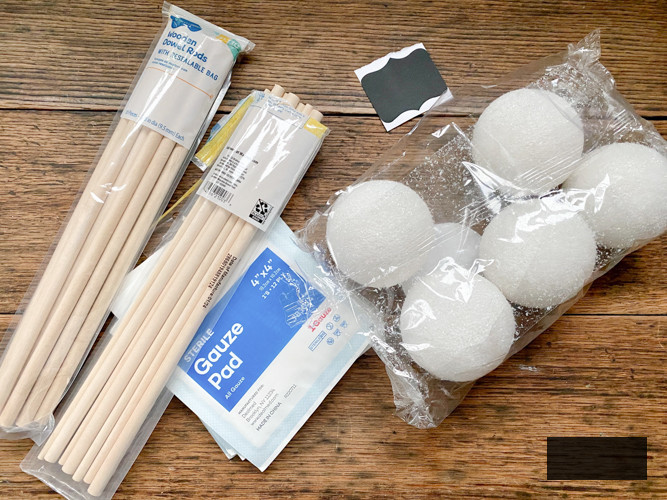
Necessary Materials To Craft These DIY Tabletop Ghosts
Gauze Pads (I utilized around 5 for each ghost)
Styrofoam Balls (Any size can be used. Mine were 3″)
Wood Dowels
Black Paint
Wood Base (we utilized a leftover board and trimmed it down)
Drill (if you are crafting the wood base like we did)
Paintbrush
Craft Hand-Held Dryer (I cherish this tool for projects like this to hasten paint drying time)
Detailed Instructions
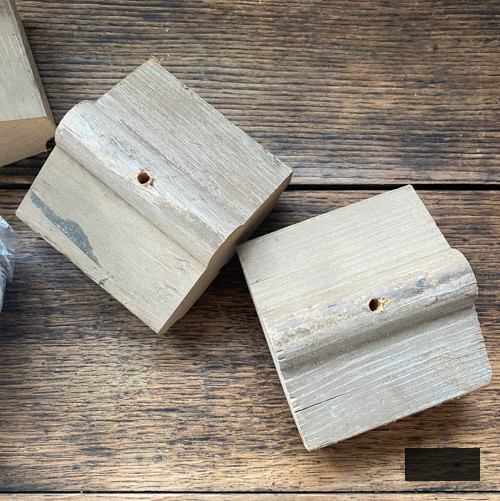
Step 1: Set Up the Base
- We utilized a scrap piece of wood we had in the garage. I intended to create 5 DIY tabletop ghosts, so Matt divided the piece into 5 distinct bases using a miter saw. You can find wood pieces at dollar stores and home improvement centers that would suffice.
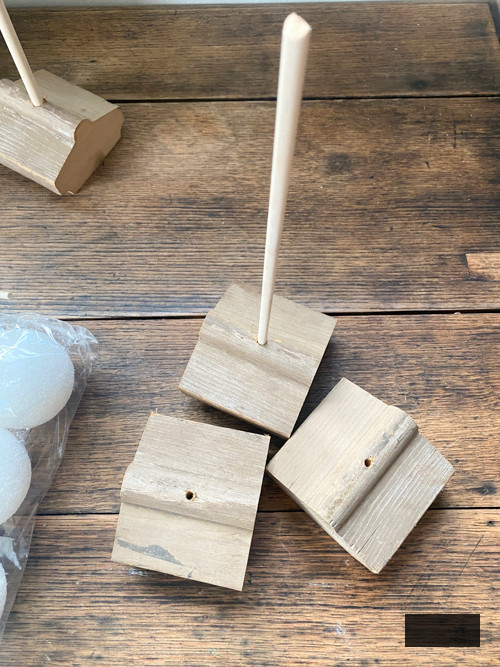
- Next, we assessed the length of the wood dowels, and Matt drilled a hole to ensure the wood dowel would fit firmly in the wood base.
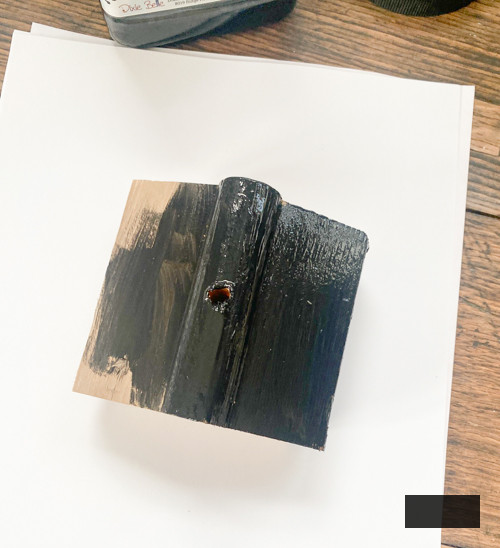
- Then, I painted the bases and the dowels black.
Step 2: Trim the Dowels
- I aimed to have the DIY tabletop ghosts positioned at varying heights. Consequently, Matt cut the dowels down to different lengths, reducing them by approximately 1/2″.
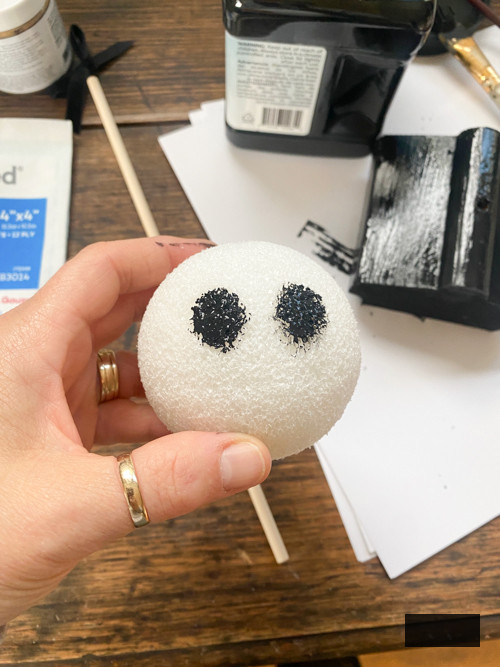
Step 3: Depict the Eyes
- Employ black paint to apply eyes on the Styrofoam balls designated as the heads of the phantoms.
Step 4: Assemble the Parts
- Once the eyes are dry, gently press the Styrofoam ball onto the top of each dowel.
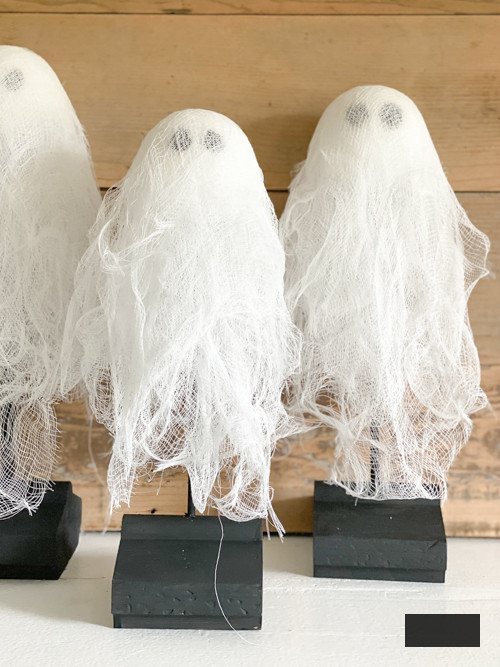
- Subsequently, fully open the gauze pads. While unwrapping them, you might create holes and some unraveling. That’s favorable! You desire that effect. I believe it appears more authentic. Once opened, drape it over the Styrofoam ball. I used about 5 sheets for each ghost, arranging them in various ways until achieving the desired appearance. The Styrofoam balls stabilized the gauze pads, but you could use adhesive if preferred. For a smooth Styrofoam ball, glue would be necessary.
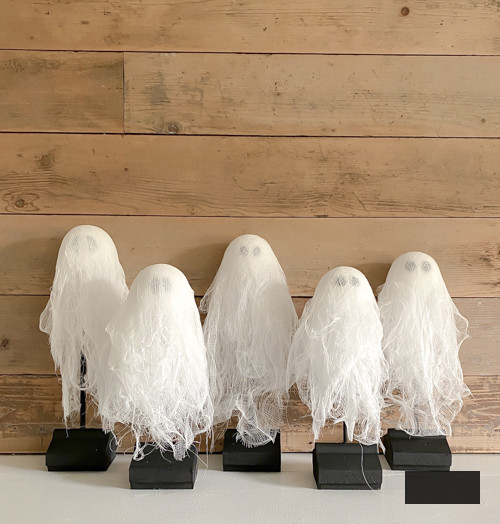
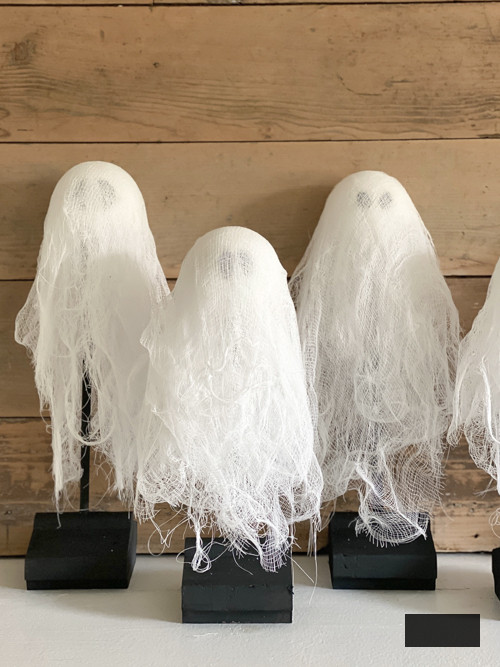
Step 5: Display Your DIY Tabletop Ghosts
- That’s all!! Showcase your ghosts. This is such a simple project that you could undertake with children and grandchildren. If you are an educator or run daycare, this would also be enjoyable for the kids to create. I adore their appearance! This is something you will pull out every year!
I am presenting this endeavor being executed in real-time on my YouTube channel HERE.
Don’t forget to SUBSCRIBE to my channel while you visit! I’m releasing new videos weekly!
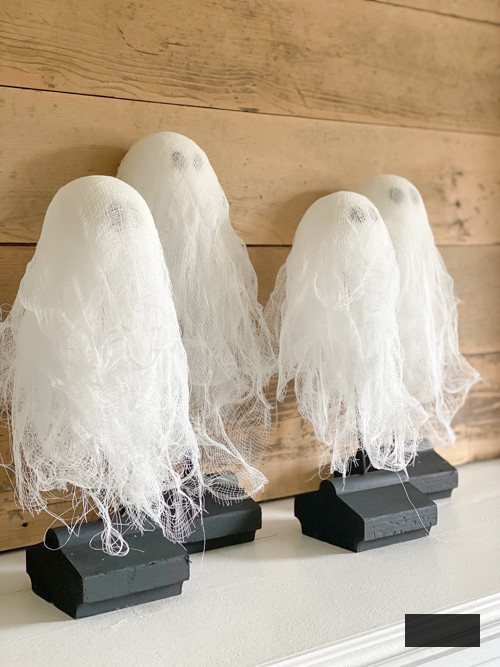
Making DIY tabletop ghosts is an enjoyable and straightforward activity that can infuse a distinct character into your Halloween decor. With just a handful of materials and a sprinkle of imagination, you can assemble these delightful phantoms to haunt your space throughout the season. Whether planning a Halloween gathering or simply wishing to enhance your seasonal embellishments, these ghosts are sure to amuse and unnerve in equal parts.
PIN THIS POST!
If you appreciated these DIY Tabletop Ghosts, you will also enjoy these:
DIY Jack-O-Lantern Tealight Holder
Dollar Store Ghost Garland
DIY Aged Copper Jack-O-Lanterns