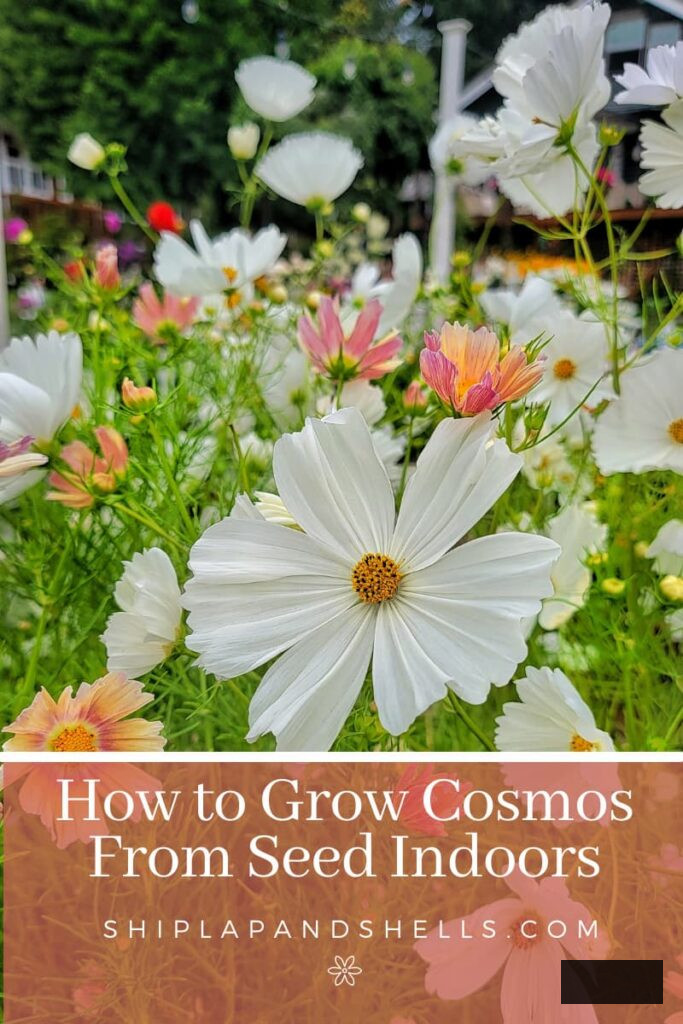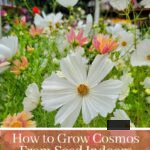
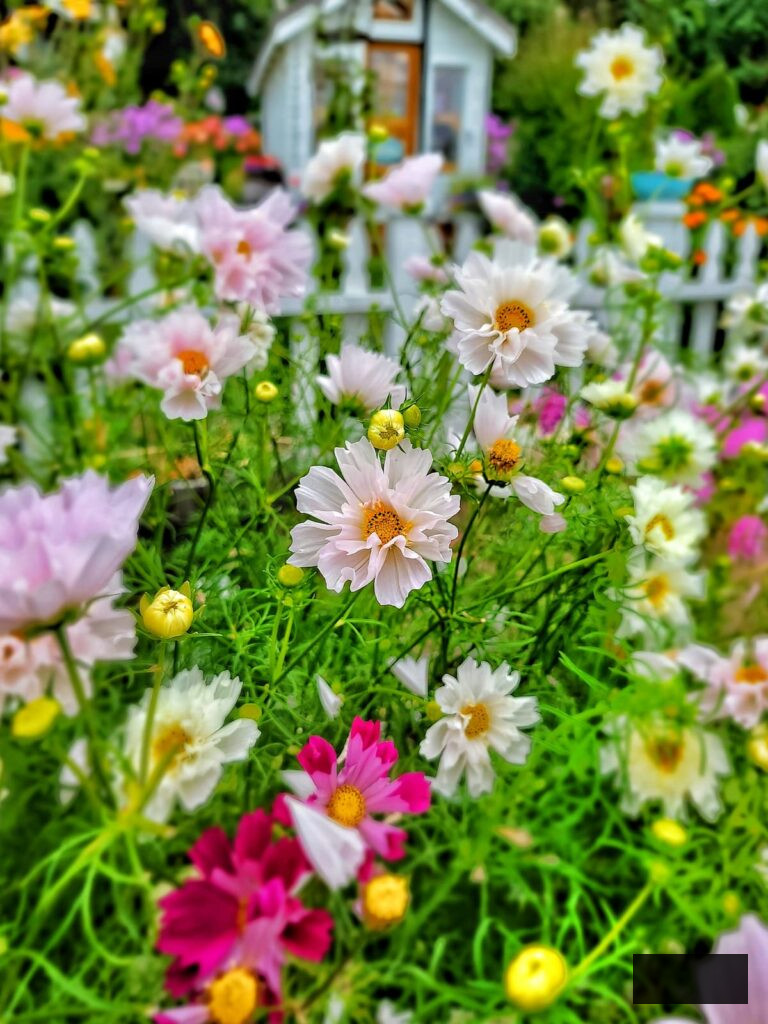
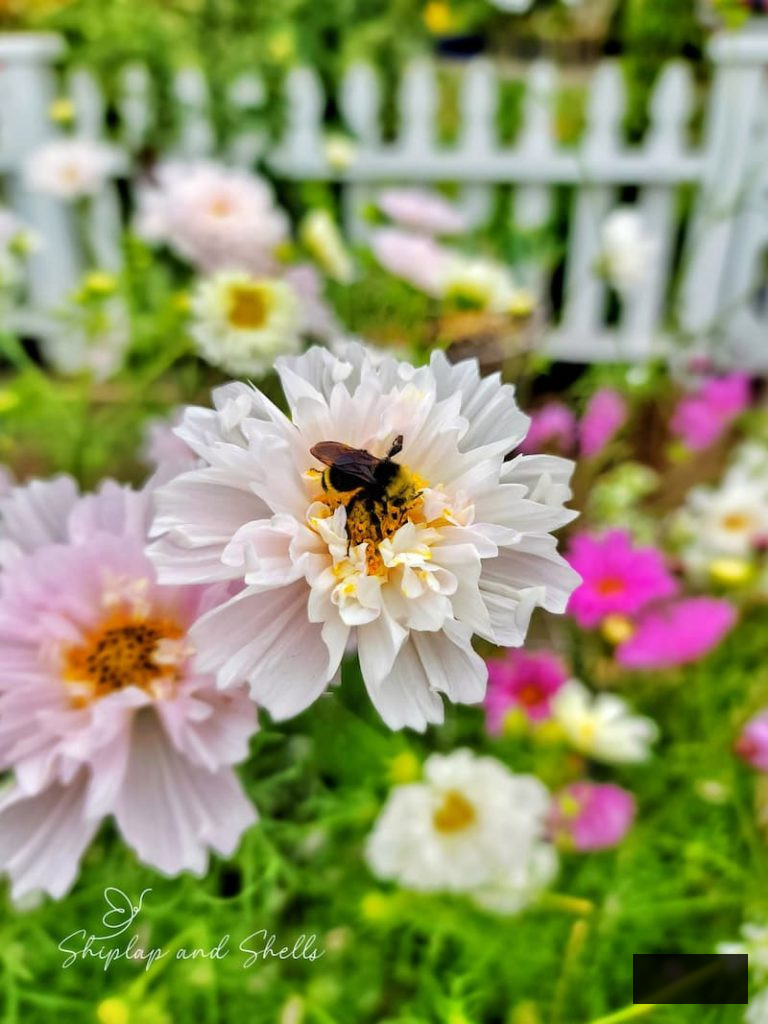
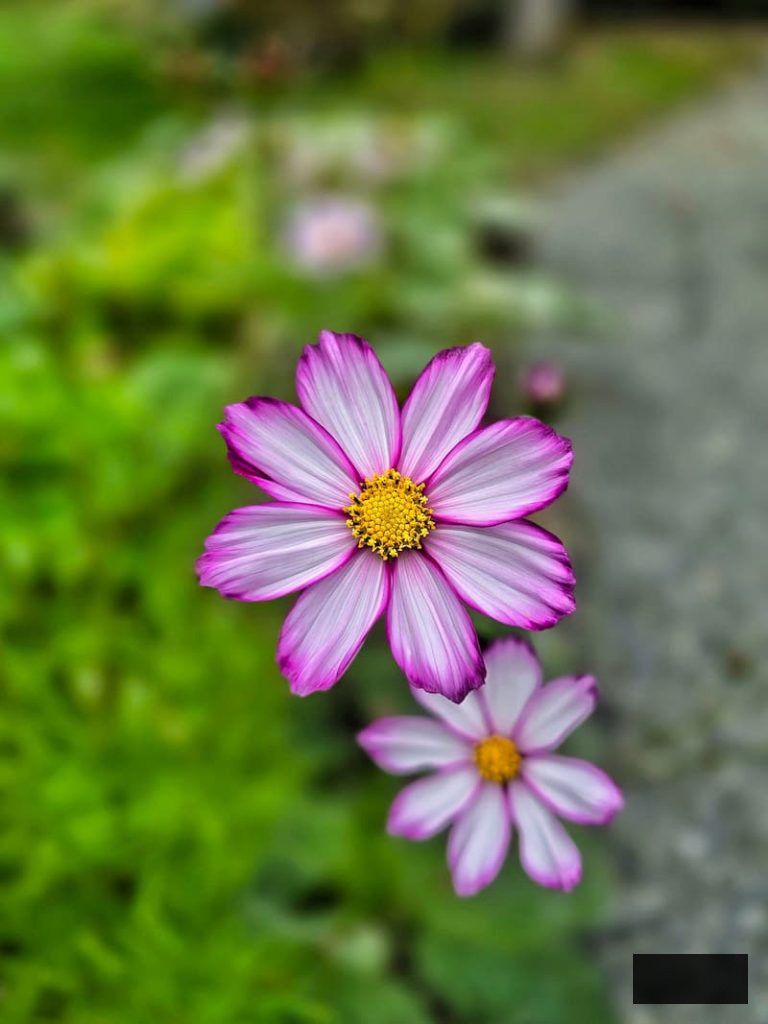
If you aspire to have a garden teeming with light, joyful blossoms during the entire summer, acquiring the skills to initiate cosmos seeds indoors is an excellent starting point. These straightforward-to-cultivate blooms are adored in cottage gardens and cut flower borders because of their fragile leaves, lofty stems, and continuous flow of blooms.
Beginning cosmos seeds indoors provides your plants with a gentle advantage at the start of the season. By the time warm weather arrives, you’ll possess robust young seedlings prepared to transplant into the garden, where they will swiftly mature into tall, fluttery flowers ideal for summer arrangements.
In this article, I’ll guide you step-by-step on how to initiate cosmos from seed indoors, from sowing the seeds to nurturing young seedlings as they strengthen each day.
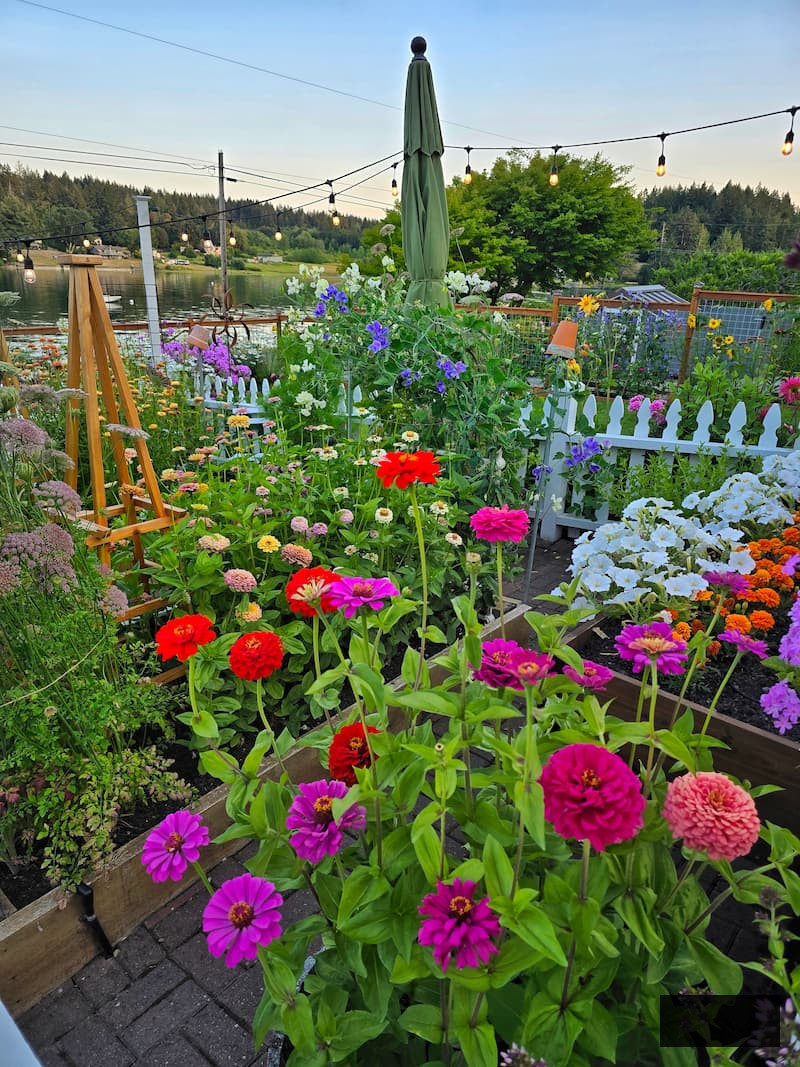
In my garden located in the Pacific Northwest (Zone 8b), as soon as cosmos start blooming, they seldom seem to halt. And the most delightful aspect? It commences with a minuscule seed in early spring.
As an Amazon associate, I receive a commission from eligible purchases at no extra cost to you. My blog also features various affiliate links for your ease.Click here to view my privacy policy.
Essential Insights for Initiating Cosmos Seeds Indoors
A Brief Note Regarding My Garden
The majority of the flowers I present here are cultivated from seed in our greenhouse and positioned in raised beds and containers throughout our cottage garden.
How to Initiate Cosmos Seeds Indoors
Initiating cosmos seeds indoors is straightforward and an excellent approach to gain an early advantage in the growing season.
Sow the seeds about 1/2 inch deep in a seed-starting mixture approximately 4-6 weeks prior to your last frost date. Maintain the soil with slight moisture and position the containers in a warm area until germination occurs.
Most cosmos seeds emerge within 5-10 days. After the seedlings are visible, relocate them to a bright light source to promote robust and compact growth.
Following several weeks of development and a brief hardening off phase, the young plants can be relocated to the garden once the frost threat has diminished.
Why Initiate Cosmos Seeds Indoors?
Establishing cosmos seeds indoors is a straightforward method to provide your plants a gentle kickstart for the growing season. Rather than delaying for outdoor soil to warm during spring, you can commence raising healthy seedlings indoors and have them prepared for transplanting once the frost threat has passed.
Although cosmos can certainly be sown directly outdoors, beginning them indoors allows you to relish earlier flowers and provides the young plants a stronger foundation in the garden. This can be particularly advantageous in cooler areas or in gardens with unpredictable spring weather.
In my Pacific Northwest garden, having trays of seedlings already flourishing indoors makes the transition into spring planting significantly smoother. By the time garden beds are prepped, those young plants are already progressing towards becoming tall, blooming flowers.
When to Initiate Cosmos Seeds Indoors
The optimal moment to start cosmos seeds indoors is about four to six weeks ahead of your last anticipated frost date. This timing allows the seedlings adequate opportunity to develop strong roots and sturdy stems prior to entering the garden.
Initiating seeds too early can indeed be counterproductive. Cosmos grow rapidly, and if they linger in small containers for an extended period, they can become leggy or stressed before outdoor temperatures are suitable.
In my Pacific Northwest garden (Zone 8b), I typically start sowing cosmos seeds indoors in early spring so they are ready for transplanting once the frost risk has passed.
Cosmos can also be directly sown outside once the soil heats up, but starting them indoors offers a gentle lead, and those initial blooms tend to arrive slightly earlier.
And when those first blossoms emerge, the garden suddenly transforms into summer.
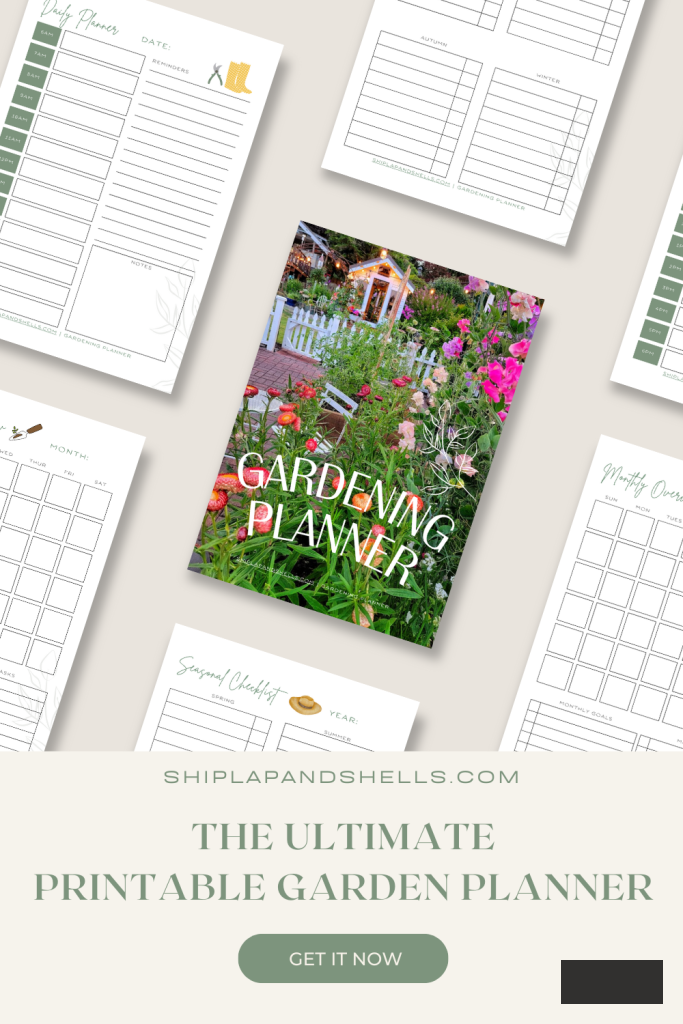
Let’s Organize Your Ideal Garden With Our
Garden Planning Tool
Unlock Your Garden’s Potential.
Our 35-page Ultimate Garden Planner is crafted to assist you in organizing, tracking, and thriving in your gardening pursuits.
Acquire yours for $4.99
Materials You’ll Require to Sow Cosmos Seeds Indoors
Beginning cosmos seeds indoors doesn’t necessitate anything intricate. A few straightforward materials are all you
must cultivate robust seedlings.
Materials you’ll require:
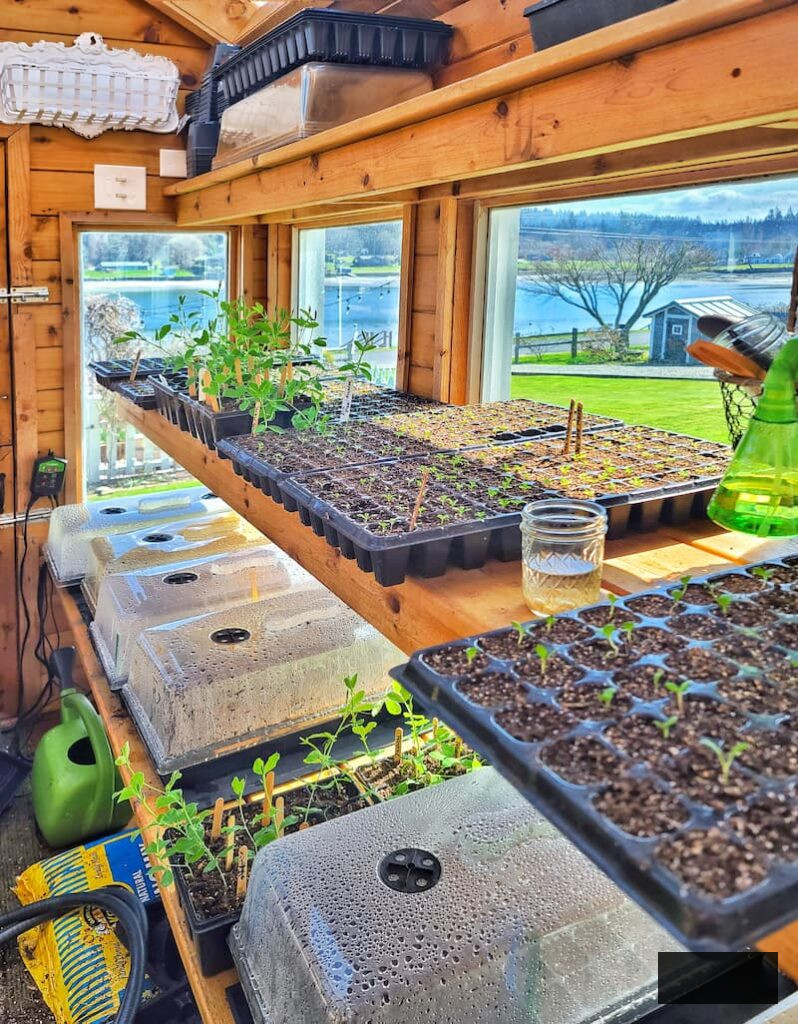
If you are cultivating seeds in a greenhouse or a well-lit sunroom, additional equipment may not be necessary. However, if natural light is scarce, a basic grow light can significantly aid in maintaining the seedlings’ vigor and compactness.
Cosmos are delightfully low-maintenance plants, making them ideal flowers for both novices and seasoned horticulturists.
YOU MIGHT REQUIRE THESE
Seed Planting Materials
Explore my preferred materials and tools for starting seeds indoors. Whether you seek grow lights or a seed starting mix, you’ll discover what I utilize in my own greenhouse.
How to Initiate Cosmos Indoors from Seed: Step-By-Step
Initiating cosmos seeds indoors is straightforward, and once you have done it once or twice, it transforms into one of those early spring garden traditions that’s easy to replicate annually.
Cosmos sprout quickly and are simple to cultivate, making them an ideal flower for both beginner and adept gardeners.
Adhere to these instructions to ensure your cosmos seedlings receive a robust beginning.
Step 1: Select a Clean Container with Drainage Openings
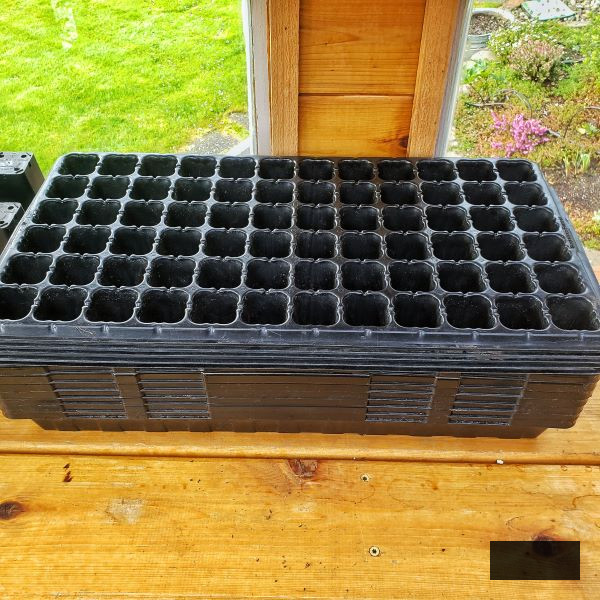
Begin with clean containers that include drainage openings. Seed trays, cell packs, or small nursery pots all function well.
Employing containers with adequate drainage aids in preventing overly wet soil, which can impede young seedlings.
If repurposing containers from a prior season, ensure they are clean and disinfected before planting.
For additional guidance on how to sanitize your used containers, check out my article Seed Starting 101: Growing a Cut Flower Garden Series.
SHOPCELL TRAYS
SHOP PLASTIC POTS
Step 2: Fill Containers with Slightly Moist Seed-Starting Mix
Populate each container with a lightweight seed-starting mix that is marginally moist but not drenched.
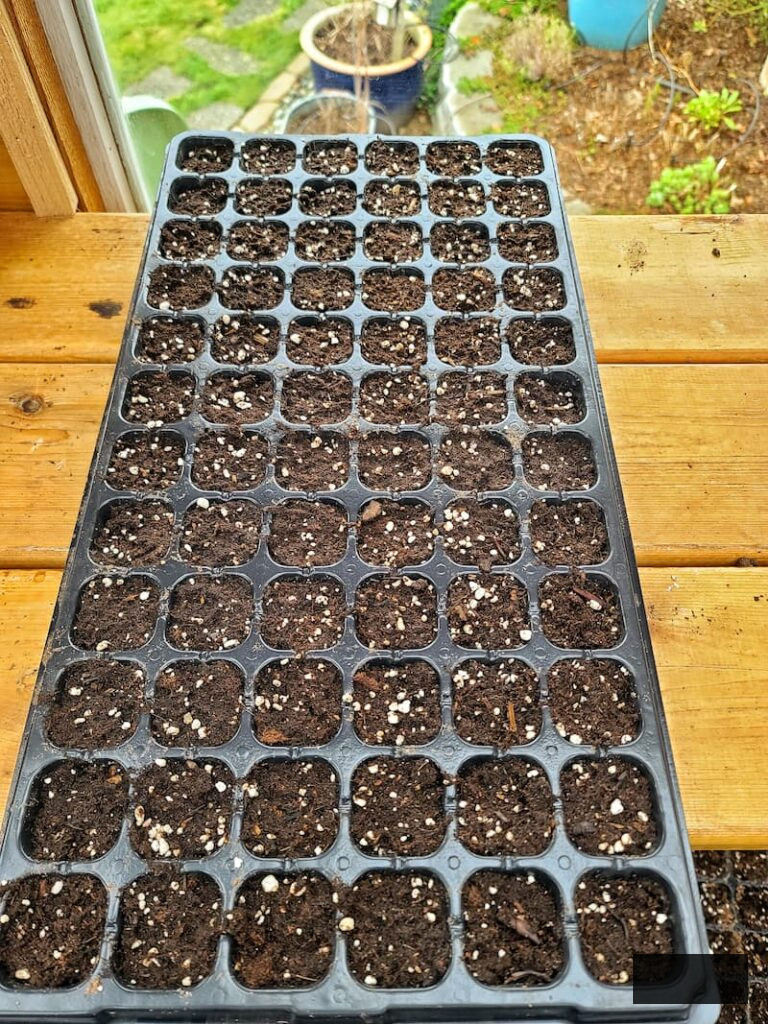
Gently tap the container on the table or shelf as you fill it to aid the soil in settling and eliminate air pockets. This ensures that the seeds maintain contact with the soil, enhancing germination.
SHOPSEED STARTER POTTING MIX
Step 3: Tag Your Containers
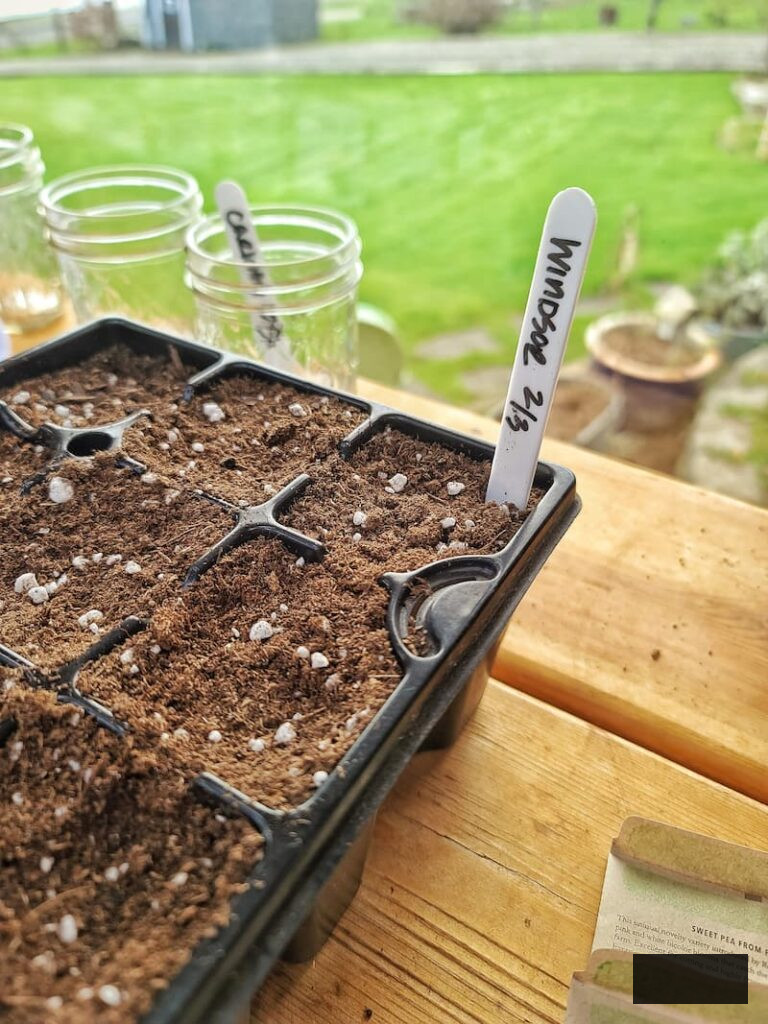
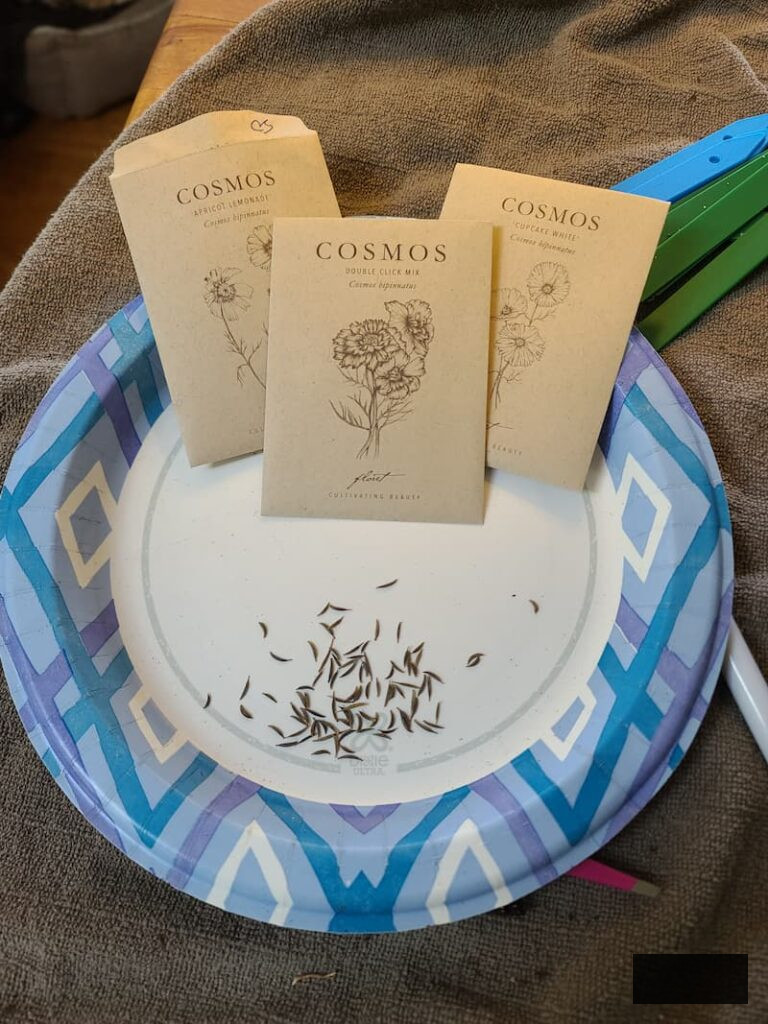
Prior to sowing, tag each container with the cosmos variety and the date of planting.
This minor step proves extremely beneficial when seedlings start developing and trays are filled with various flowers.
SHOPLABELS
Step 4: Plant the Cosmos Seeds
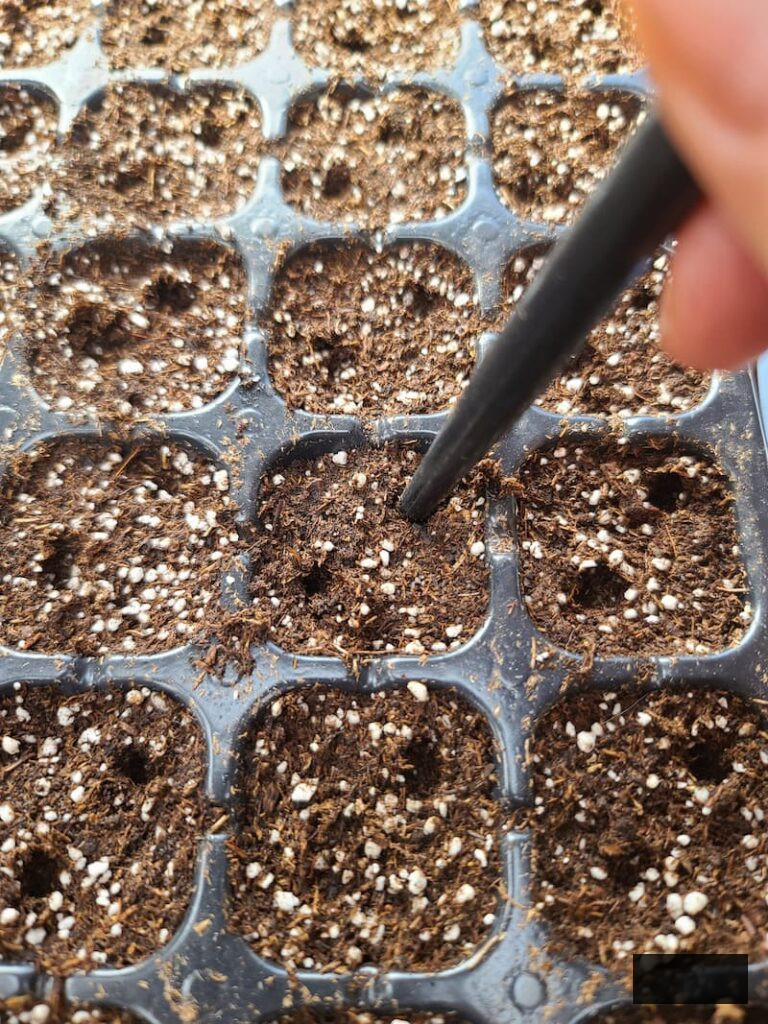
Cosmos seeds are elongated and slender, making them straightforward to work with.
Sow two seeds per cell or container, approximately 1/2 inch deep, positioning them in diagonally opposite corners if possible. Lightly cover with seed-starting mix.
mix or a slight dusting of vermiculite.
You can utilize a pencil, dibbler, or even your fingertip to create the planting holes.
SHOPVERMICULITE
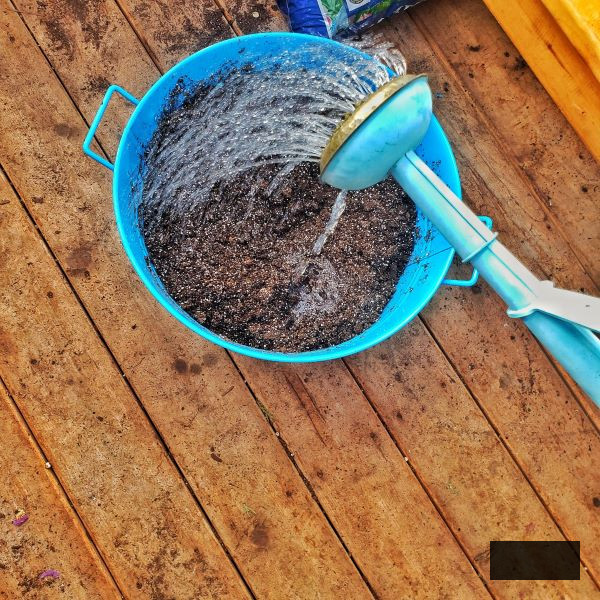
Step 5: Water the Containers from Below
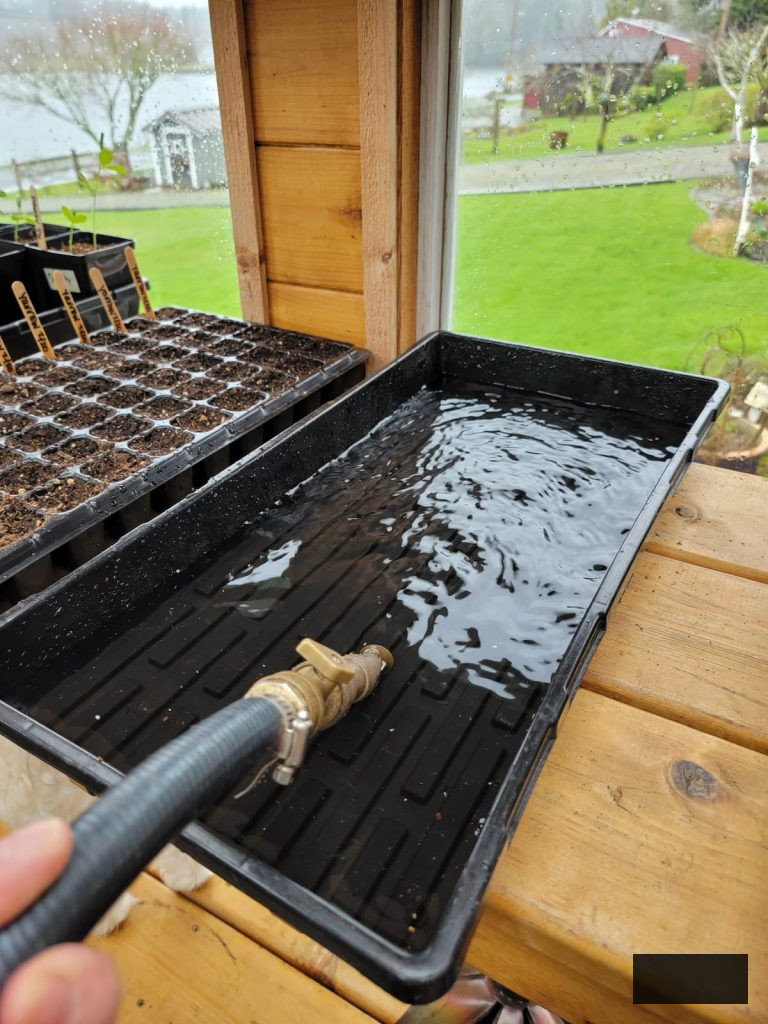
Set the containers in a tray with approximately an inch of water and allow the soil to soak up moisture from underneath.
Bottom watering keeps the seeds stable and helps prevent disruption of the soil surface. Once the soil feels uniformly moist, take the containers out of the tray.
Seed trays should not remain in standing water for more than about an hour.
SHOPDRAINAGE TRAYS
Step 6: Ensure Warmth and Humidity
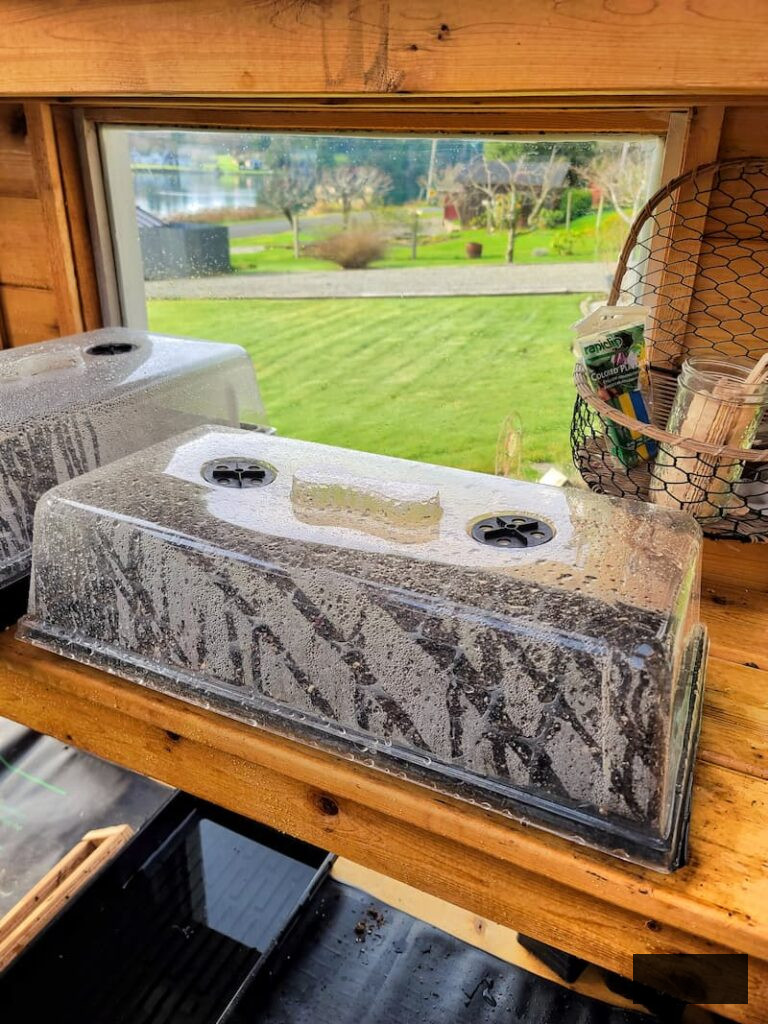
Position the containers on a heat mat or in a cozy, well-lit area. Using a clear humidity dome over the tray can help retain moisture and accelerate germination.
Cosmos seeds usually germinate within 5-10 days, influenced by temperature.
Once seedlings emerge, the growth process begins to accelerate.
SHOPHEATED MATS
SHOPCLEAR PLASTIC DOME
Step 7: Provide Ample Light for Seedlings
Transfer the seedlings to a bright spot, like a greenhouse, sunroom, or under grow lights.
Intense light helps prevent seedlings from stretching and promotes compact and sturdy plants as they develop.
SHOPGROW LIGHTS
Step 8: Keep an Eye on Moisture Levels
Examine the soil every few days and water when the upper layer starts to dry out.
Young cosmos seedlings prefer consistently moist soil but do not thrive in overly soggy conditions.
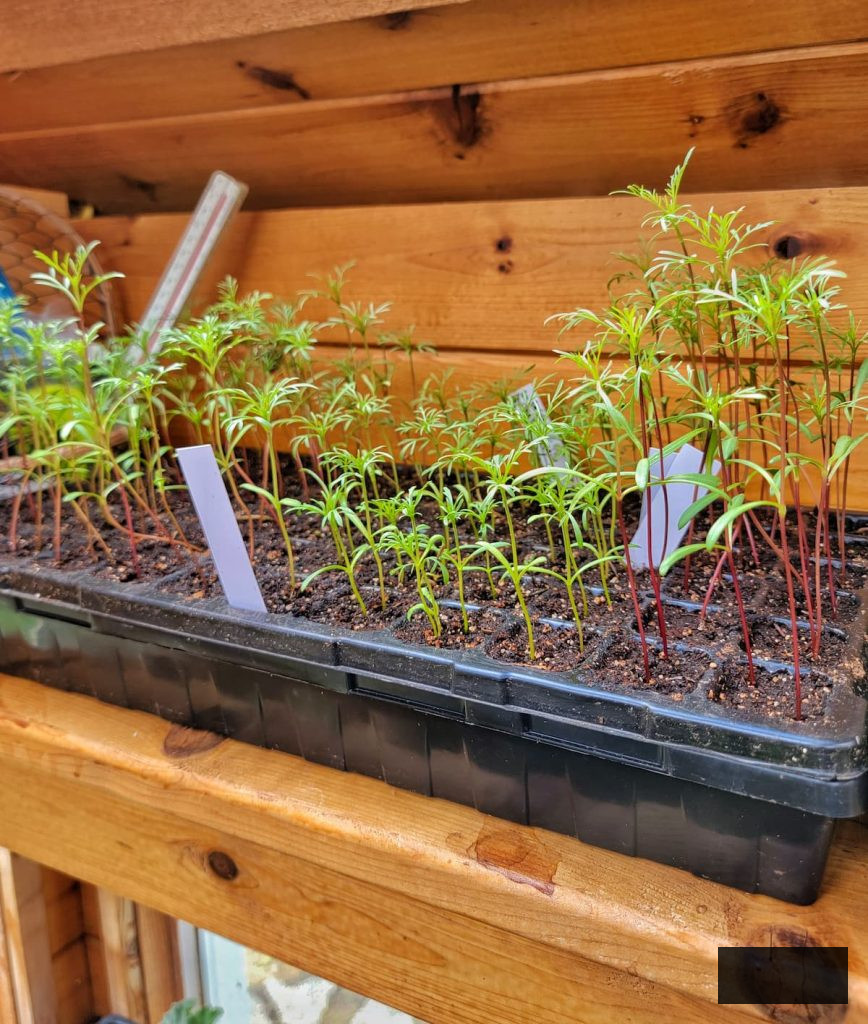
With adequate light and regular moisture, the seedlings will swiftly develop stronger stems and their initial set of true leaves.
What Is the Germination Time for Cosmos Seeds?

Cosmos seeds germinate relatively quickly and are among the easiest flower seeds to initiate indoors. In warm conditions, the majority of cosmos seeds will sprout within around 5-10 days.
For optimal germination, maintain the seed tray in a warm environment with temperatures around 70-75°F (21-24°C) and keep the soil lightly moist but not waterlogged. A heat mat can assist in providing consistent warmth, which often promotes quicker and more uniform sprouting.
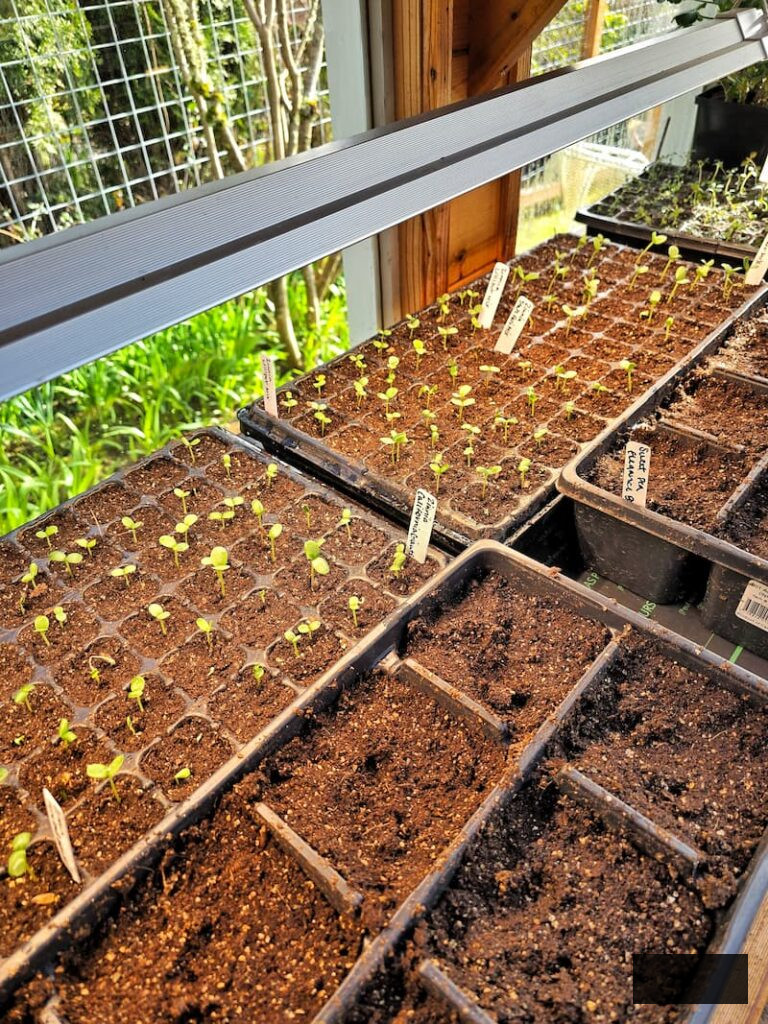
Once the seedlings start to rise, remove the humidity dome and place the trays in bright light immediately. Strong light aids in keeping the young plants compact and strong instead of tall and spindly.
Before long, you’ll observe the first set of true leaves forming, and your cosmos seedlings will start to thrive rapidly from that point.
Nurturing Cosmos Seedlings Post-Germination
Once your cosmos seeds have germinated, a few minor adjustments will aid the young seedlings in flourishing robustly and healthily.
At this phase, the emphasis transitions from germination to delivering the appropriate light, moisture, and airflow so the plants can continue to develop robust stems and healthy foliage.
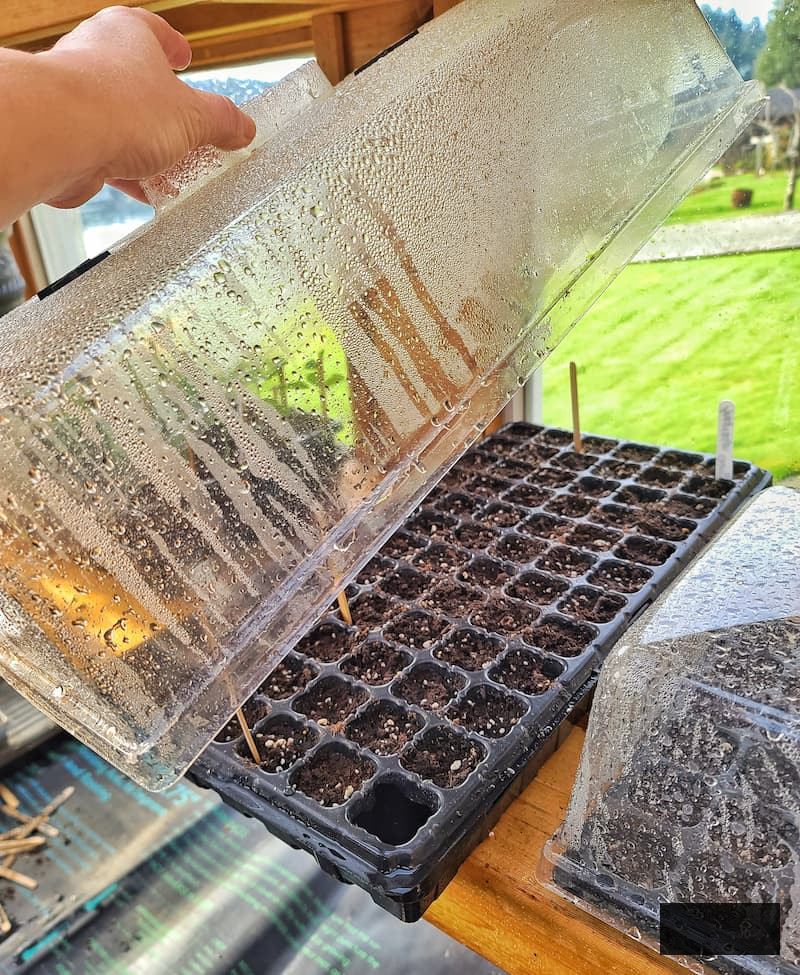
Detach the Dome and Heat Mat
As soon as you notice sprouts, take the containers off the heat mat and remove the humidity dome or plastic cover.
At this point, seedlings no longer require the additional warmth and moisture. In fact, leaving them covered for too long…
Excessive moisture can foster mold or damping off, which can harm delicate plants.
Ensure Ample Lighting
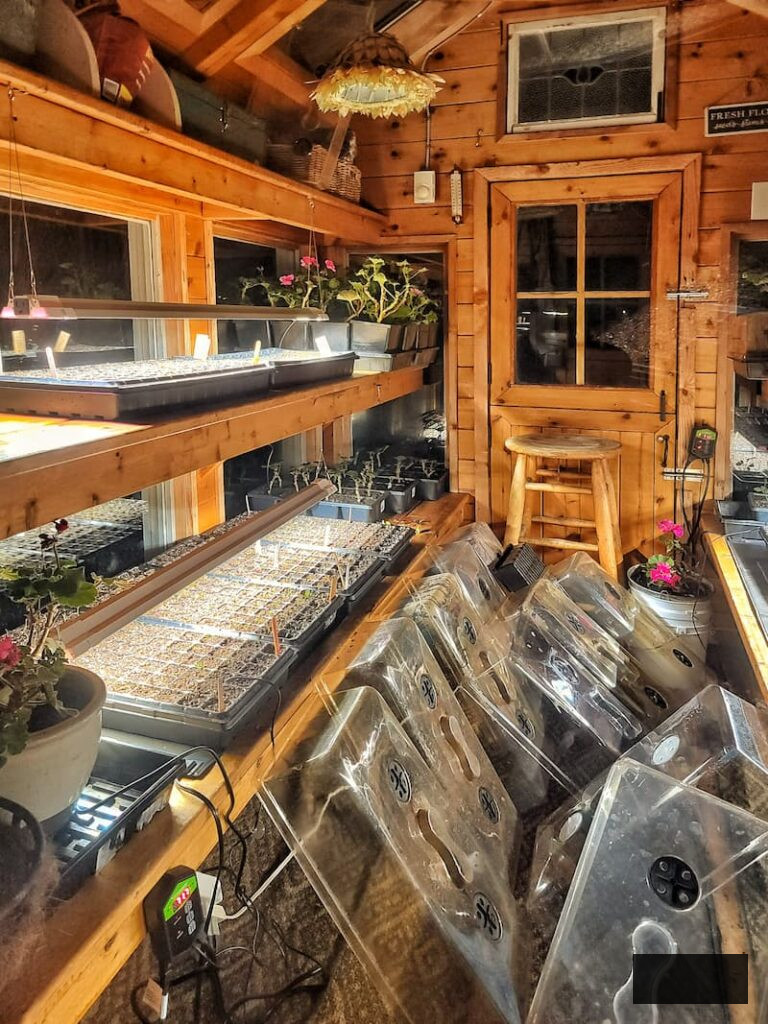
Providing your cosmos seedlings with ample bright light is crucial for robust growth. Position the trays in a sunlit window, greenhouse, or beneath grow lights, ensuring the young plants receive strong, consistent illumination daily.
Sufficient light promotes the seedlings to remain compact and resilient rather than tall and spindly as they mature.
Maintain Slightly Moist Soil
Cosmos seedlings favor uniformly moist soil, but they dislike being in waterlogged conditions.
Continue providing bottom watering whenever feasible by placing the pot in a shallow dish of water, allowing the soil to absorb moisture from below. This minimizes disturbance to the fragile seedlings.
Once the plants exhibit their initial true leaves (the second set of leaves appearing after the original seed leaves), you may begin gently watering from above, if necessary.
Ensure Adequate Airflow
Effective airflow is one of the simplest methods to avoid typical seedling issues like mold or damping off.
A small fan placed on a low setting nearby or an open window can assist in circulating air around the seedlings. You don’t need a strong breeze, just sufficient airflow to prevent moisture from lingering on the soil surface.
Even a few hours of gentle airflow each day can aid in strengthening the stems as the plants flourish.
Gentle Feeding for Healthy Growth
Cosmos seedlings don’t require much fertilizer, but a slight enhancement can support their growth into sturdy young plants.
After the first true leaves emerge, nourish them with a half-strength liquid fertilizer every 7-10 days. A balanced fertilizer like 10-10-10 or 20-20-20 works effectively, or you can opt for a mild organic alternative suitable for seedlings.
Excess fertilizer can result in tall, spindly plants, so a gentle approach is preferable.
Timing for Pinching Cosmos Seedlings
Pinching fosters fuller, bushier plants with additional stems and blooms.
When seedlings grow to approximately 10-12 inches tall and have several sets of true leaves, utilize clean snips to trim the top few inches of growth just above a leaf node.
This encourages the plant to branch, leading to more flowering stems later in the season.
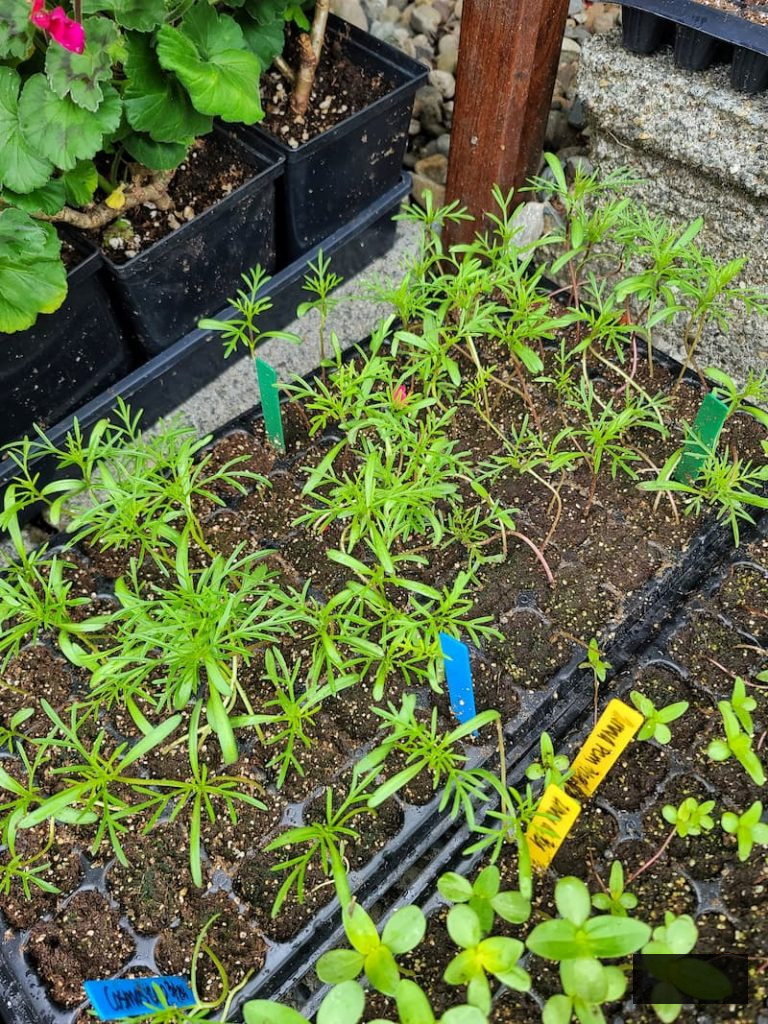
Timing for Potting Up Cosmos Seedlings
If your seedlings surpass their starter cells before it’s time to transfer them outside, relocate them into slightly larger pots.
Providing the roots with more space helps avert stress and allows the plants to continue growing steadily until external conditions are suitable.
Handle the seedlings delicately and strive to disturb the roots as little as possible during the transfer.
How to Harden Off Cosmos Seedlings
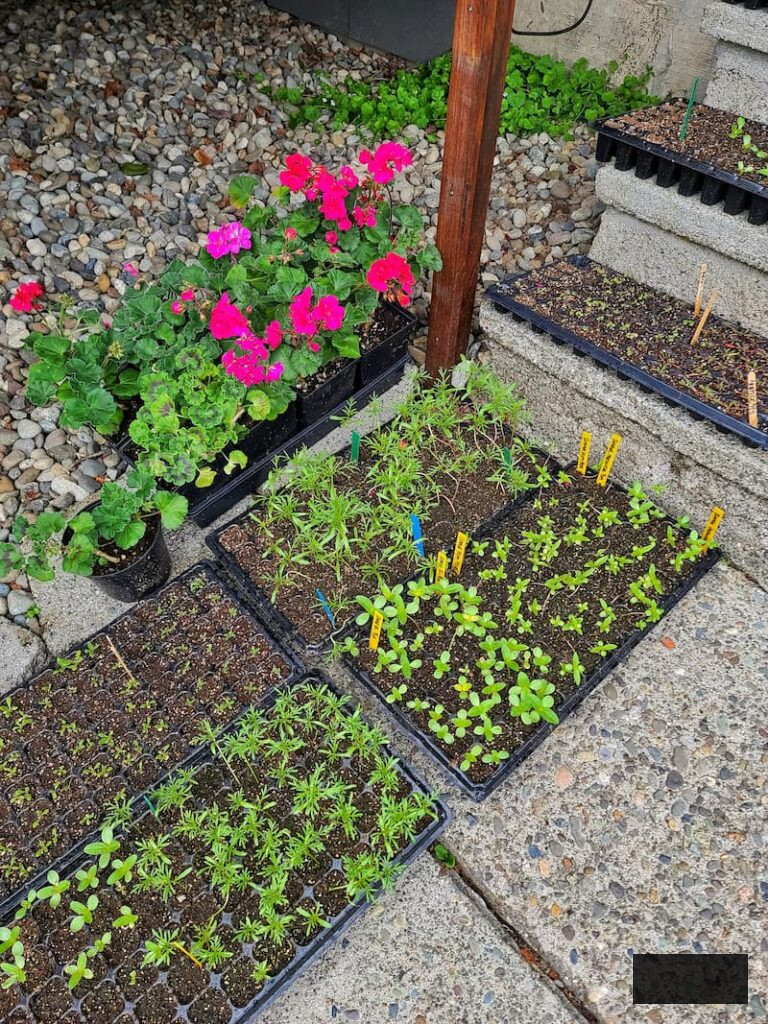
Before positioning cosmos seedlings in the garden, they require time to acclimate to outdoor conditions. This process is referred to as hardening off.
Begin by placing the plants outside in a sheltered, shaded location for a few hours daily. Gradually increase their exposure to sunlight and wind over the span of 7-10 days.
It’s tempting to expedite this phase, but dedicating time to properly harden off seedlings ensures they adapt to the garden more successfully.
Soon, they will be prepared to transition into their permanent outdoor location.
LET’S GO SHOPPING FOR
Garden Supplies and Tools
Explore my favorite garden supplies and tools for the growing season. Whether you need potting soil or deer deterrent, you’ll discover what I personally use in my garden.
Preparing Garden Beds for Cosmos Seedlings
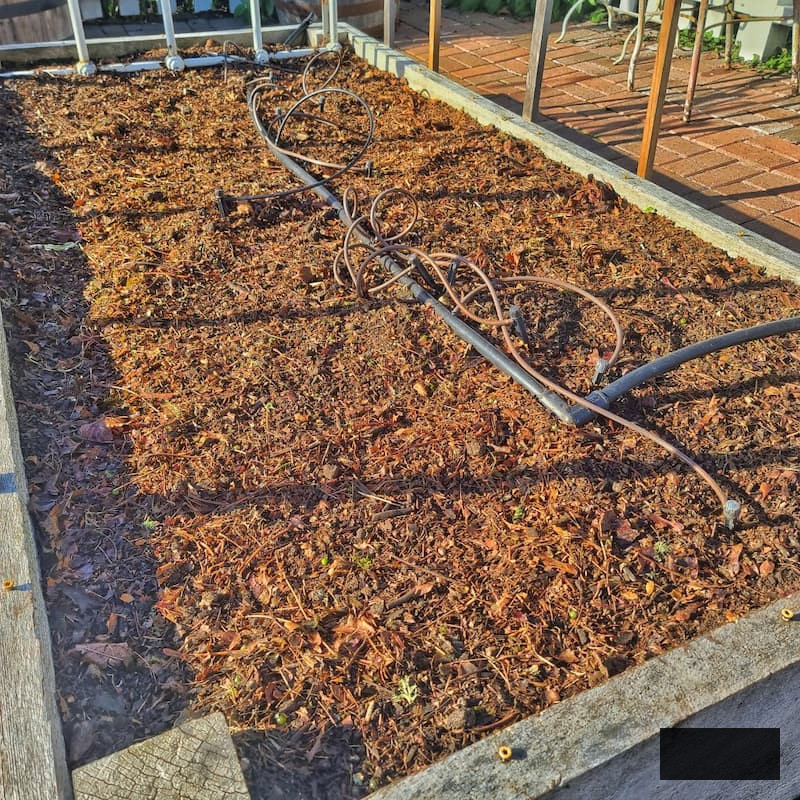
Prior to relocating your cosmos seedlings to the garden, take a moment to prepare the garden beds. Establishing optimal conditions for your young plants from the outset facilitates their adaptation and accelerates their growth.
Cosmos thrive in full sunlight and well-draining soil, so select a location that receives a minimum of 6-8 hours of direct sunlight daily. These tall, airy specimens also gain from proper airflow around them, particularly as they begin to flourish during the warmer months.
If your soil appears compact or slow to drain, loosening it and incorporating a bit of compost or organic material can help create a more conducive environment for root development.
In my garden in the Pacific Northwest, I typically dedicate a few minutes to aerating the soil and mixing in some fish compost before planting. It’s a straightforward step, yet it provides young seedlings with a nutrient infusion and assists them in adjusting to their new surroundings more comfortably.
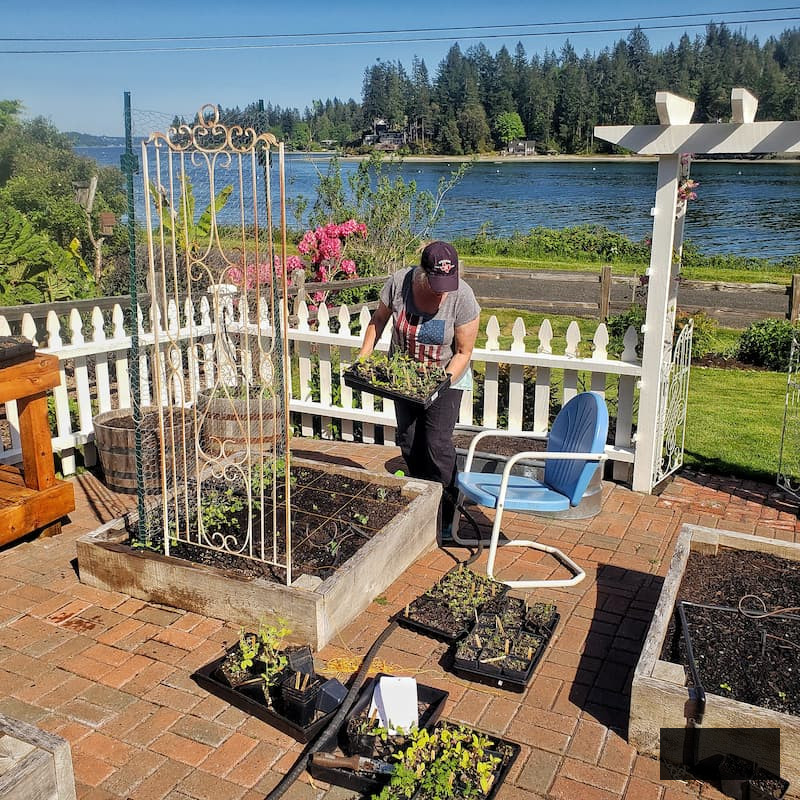
Relocating Cosmos Seedlings to the Garden
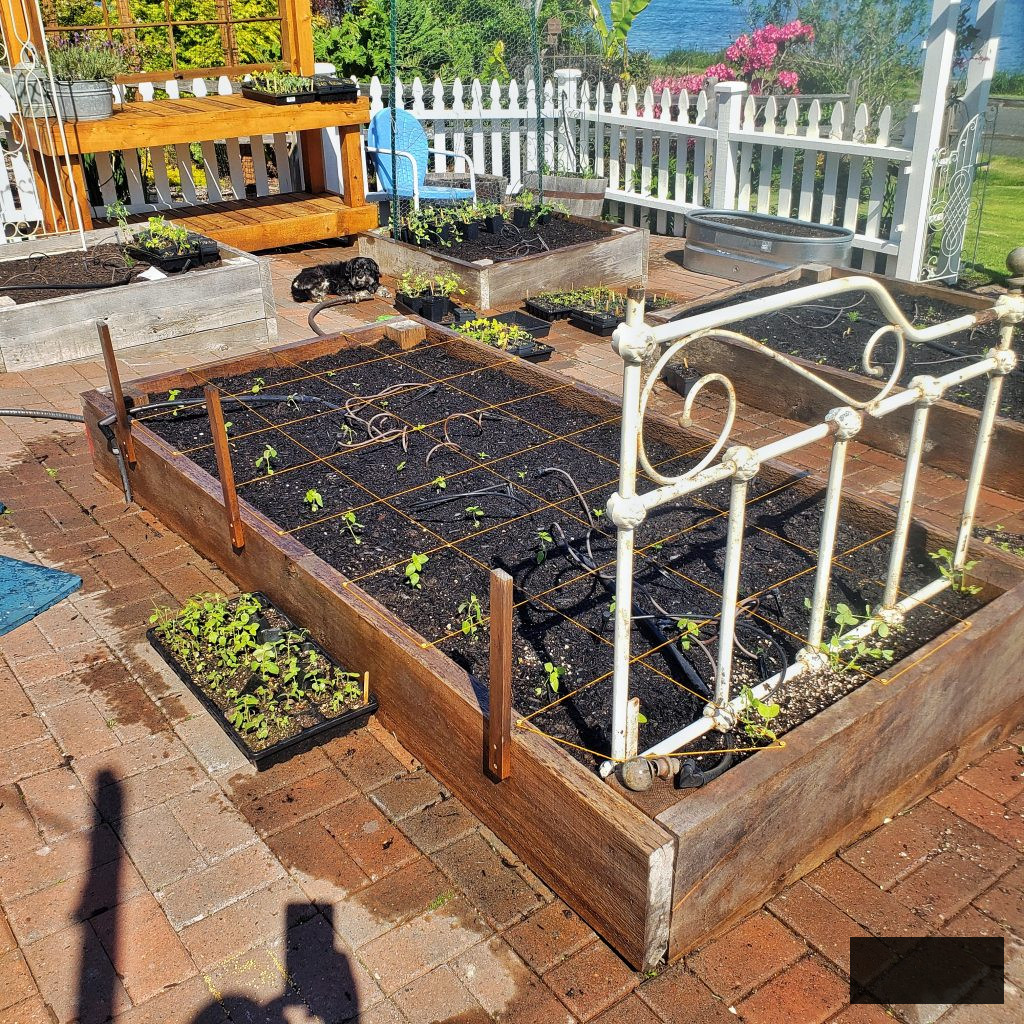
After a few weeks of indoor growth, your cosmos seedlings will be prepared to transition outdoors. They should be approximately 4-6 inches tall and possess several sets of true leaves. At this point, they should appear robust and upright rather than leggy and floppy.
If you have properly acclimatized them over the last week, they’ll be ready to adapt to outdoor circumstances. Ensure there’s no risk of frost, and that nighttime temperatures consistently exceed 50°F (10°C) before placing cosmos outside.
Select a sunny location with well-draining soil, spacing the plants around 9-12 inches apart, depending on the type. Providing adequate space for each plant ensures proper air circulation and allows the stem to develop strong and upright.
Carefully extract each seedling from its vessel, preserving as much of the root system as possible. Plant it at the same depth it was in the container, and gently press the soil around the base of the seedling.
After transplanting, thoroughly water the seedlings to assist the roots in acclimating to their new habitat.
Once settled, your seedlings will find zinnias remarkably easy to cultivate. A little sunlight and consistent watering are often all they require to get going.
Guidelines for Cultivating and Caring for Cosmos in Your Garden
Next steps after your seedlings are established in the soil!

Frequently Asked Questions About Cultivating Cosmos from Seed Indoors
Concluding Thoughts on Cultivating Cosmos Indoors from Seed
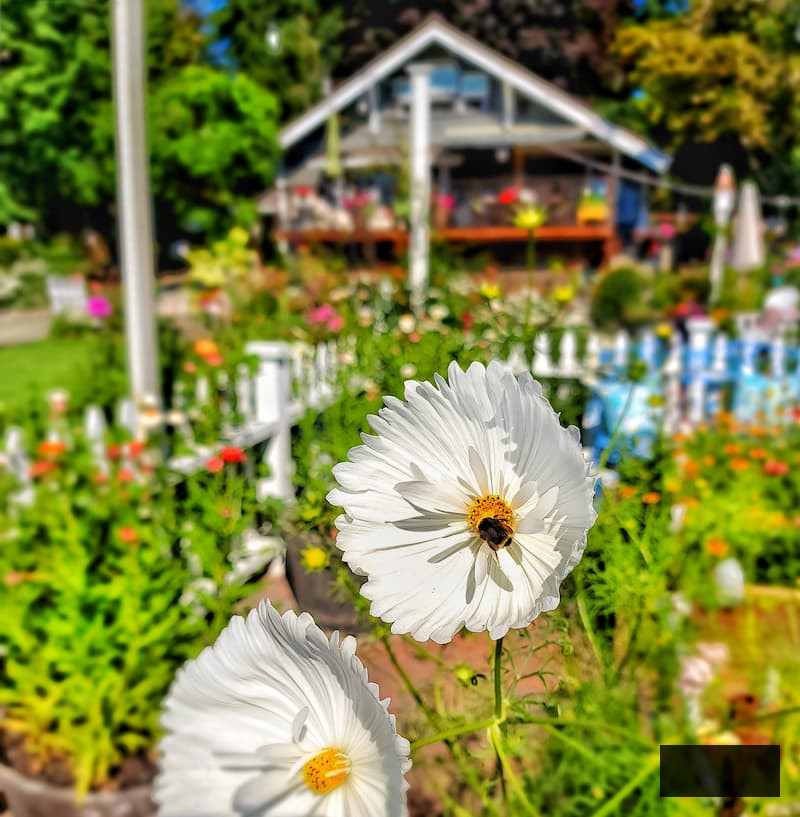
Cultivating cosmos from seed indoors is one of the easiest methods to adorn your garden with vibrant summer flowers. With just a bit of initial attention, those minute seedlings swiftly develop into tall, airy plants adorned with blossoms that appear to last throughout the season.
Cosmos exhibit a wonderfully laid-back growth habit. Provide them sunshine, adequate spacing, and an occasional pruning for bouquets, and they will cheerfully continue to generate flowers week after week.
In my own garden, cosmos are frequently one of the first blossoms I select when assembling a floral arrangement. Their delicate stems and fluttery flowers harmonize beautifully with many other blooms in the garden.
If you’re seeking a straightforward flower to initiate from seed, cosmos are an excellent choice to start.
And if you found this article beneficial, don’t hesitate to share it with a fellow gardener who is also dreaming of summer flowers.
Continue reading “How to Cultivate and Care for Cosmos in the Garden” to discover how to care for your seedlings once they’re planted.
Until next time,
Happy Gardening!
![]()
I’m an autodidact gardening enthusiast. All that I present on my blog represents my views and what has been effective for me.
ADDITIONAL POSTS
For Your Enjoyment
Connect With Me for More Motivation