The festive season provides an excellent opportunity to showcase your imagination, and what could be better than counting down the days to Christmas with a distinctive advent calendar? In this guide, I’ll demonstrate how I converted a thrift shop find into an adorable DIY thrifted advent calendar that is both economical and cheerful.
The Motivation Behind the DIY Thrifted Advent Calendar
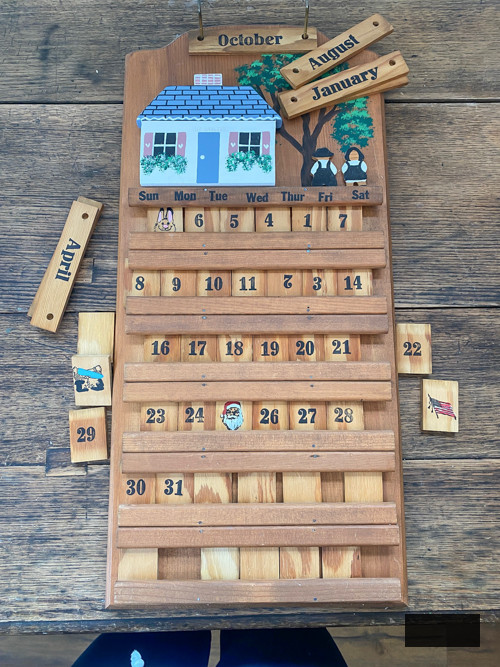
While exploring my nearby thrift shop, I came across a wooden item that had great promise. Although it wasn’t identified as an advent calendar, I instantly pictured how I could adapt it into a useful and decorative countdown for the festive period. That’s the charm of thrift store treasures—you can identify potential where others may not.
{Affiliate links are present in thisarticle. Click on any underlined links to discover the products and sources I mention. You can read my disclosureHERE.}
Materials Required
These are the materials I utilized for mine. I aimed to use items I already possessed:
- A wooden thrift find with a design that can be modified (mine had all the components I required. It just needed refinishing to suit the holiday occasion).
- Paint
- Sandpaper for preparing the surface.
- Hot glue gun (INVEST IN THIS CORDLESS VERSION! GAME-CHANGER!)
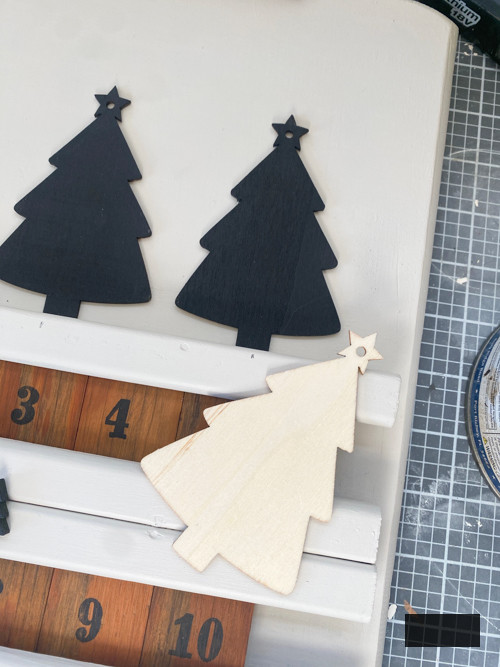
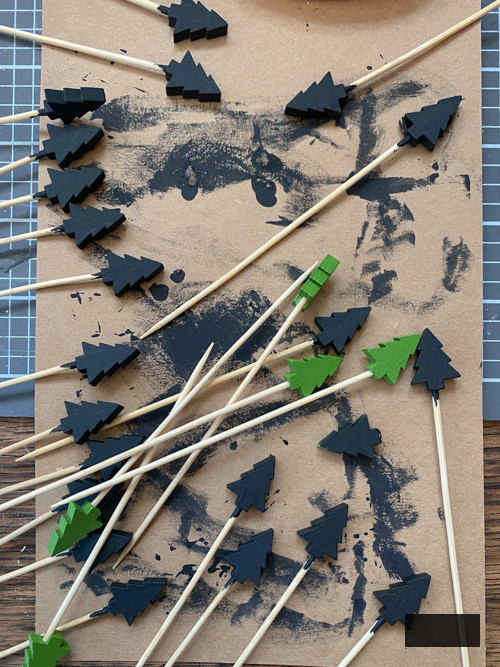
- Wooden Christmas tree cutouts(I used the ends of toothpicks I had and flat cutouts I had)
- Gel Stain
Step-by-Step Directions
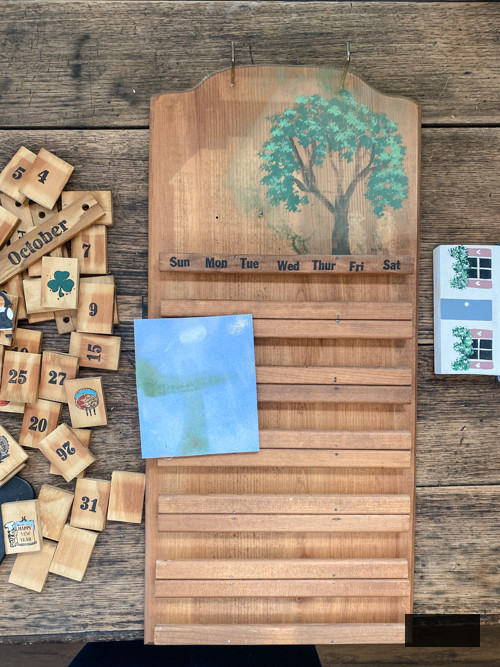
- Prepare Your Thrifted Piece
Begin by cleaning your thrifted item to eliminate any dust or grime. Utilize sandpaper to even out the surface and prepare it for painting. This phase ensures proper paint adhesion. - Design Your Layout
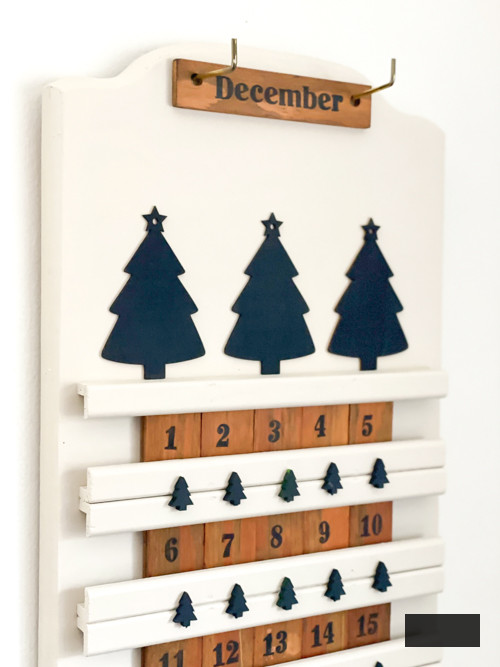
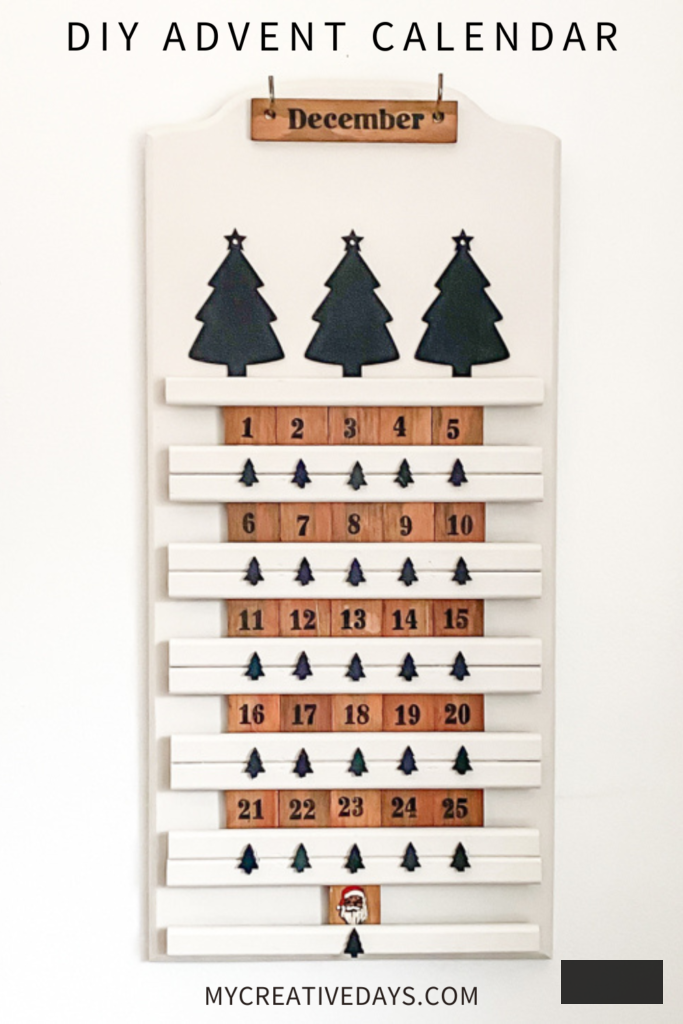
Determine how you envision your advent calendar appearing. I chose a traditional holiday motif featuring small Christmas tree shapes in a neutral palette. Arrange the design to see how it will come together. - Paint and Personalize
Place a base coat of paint on the wooden piece and any supplementary elements, such as blocks for the numbers. Once dry, embellish using stencils, freehand designs, or stamps. - Include the Numbers
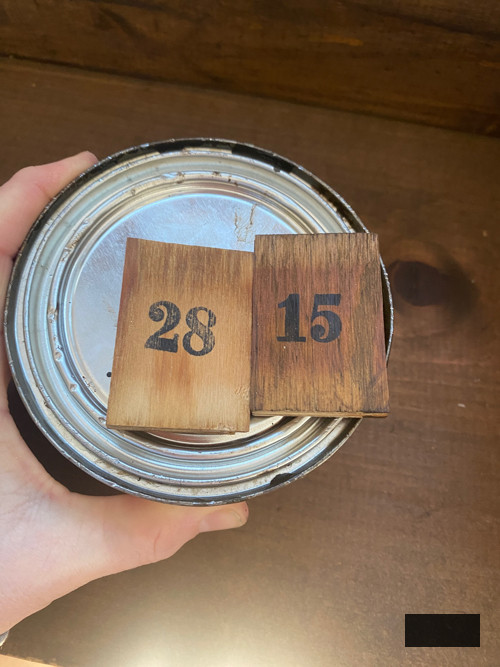
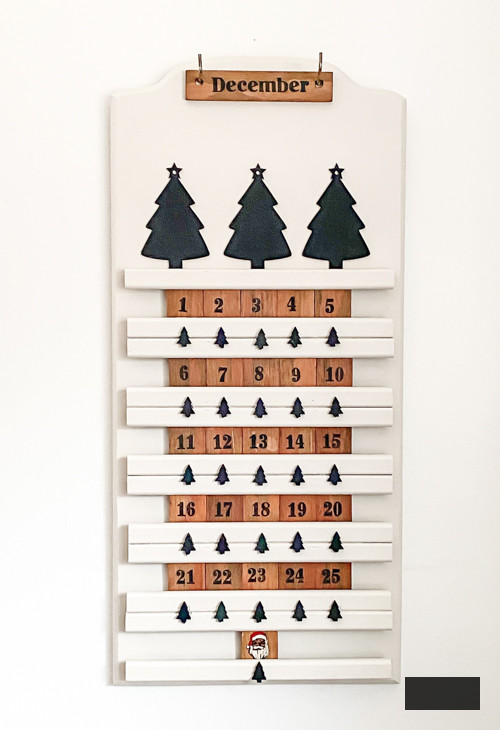
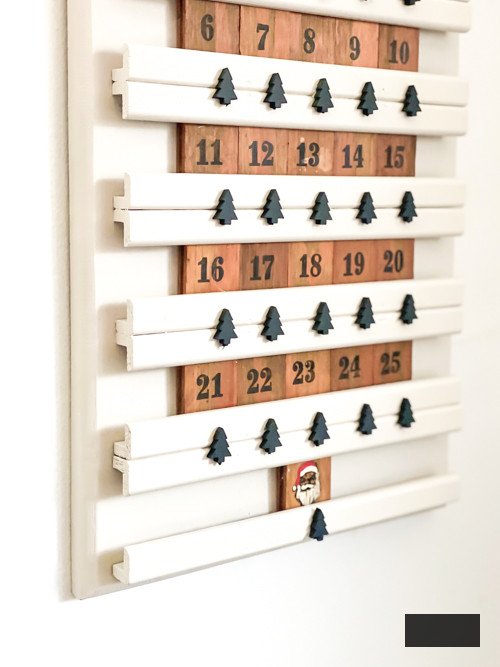
Number each compartment or block from 1 to 25 (or 24 if you prefer). These correspond to the days leading up to Christmas. - Construct Your Advent Calendar
Once all components are painted and numbered, position them on your thrifted base. If necessary, secure them using hot glue. - Seal and Safeguard
To guarantee your DIY thrifted advent calendar endures for numerous holiday seasons, finish it with a clear sealant. This step also provides a refined, professional appearance.
Reasons to Create a DIY Thrifted Advent Calendar
Crafting a DIY thrifted advent calendar is not only an enjoyable and creative endeavor but also an eco-friendly method to adorn your space for the holidays. By repurposing a thrift shop treasure, you’re granting new life to an item that might have otherwise been disregarded. Additionally, it serves as a cost-effective substitute for commercially available advent calendars.
Showcasing Your DIY Thrifted Advent Calendar
After your advent calendar is finalized, locate the ideal location to exhibit it in your home. It may serve as a centerpiece on a mantle, a cheerful addition to your entrance, or even a delightful activity station for children to engage with each day.
This DIY thrifted advent calendar swiftly became one of my favorite holiday creations. It’s an imaginative
method to infuse a personal flair into your Christmas countdown and highlight the elegance of upcycling. Should you feel motivated to craft your own, don’t forget to share your outcomes!
To witness this project unfold in real-time, check out my complete tutorial video on YouTube HERE. Be sure to SUBSCRIBE while you’re there. I am releasing new videos each week!
SAVE THIS POST!
If you enjoyed this DIY Thrifted Advent Calendar, you might also appreciate these:
DIY Scandinavian Advent Calendar
Pottery Barn Advent Calendar Copy
Simple DIY Advent Calendar Created From A 25¢ Board