Have you ever envisioned establishing a stunning cutting garden but aren’t exactly sure where to begin? Whether you’re a novice or simply seeking a more enjoyable experience, these cut flower garden ‘dos and don’ts’ will assist you in avoiding frequent blunders and setting yourself up for triumph!
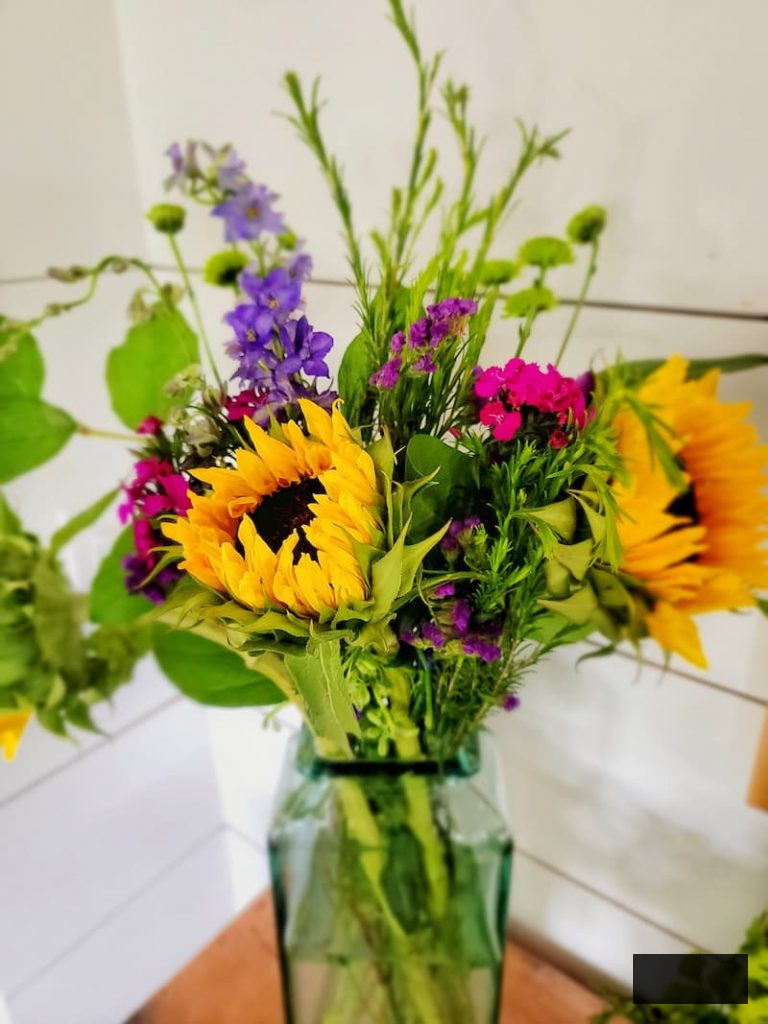
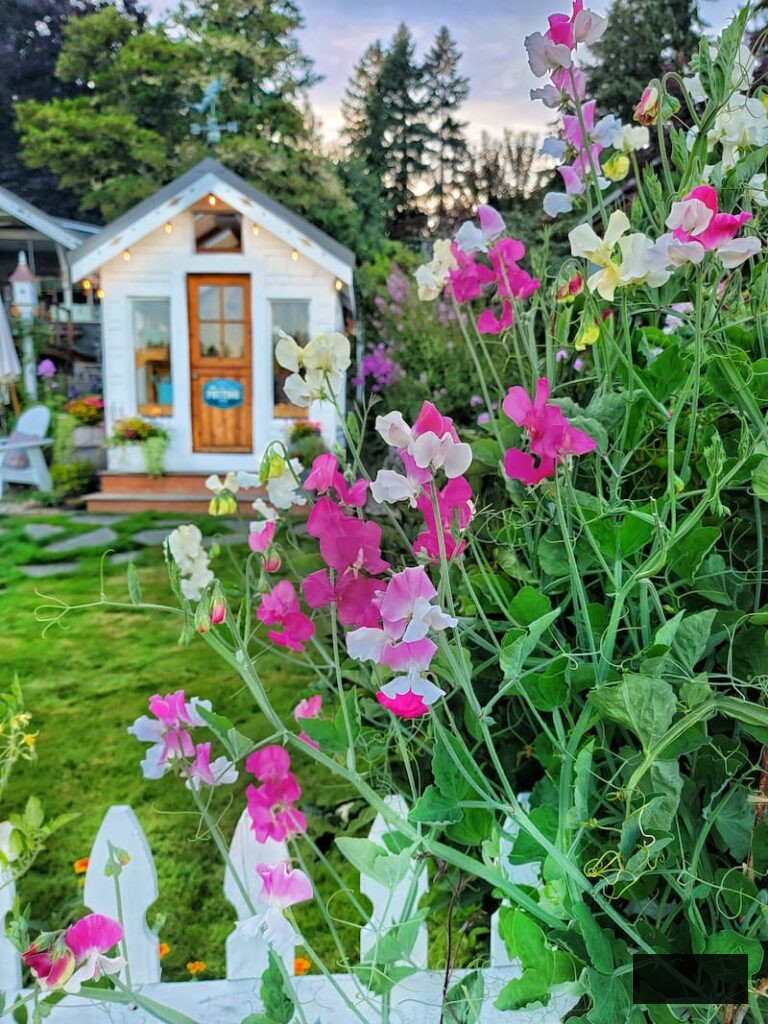
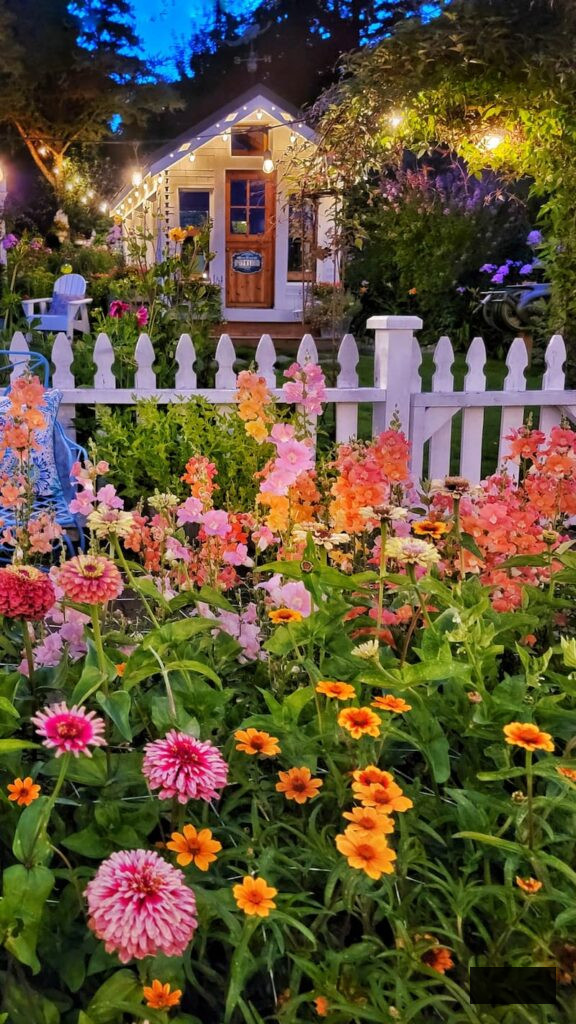
There’s truly nothing like entering your garden on a sunny summer morning, clippers in hand, and collecting a fresh bouquet of homegrown blooms. It’s one of the easiest pleasures and the finest sort of garden therapy.
Over the years, I’ve gained a lot of insights (sometimes through trial and error) about what succeeds and what fails in cultivating a flourishing cut flower garden. In this article, I’ll share the most effective hints, significant lessons, and a few errors to help you bypass the trial-and-error stage and dive directly into a season abundant with beautiful blossoms. Let’s commence!
As an Amazon affiliate, I receive a commission from qualifying purchases at no extra cost to you. My blog also contains other affiliate links for your benefit. Click here to view my privacy policy.
What is a Cut Flower Garden?

Cultivating flowers for cutting is a completely different method compared to a conventional landscaped garden.
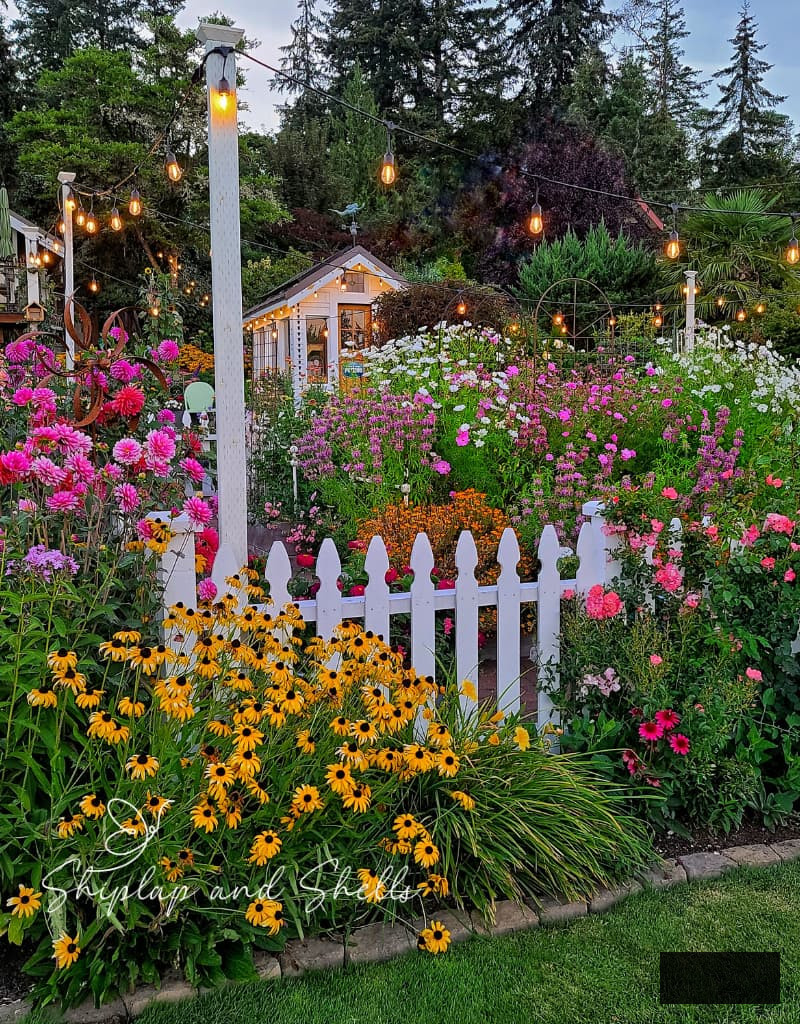
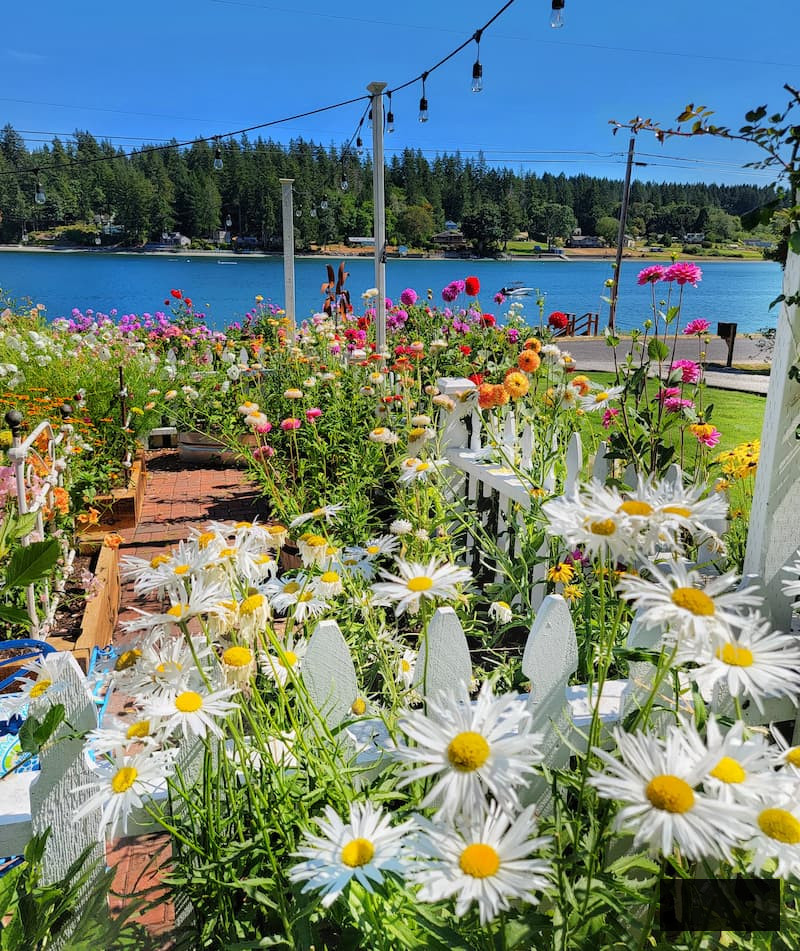
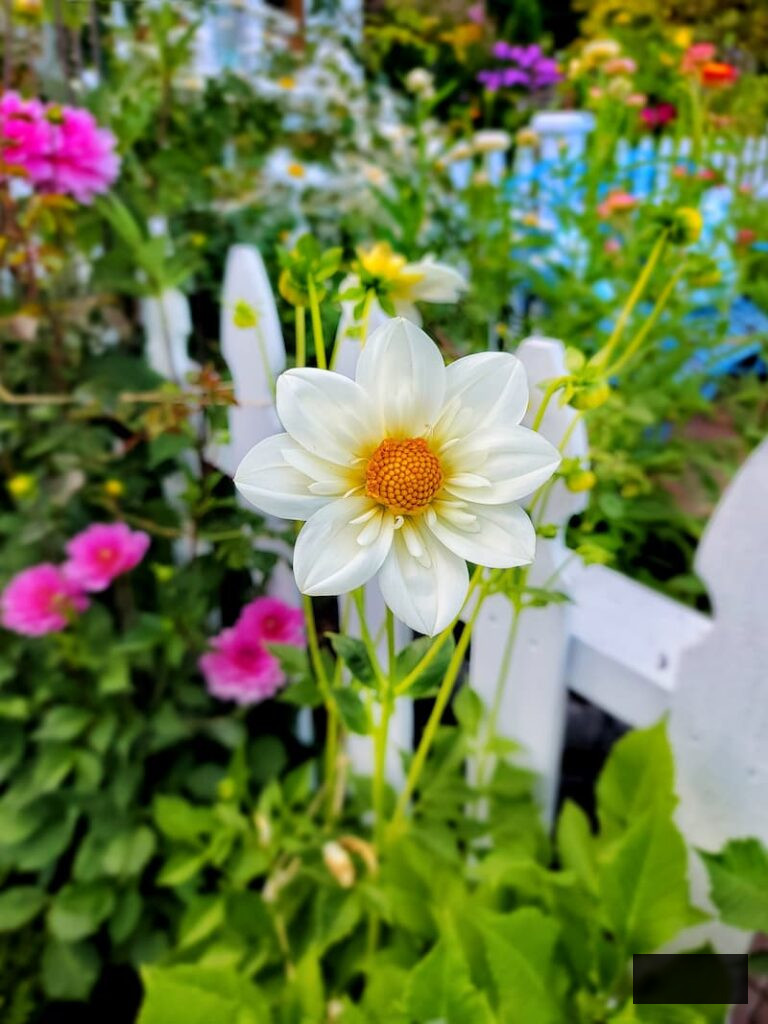
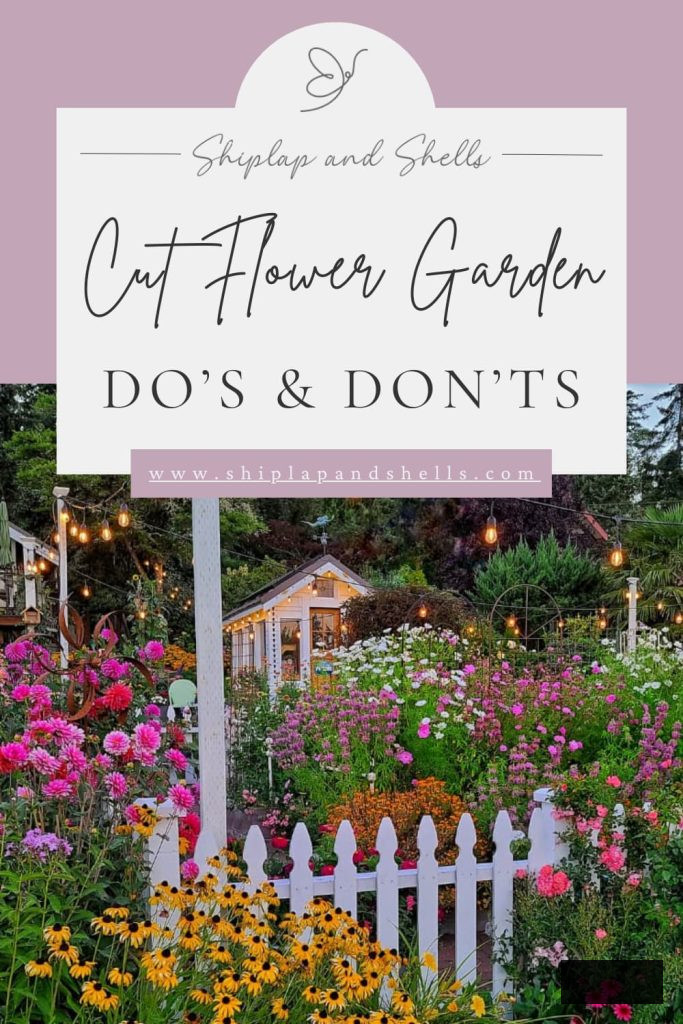
A cut flower garden is specifically crafted for growing flowers that you can trim and bring indoors for fresh arrangements and bouquets.
The emphasis isn’t solely on aesthetics within the garden but on establishing a consistent availability of blooms throughout the growing season. This necessitates taking into account aspects like size, color, and blooming period when choosing flower types.
I held back every time I harvested flowers from the yard. My garden simply didn’t appear the same afterward. Rather than fully appreciating the lovely blooms I’d labored so tirelessly to cultivate, I often left them outside to maintain the fullness of my flowerbeds.
That’s when I resolved to develop a designated cut flower garden. Now, I enjoy the best of both scenarios: my landscaped garden stays vibrant and filled with pollinator-friendly flowers, while my cutting garden offers an infinite supply of blooms I can gather whenever I wish.
Now that’s what I deem a win-win!
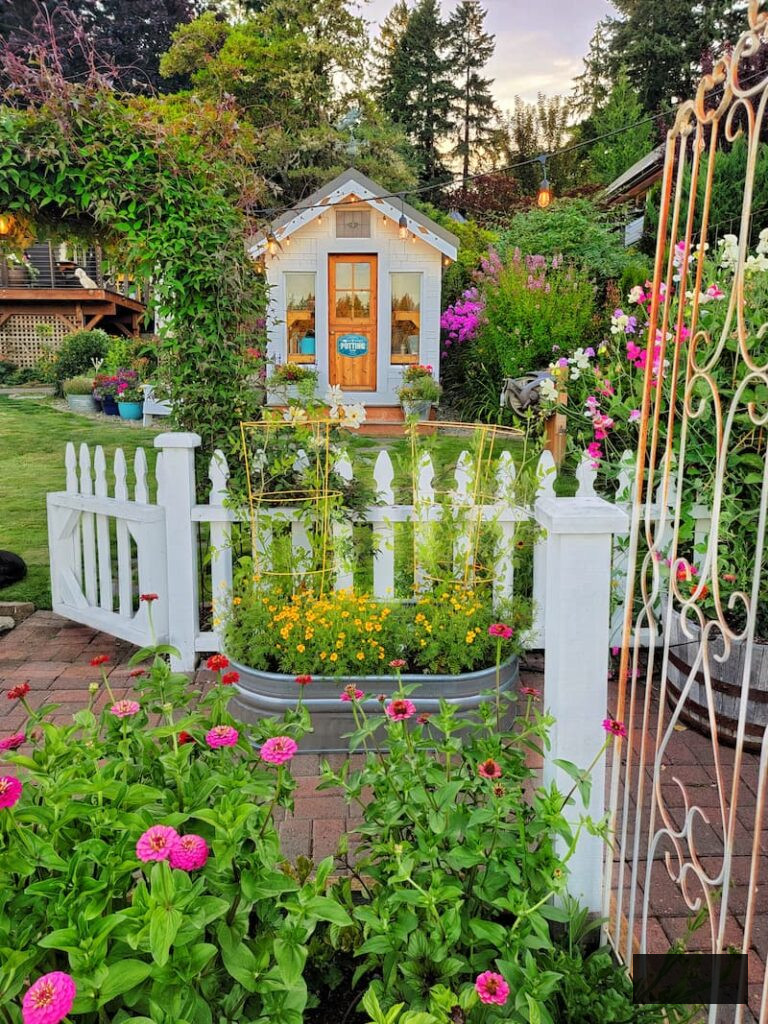
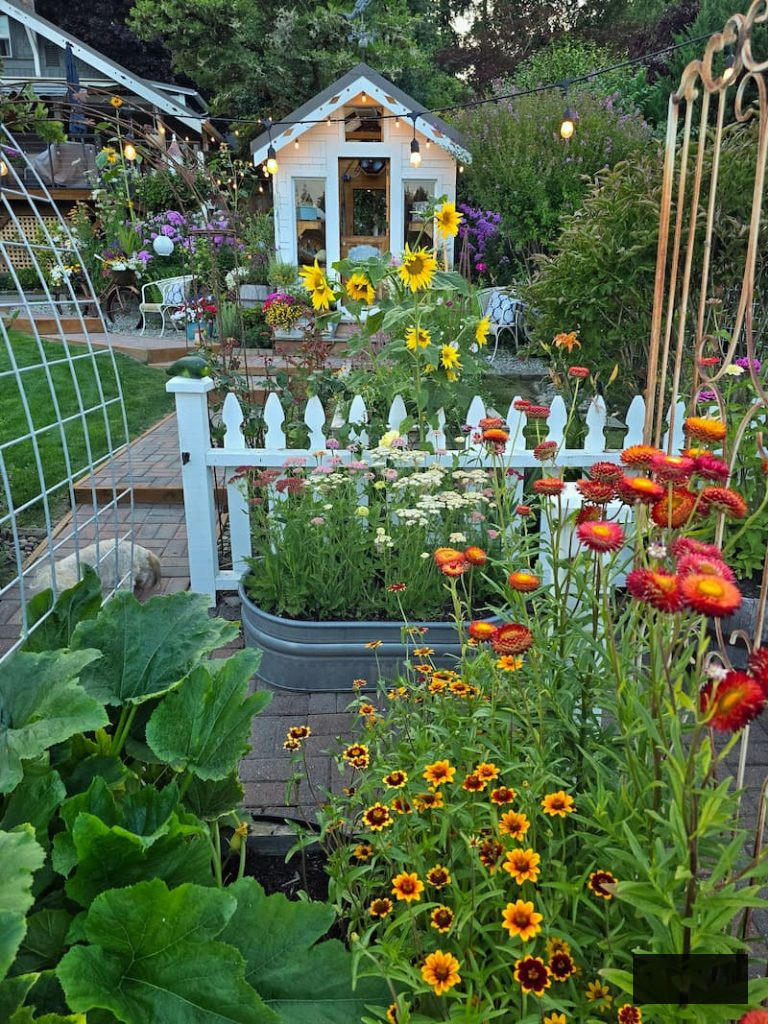
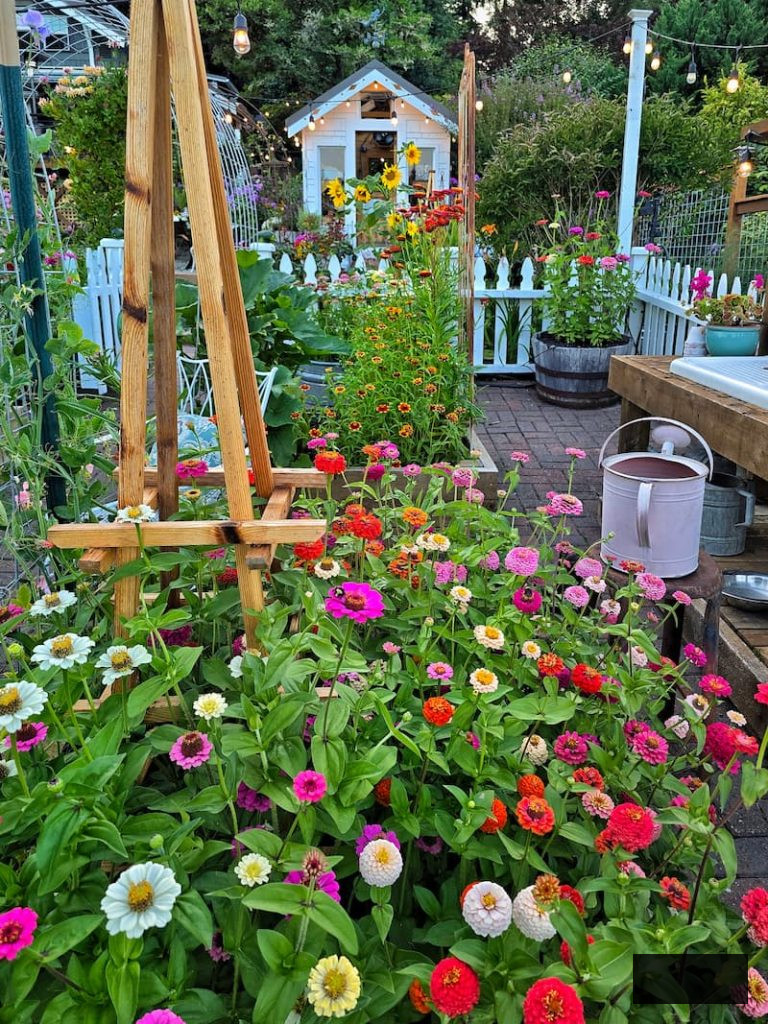
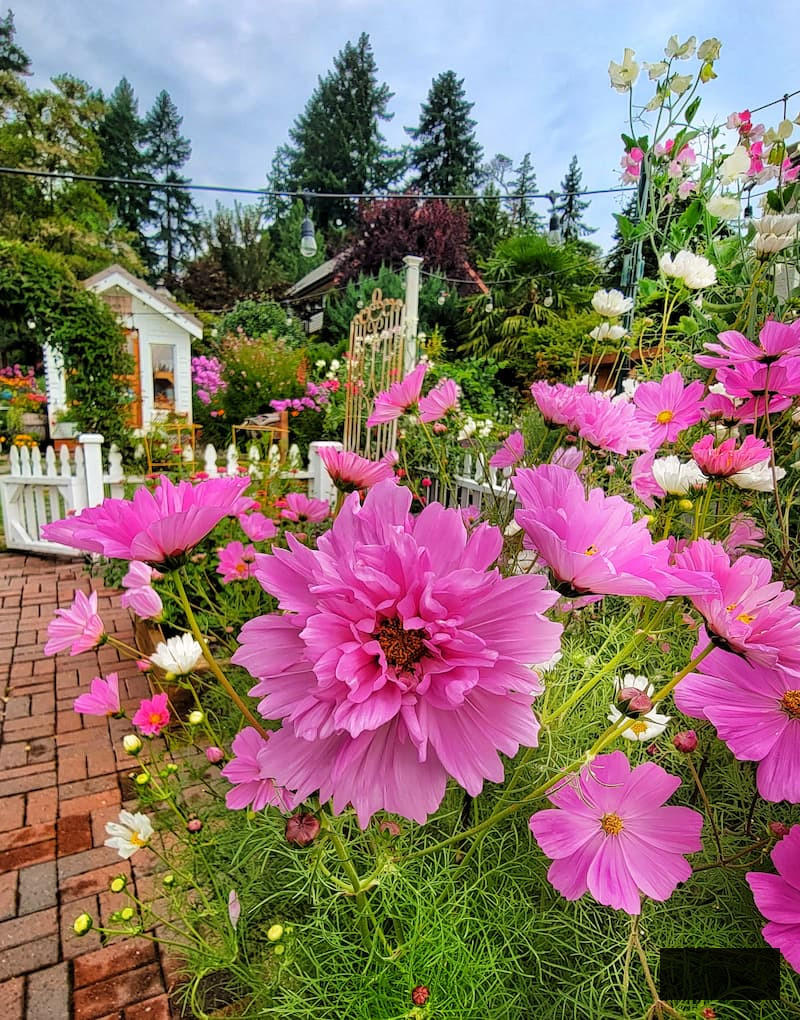
A Brief note about my garden
Most of the blooms I showcase here are cultivated from seed in our greenhouse and placed in raised beds and containers throughout our cottage garden.
Benefits of Cultivating a Cut Flower Garden
There’s an undeniable charm in stepping outdoors to gather a vibrant bouquet right from your own garden. However, in addition to the simple pleasure of possessing homegrown blossoms, a floral cutting garden offers numerous advantages:
Dos and Don’ts for a Cut Flower Garden
Timing for Planting Cut Flowers
DO understand the typical last frost date for your location. This will help you determine when it’s appropriate to sow your seeds and move your seedlings outside.
To be cautious, I harden my seedlings immediately following our last frost date and move them to the garden a couple of weeks afterward.
When cultivating cut flowers from seed, adhere to the instructions on the seed packet, which specify when to sow them in relation to your last frost date.
Implement Succession Planting
DO practice succession planting to prevent sowing an entire packet of seeds simultaneously.
Succession sowing involves spacing out your plantings over several weeks to prolong your flowering throughout the season.
This approach ensures you won’t be overwhelmed with flowers at one time, while always having fresh blooms available for cutting as needed.
YOU MAY FIND THESE USEFUL
Seed Starting Essentials
Explore my preferred equipment and tools for initiating seeds indoors. Whether you require grow lights or seed starting mix, you’ll discover what I utilize in my own greenhouse.
Understand Your Hardiness Zone
DO be aware of your hardiness zone, which aids you in determining which perennial species can thrive and endure in specific regions of North America, as well as the optimal time for planting seedlings outdoors.
Hardiness zones are established based on your area’s three-decade average last frost date. I reside 60 miles southwest of Seattle, Washington, and fall within Zone 8b.
Develop a Cut Garden Strategy
DON’T purchase seeds without a garden strategy.
It’s tempting to navigate to a seed website and buy all the enticing flowers you wish to see in a cutting garden. Sadly, this is a common error.
I tend to create year after year (unfortunately, I possess no self-restraint).
Outlining your garden beds BEFORE you embark on your seed shopping provides a more accurate view of what can accommodate your garden area.
I typically begin planning in November or December to choose the finest seed options.
Select Premium Cut Flower Seeds
DO NOT utilize inferior seeds when establishing a cut flower garden. High-quality cut flower seeds, devoid of pesticides and illness, will represent one of your wisest investments.
Here are some seed suppliers that I’ve found incredibly satisfying in my garden:
Choose the Finest Cut Flowers to Cultivate
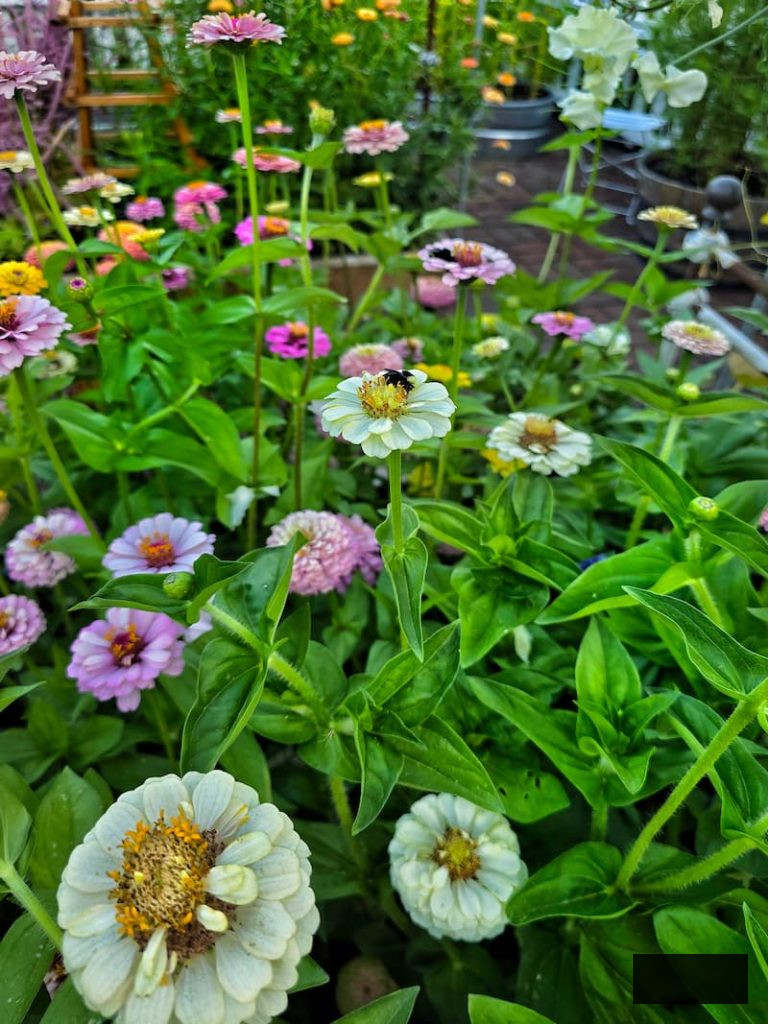
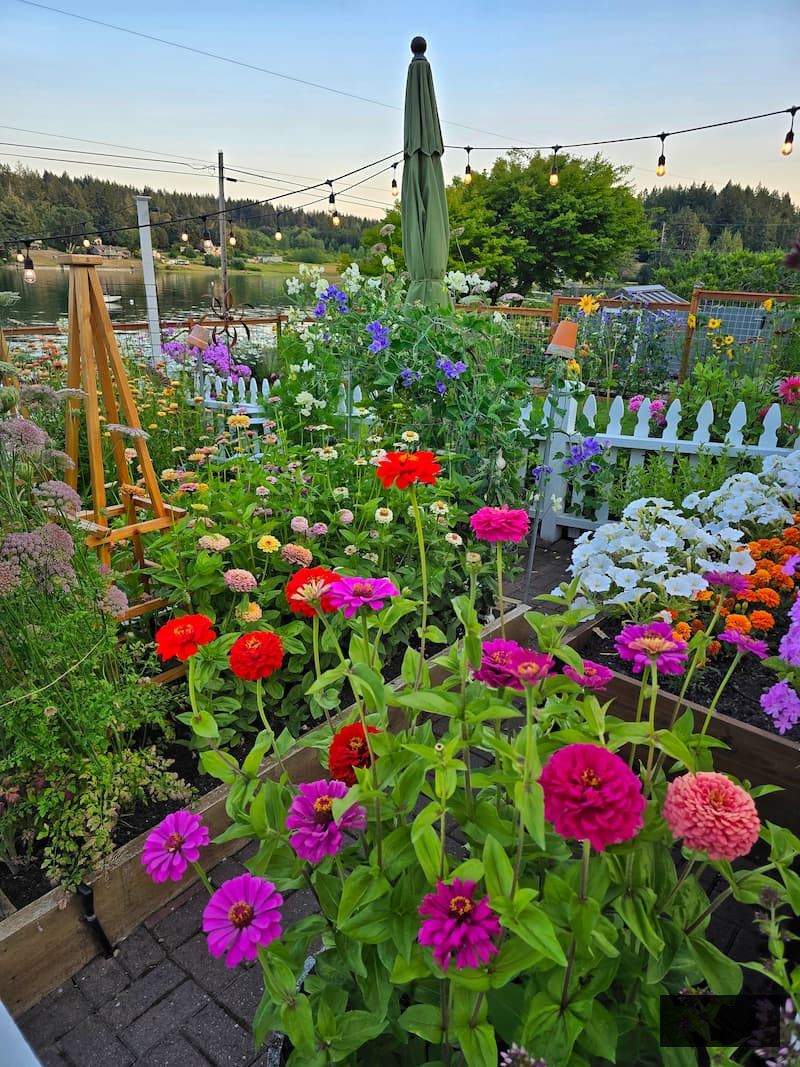
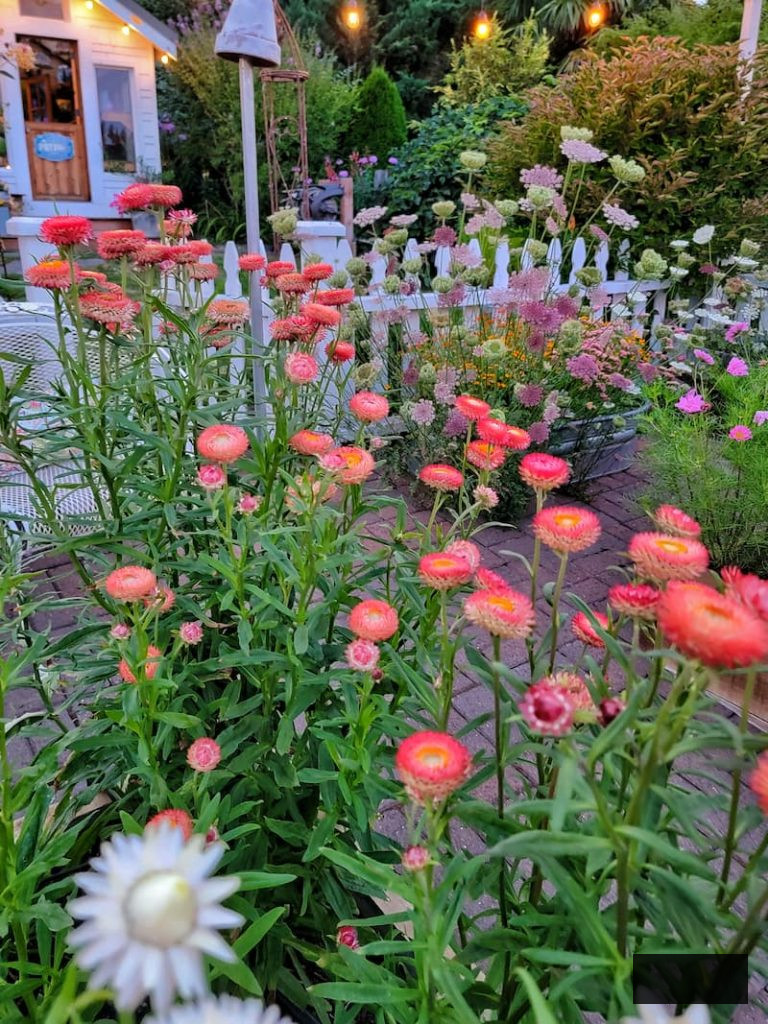
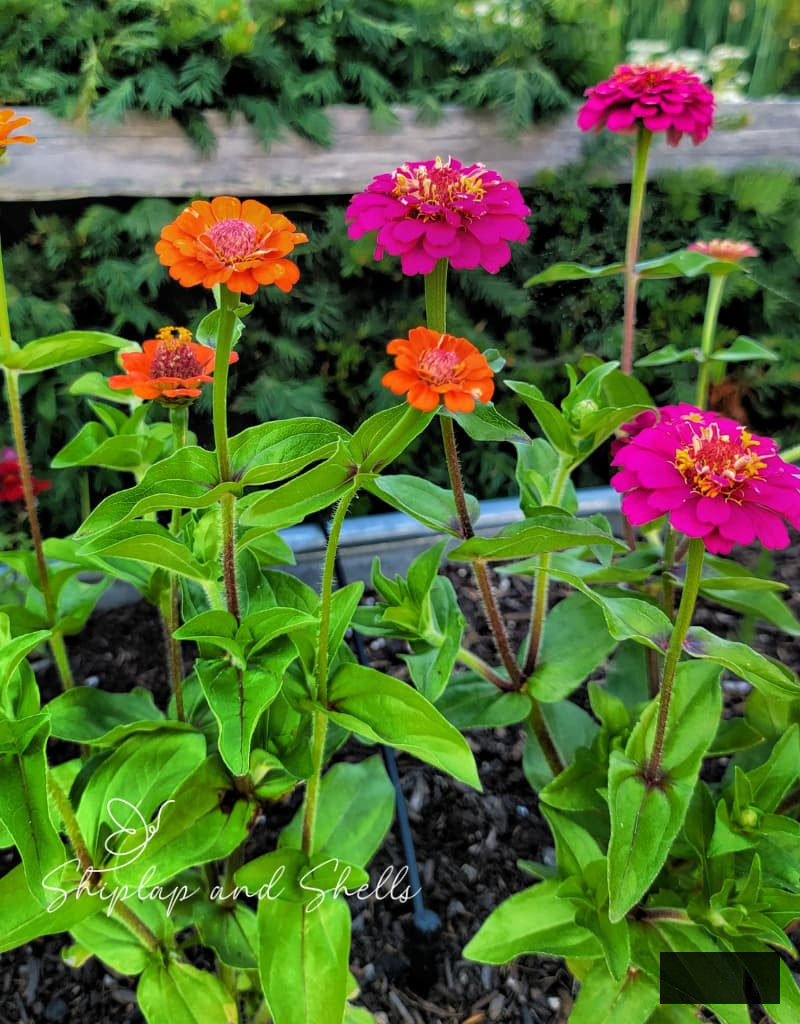
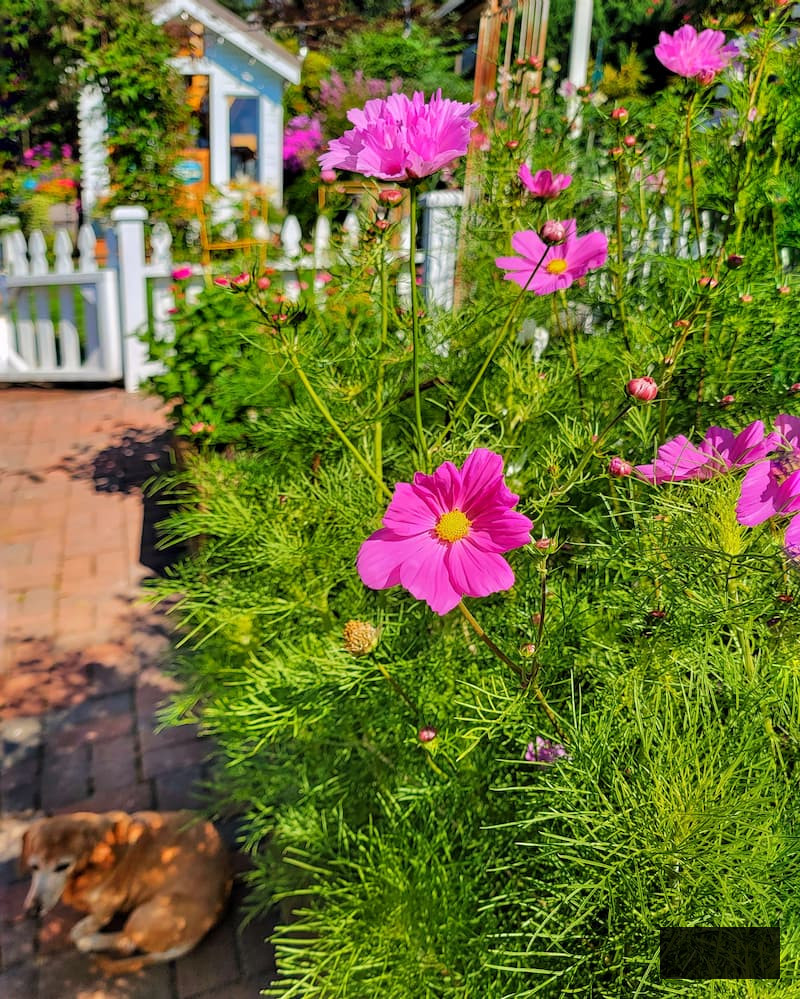
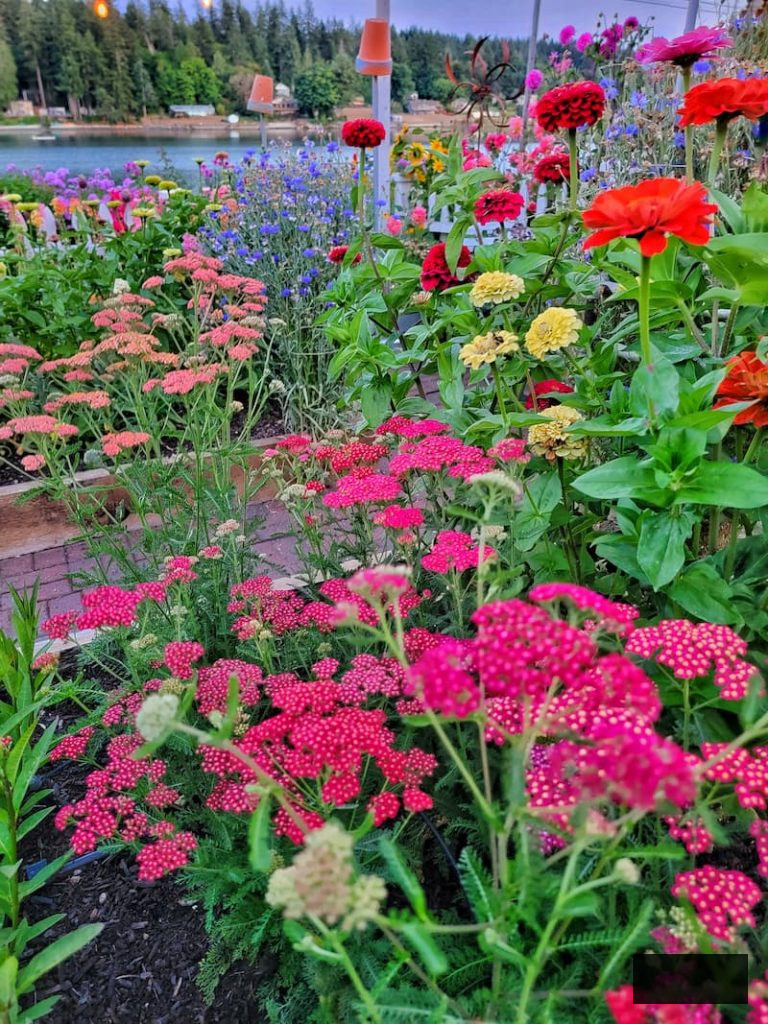
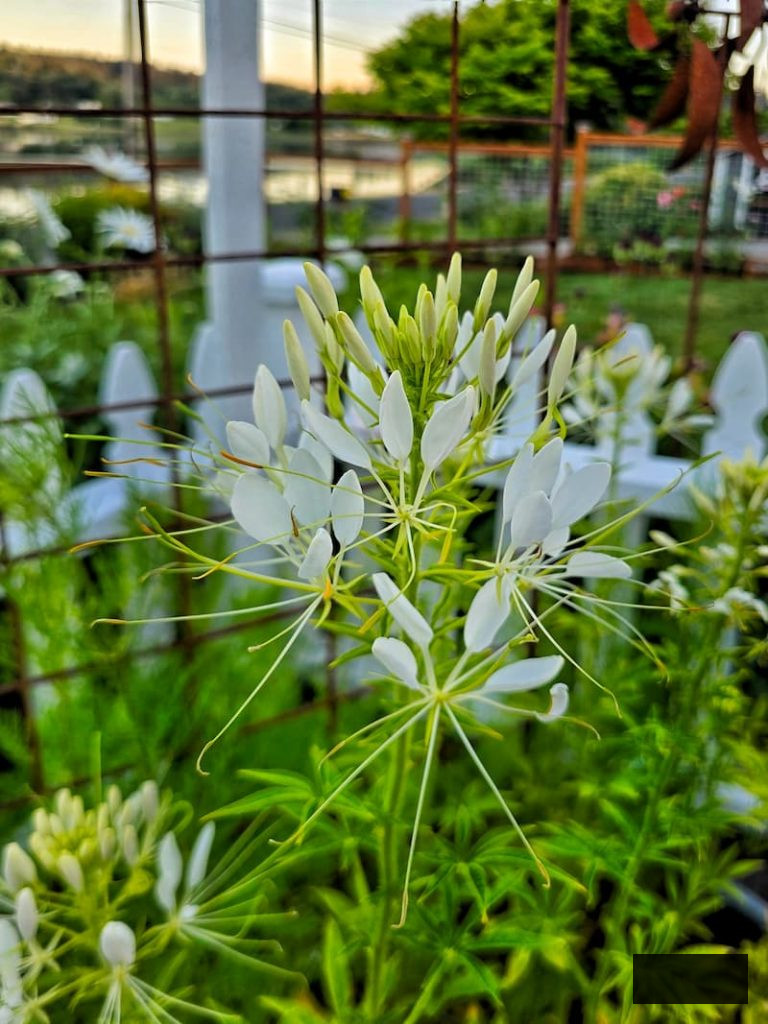
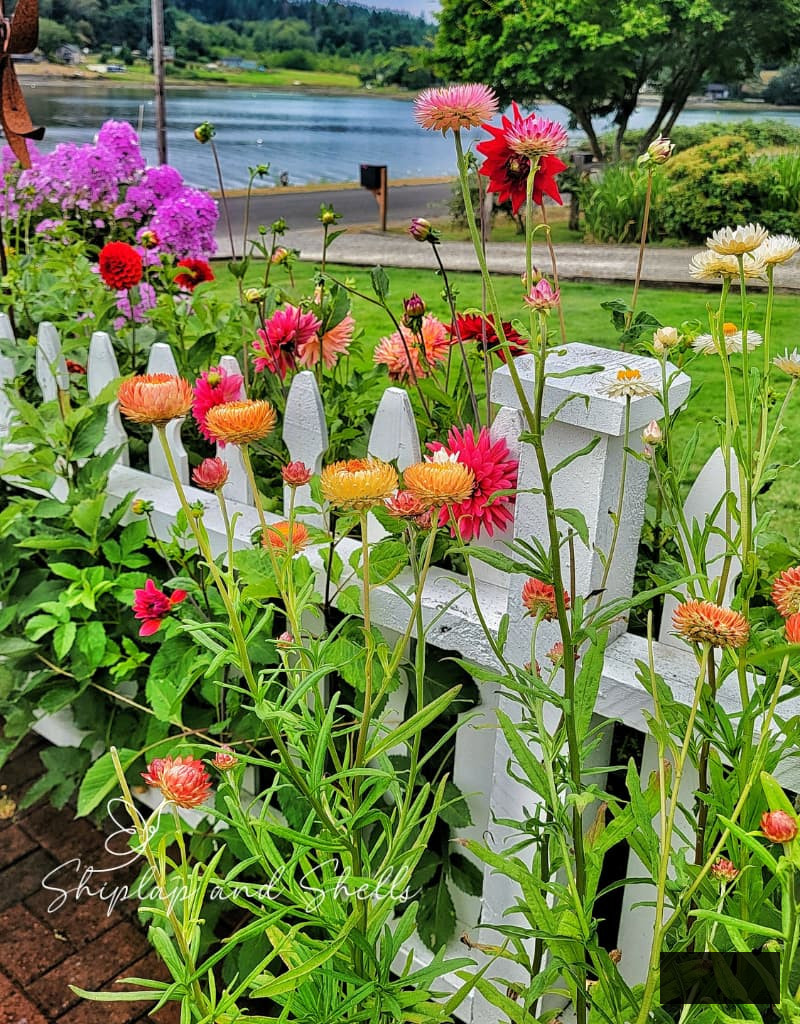
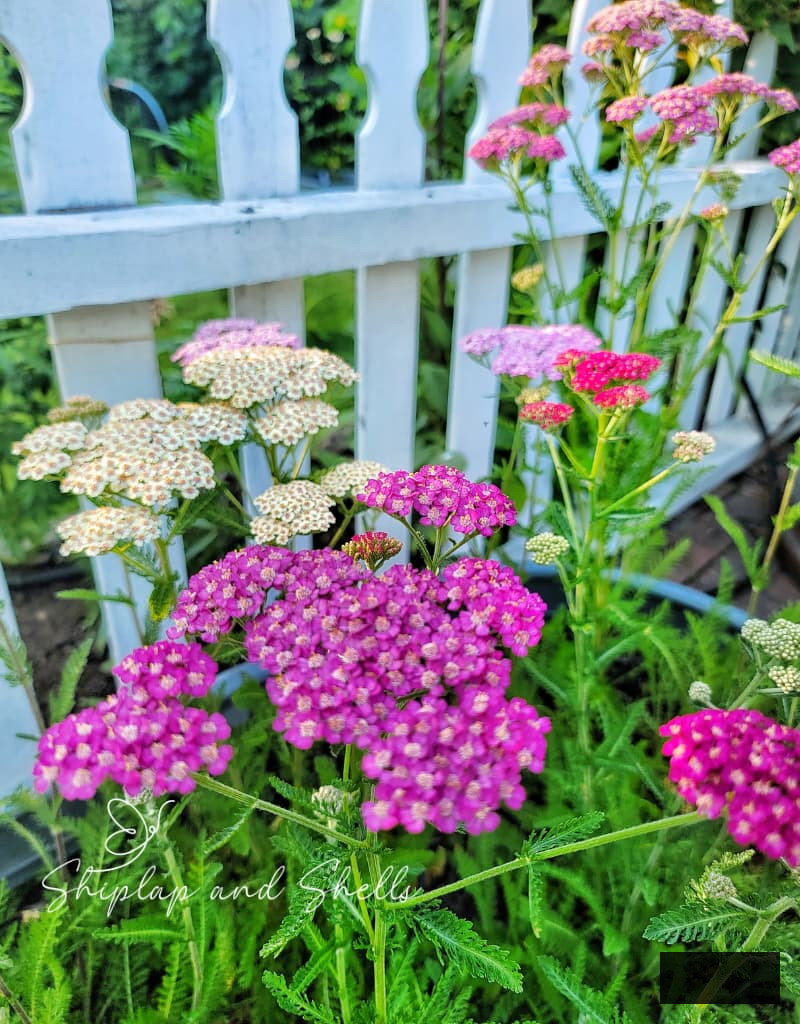
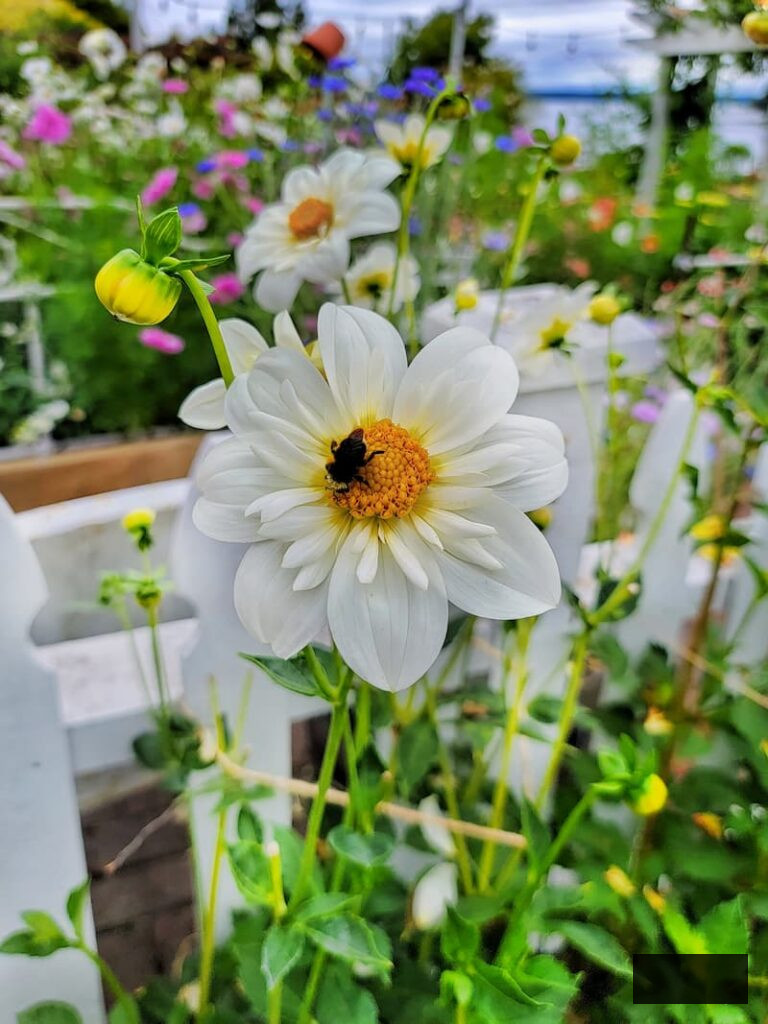
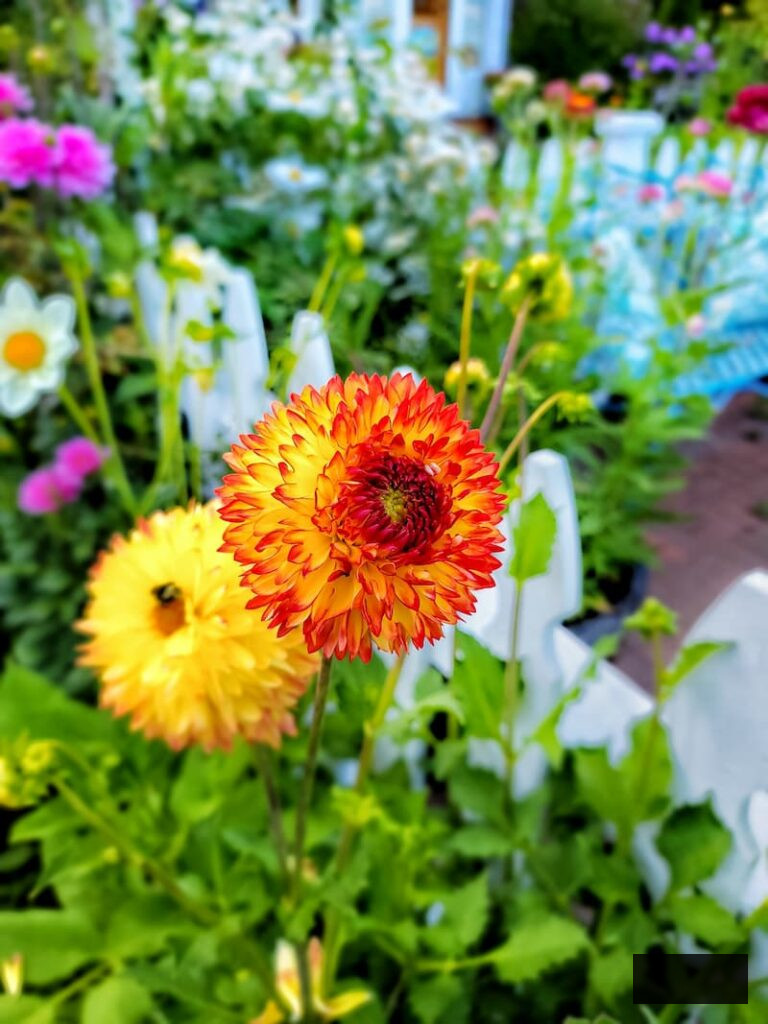
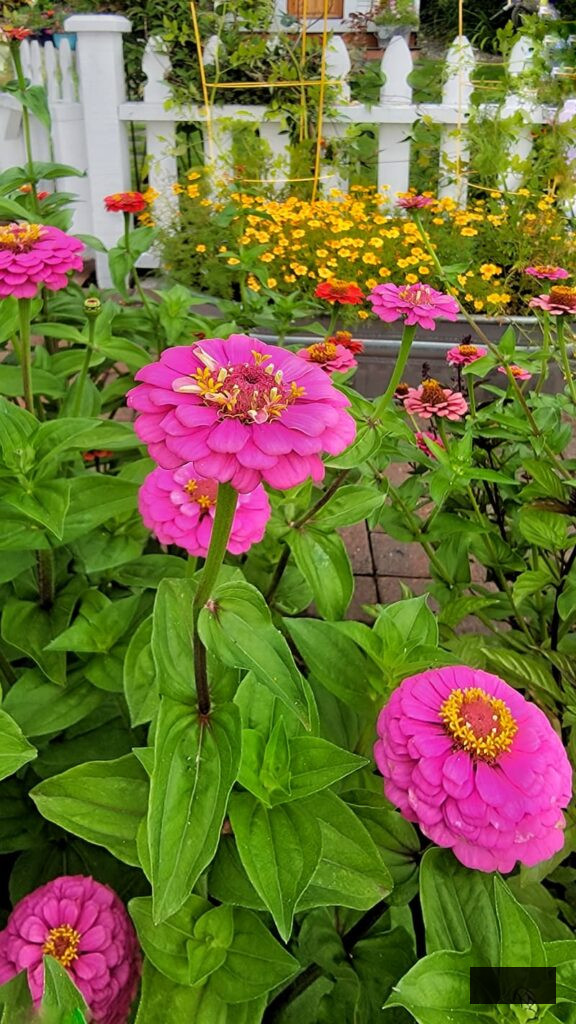
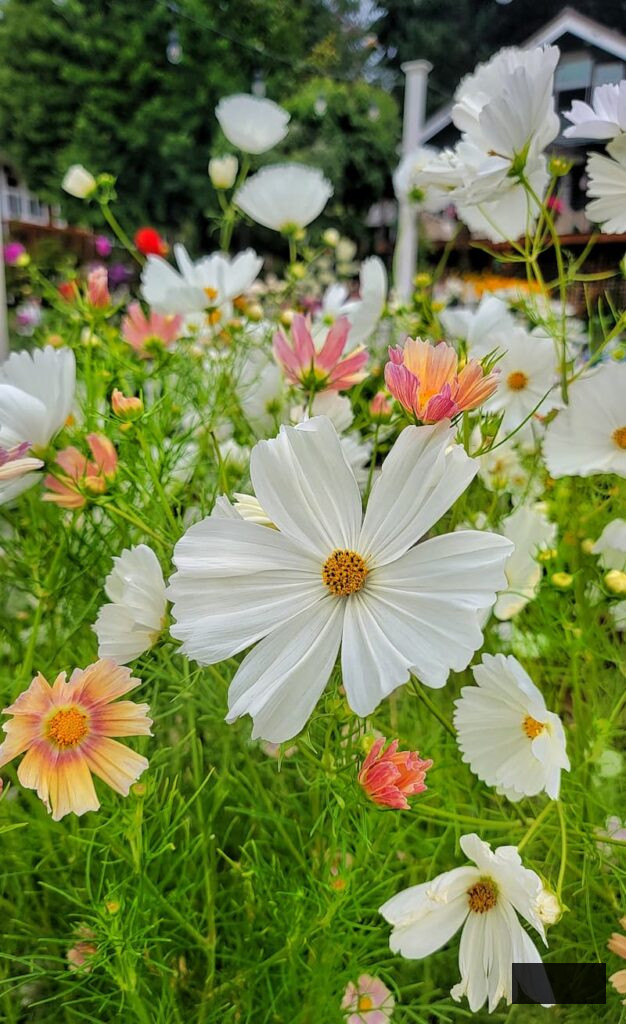
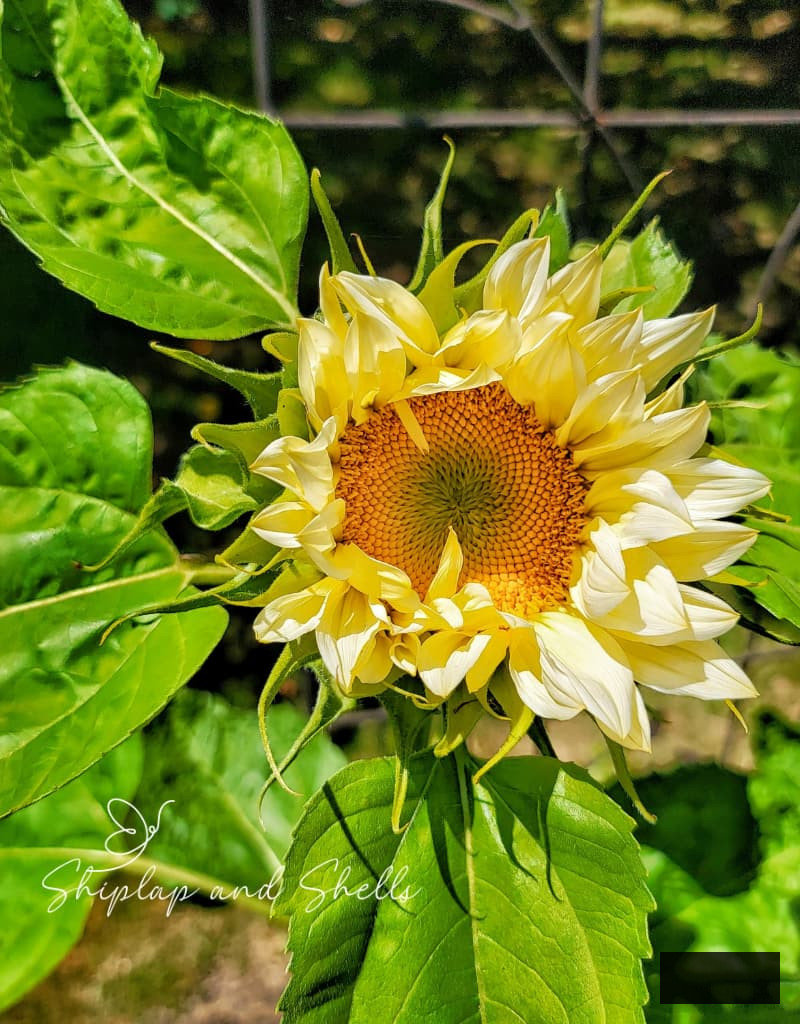
DO select cut flower species that yield for several months. Examples from my garden include hydrangeas, zinnias, cosmos, strawflowers, and dahlias.
Many of my blooms are varieties that generate more flowers the more you cut.
DO pick cut flowers with hues and forms that harmonize in a vase.
Here are additional posts with details on how to cultivate some of the cut flowers I have in my garden from seed indoors:
Examine the Seed Packet Instructions
DO NOT overlook reading the entirety of the information on the seed packets.
DO reread the seed packet when it’s time to relocate the seedlings into the soil for spacing recommendations.
Label Every Individual Seed Cell Following Sowing
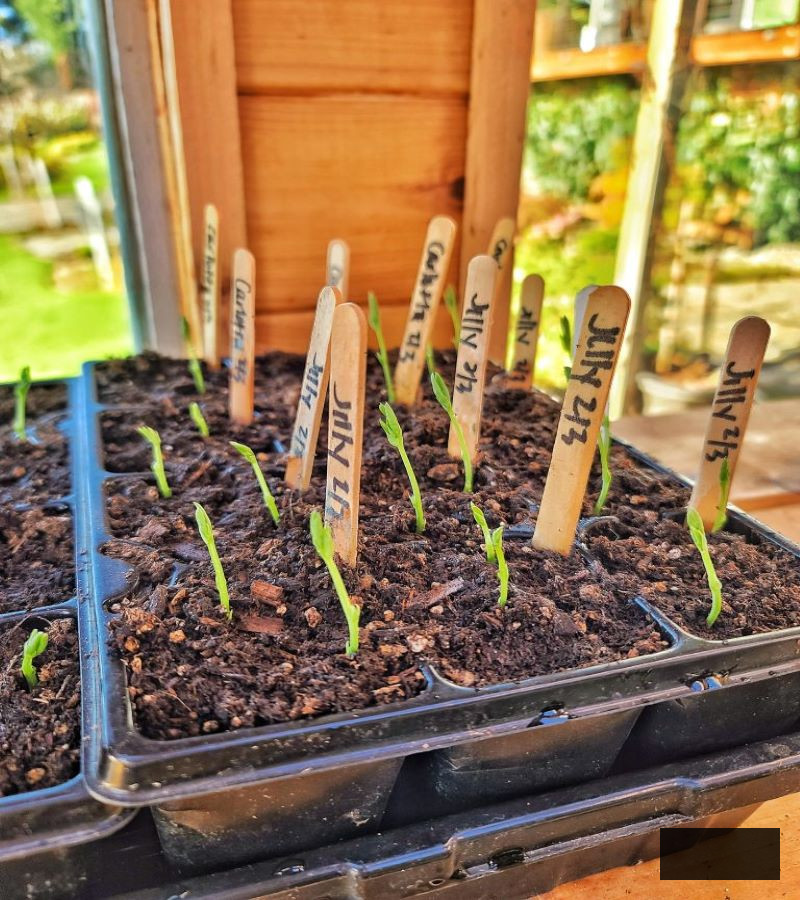
DO cultivate the practice of labeling your seed cells and containers right after sowing.
This year, I opted to cut costs and save time by marking one cell in each seedling tray for each seed variety. I underestimated the risk of losing these labels when the trays were frequently moved.
Seed trays were regularly shifted in the greenhouse and in and out for a week or two during the hardening-off process. I mislaid a few of those labels and was unaware of which varieties I was cultivating until the first blooms appeared over a month later.
The takeaway is to tag each cell or pot with the flower’s name and the date the seeds were sown. The dates will be useful for your succession planting.
Prepare Your Flower Garden Soil
Soil Examination
DO NOT skip the soil examination before planting your cut flower seedlings. This is one of the most crucial steps for a thriving garden, yet it is often neglected.
This will provide insight into which plants will flourish best in your garden’s soil. You will also understand the amendments needed for the essential nutrients.
You can either hire an expert to analyze your soil or purchase a soil test kit.
Incorporate Organic Matter
DO
Add nutrient-rich organic material, like compost or leaf mold, to the earth to aid in moisture retention and drainage. Every April, we incorporate fish compost into our garden plots to enrich the soil with essential nutrients.
Provide Flowers Ample Space to Thrive
DON’T cluster flowers too closely together.
When attempting to place all those exciting seedlings into your cut-flower plot, it’s easy to overlook how large they will become in a matter of months.
I cannot emphasize enough the significance of providing adequate spacing for your plants in the garden. Your plants will flourish and be more fruitful by enabling them to access the light and nutrients they require and allowing air circulation to deter pests and diseases.
Adhere to the instructions on the reverse side of the seed packet. They’re included for a purpose!
Create Space for New Varieties
DO remove what has not succeeded in the past before introducing new varieties.
It’s always exciting to explore new seed varieties. However, to accommodate them in the cut flower garden, you should remove an equal number of flowers from the existing collection.
By eliminating my least favorite performers from my list, I can experiment with 2 or 3 new annuals each season.
Combine Flowers and Vegetables in Your Garden
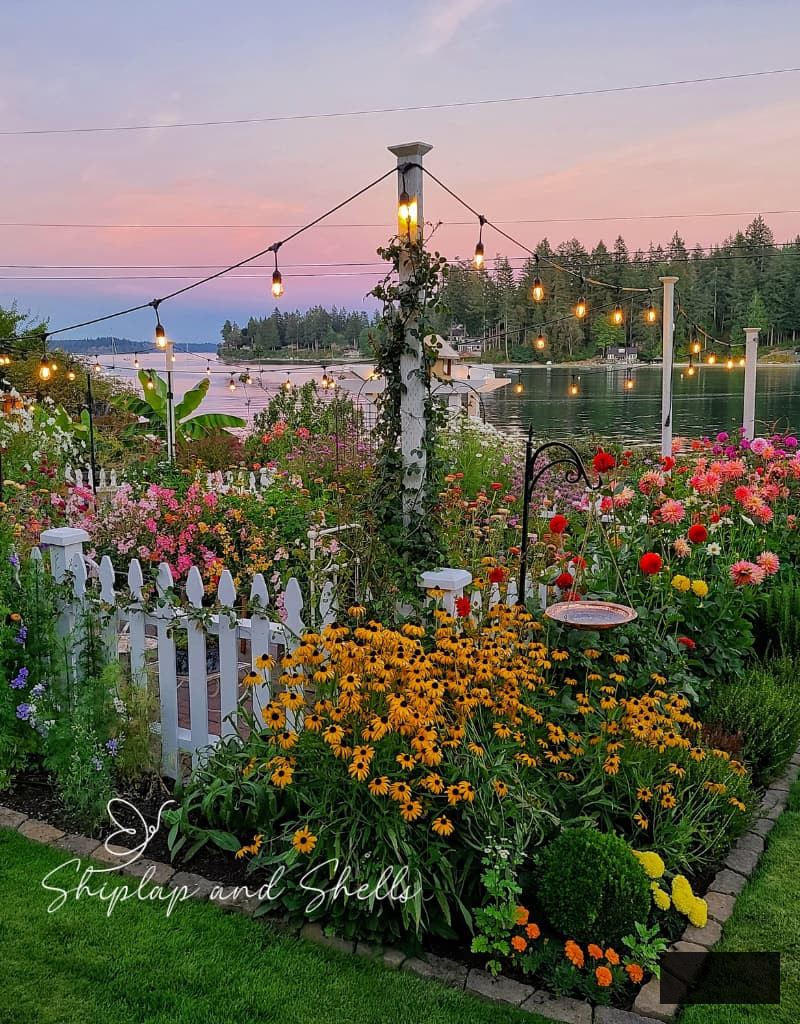
DO integrate vegetable plants and herbs into your cut flower garden. The amplified pollination from bees and other pollinators will enhance your garden’s productivity and yield the best outcomes for your flowers. I appreciate the diversity the garden offers with a blend of flowers, herbs, and veggies.
Vegetable companion planting attracts helpful insects, including pollinators, accelerates growth, offers shade and support, and mitigates pests.
Here are some vegetable and flower companions that consistently succeed:
Pinch and Trim Your Blooms
DO pinch various cut-flower types, like sweet peas, dahlias, cosmos, and snapdragons. An effective cut-flower tip is to clip the plant’s primary stem to foster more blooms and straighter stems.
Pinching is a trimming method that stimulates branching in young seedlings and plants.
When you pinch or clip a plant’s early buds, you eliminate the central stem, compelling the plant to develop two new stems beneath the cut leaf nodes.
Flower output increases, and stems grow longer. Plants may become fuller and bloom with larger flowers. This method also prevents plants from appearing leggy and stretched.
DON’T hesitate to cut your blooms from the garden. Keep in mind that the more flowers you harvest, the more blossoms your plants will yield.
DO deadhead any faded blooms regularly to help persuade the plants to concentrate their energy on creating new flowers instead of sustaining the old ones. This prevents the plants from squandering water and nutrients on dying blooms.
How Much Sunlight Does a Flower Garden Require?
DON’T subject your plants to less than 6 hours of direct sunlight. Most cut flowers flourish in full sun and require a bright area to grow. The reverse of your seed packet should indicate the sunlight needs of each flower variety.
DON’T obstruct flowers from sunlight by positioning taller varieties of plants in front of them. I place my taller flowers behind the shorter ones in the late afternoon when the raised beds receive more sun.
Plants demand adequate light for photosynthesis and energy production. Plants deprived of sunlight will lean toward the light source. They may grow stunted, with yellowing leaves that can fall off.
The rear of the seed packet and plant label offers further details about the sunlight requirements for each flower variety.
Irrigate Your Flower Garden
DON’T overhead irrigate your perennial and annual flowers. Utilizing a drip system or soaker hose means your plants will need only 1/4 of the water they would with overhead watering. Wet foliage makes plants more prone to fungal diseases.
The most effective way to irrigate your garden is through drip or irrigation systems. Drip irrigation gradually delivers water to the roots of the plant before it evaporates, which is particularly important during late summer when temperatures rise.
SHOP DRIP SYSTEMS
SHOP SOAKER HOSES
DO water early in the morning before the sun starts heating the garden. If watering in the afternoon, you risk the water evaporating before it reaches the plant’s roots, resulting in burnt leaves.
If possible, avoid watering in the evening. There won’t be enough time for the leaves to dry before temperatures drop, potentially leading to powdery mildew and other fungal issues. If you must water in the evening, ensure you water solely the plant roots, not the foliage.
Overwatering
This is a frequent cause of plant issues. The damage from overwatering is often confused with a pest issue.
Roots residing in saturated soil are unable to uptake nutrients and may die due to lack of oxygen. Soil that doesn’t drain well is more vulnerable to overwatering concerns.
When a plant initially receives too much water, its leaves turn yellow. If the plant doesn’t dry out, it wilts, and its roots can’t absorb water. Brown edges on the leaves occur because the plant forces water through the leaf margins, causing the veins at the edges to rupture.
How to Prevent Overwatering
DO assess the plant’s moisture status by inserting your finger into the soil. The top layer of soil might be dry, but that doesn’t indicate the entire plant is devoid of moisture near the roots.
DO apply mulch to your garden bed to aid in water retention and uphold a steady moisture level.
DON’T irrigate at the first sign of drooping. It’s typical for many plants to sag during peak daytime heat. Wait until evening to check if the plant has revived before you water it again.
DO select appropriate plants for your soil conditions. Whenever possible, grow plants that require similar water amounts. Group plants that need abundant watering, those that can be watered every few days, and drought-tolerant varieties together.
Encourage Deeper Root Development
To promote deeper root development, you may consider a few actions. Based on the plant and soil conditions, you can either decrease the frequency of watering to a few times weekly or extend the duration of each watering session.
DO water roots deeply, for longer periods, and less frequently to motivate them to penetrate deeper into the soil. That’s where the soil is cooler and abundant in nutrients. Drip line systems and soaker hoses efficiently deliver water directly to the roots of the plants.
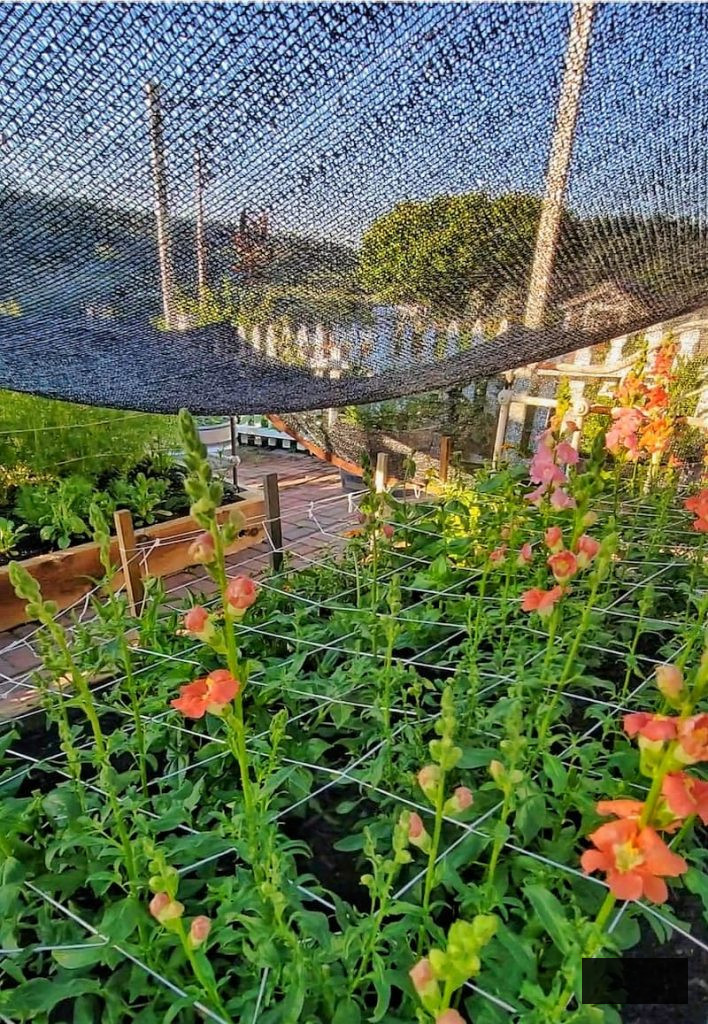
Support Your Cut Flowers
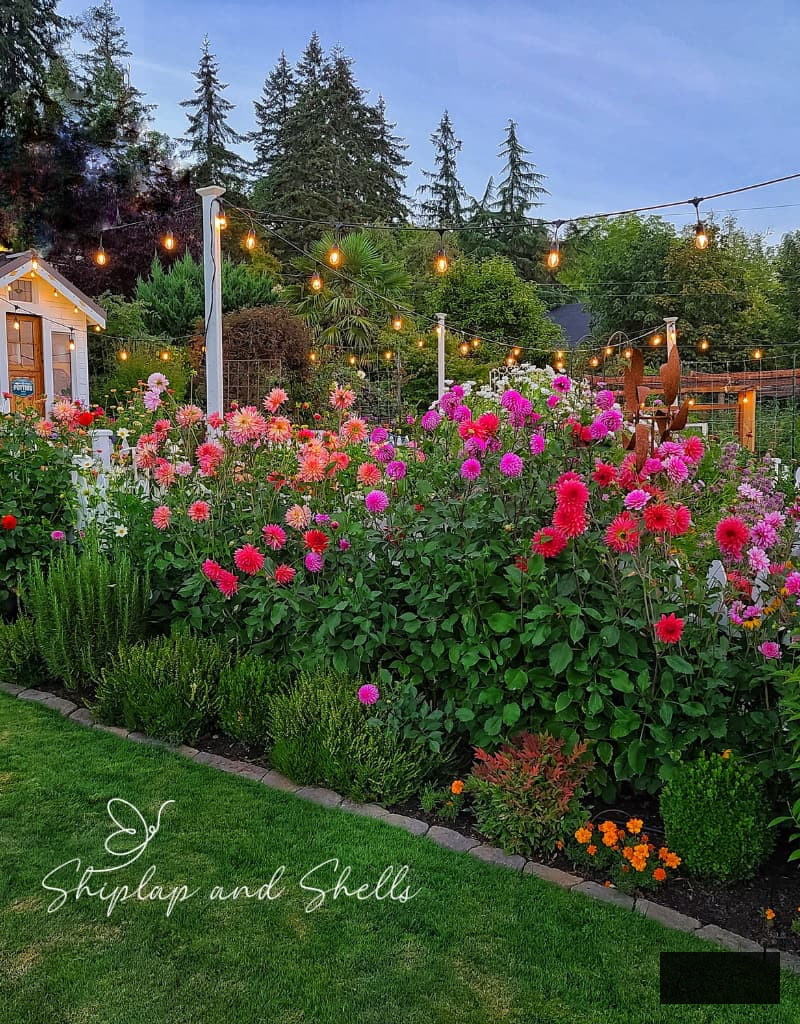
DO provide support for tall flowers. Employing stakes, trellises, netting, and corral systems will help prevent harm from wind, rain, and excessive growth. Dahlias, snapdragons, sweet peas, cosmos, and daisies require the most support in my garden.
The flower stems will likely grow taller and straighter as they receive support alongside your taller plants.
It’s best practice to commence staking when they reach about a foot in height and then adjust the twine or re-tie as they continue to grow.
Sustain a Weed-Free Garden
DO remove weeds from the garden bed so plants can flourish without competing for water and nutrients.
Incorporate Mulch into Garden Beds
One of the most effective methods to prevent weeds from sprouting in your garden is to apply mulch. It helps maintain a cool and moist soil while acting as a barrier between weed seeds and the sunlight required for germination. Add a 1 to 2-inch layer of mulch to the soil, but no more than 3 inches, so that the soil can still breathe.
Allow the Ground to Rest
Your garden is likely sprinkled with weed seeds, yet only those at the top inch will receive sufficient light for germination. By digging and disrupting the soil, you’re actually surfacing weed seeds.
Dig only when absolutely necessary and cover the area with mulch afterward.
Avoid Watering the Weeds
DO water your plants, not the weeds. Drip or soaker hoses help to direct water exactly where it’s needed.
Safeguard Cut Flowers from Pets and Illness
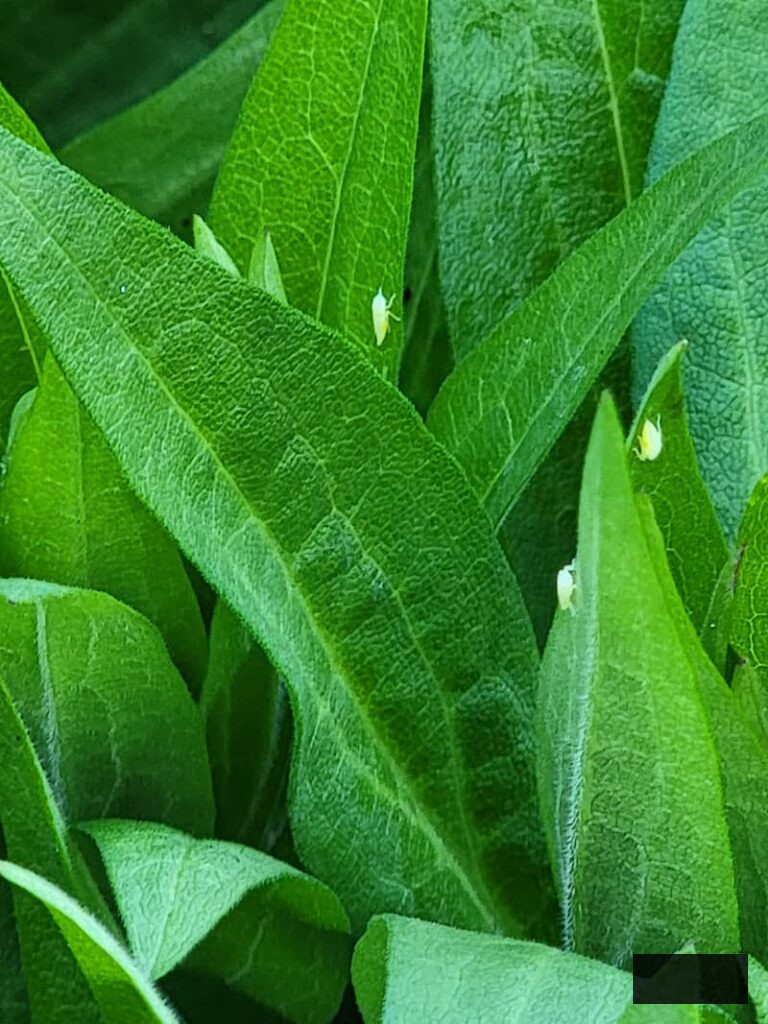
DO address those troublesome pests and diseases promptly before they escalate and spread throughout your cut-flower garden.
A leisurely morning walk through the garden not only serves as relaxation but also provides an ideal opportunity to notice early signs of pests or diseases before they grow into significant issues.
Nothing can assure a pest and disease-free garden. Here are some steps you can implement to maintain your garden’s health and minimize circumstances that may encourage pests and diseases.
Enhance Airflow
DO boost air circulation in the garden beds.
Adequate airflow is essential to prevent fungal diseases such as powdery mildew and black spot. Congested plants foster an environment where pests and illnesses flourish. Keep plants well-dispersed, prune as needed, and routinely divide perennials to stop them from becoming too large and competing for space.
Divide and transplant your perennials frequently to prevent overgrowth and ensure they don’t dominate another plant’s area.
LET’S GO PURCHASING FOR
Garden Essentials and Implements
Explore my preferred garden essentials and implements for the growth period. Whether you seek potting mix or deer deterrent, you’ll discover what I utilize in my personal garden.
Examine Plants Before Transporting Them Home
Always inspect new flora at the nursery for indications of illness or infestations. Avoid acquiring any with yellowing foliage, drooping, or noticeable insects. This straightforward measure stops infestations from disseminating to your garden.
Employ Companion Planting
Combining specific blooms and herbs together instinctively repels pests and attracts beneficial insects. Aromatic plants like basil, dill, and lavender enhance beauty and deter damaging bugs while attracting pollinators and predatory insects such as ladybugs and lacewings.
Eliminate Infected Leaves and Stems Quickly
Upon the initial indication of illness, prune and discard contaminated foliage to halt its spread. Never compost diseased plant matter, as it can reintroduce the issue in the forthcoming season.
Manage Pests Naturally
By remaining vigilant and proactive, you can reduce pest and disease challenges, maintaining your cut flower garden lush, vibrant, and healthy throughout the entire season.
Shield Against Heat Exposure
Extreme heat can provoke considerable issues in a cut-flower garden. Here are some methods you can utilize to shield your plants from heat stress.
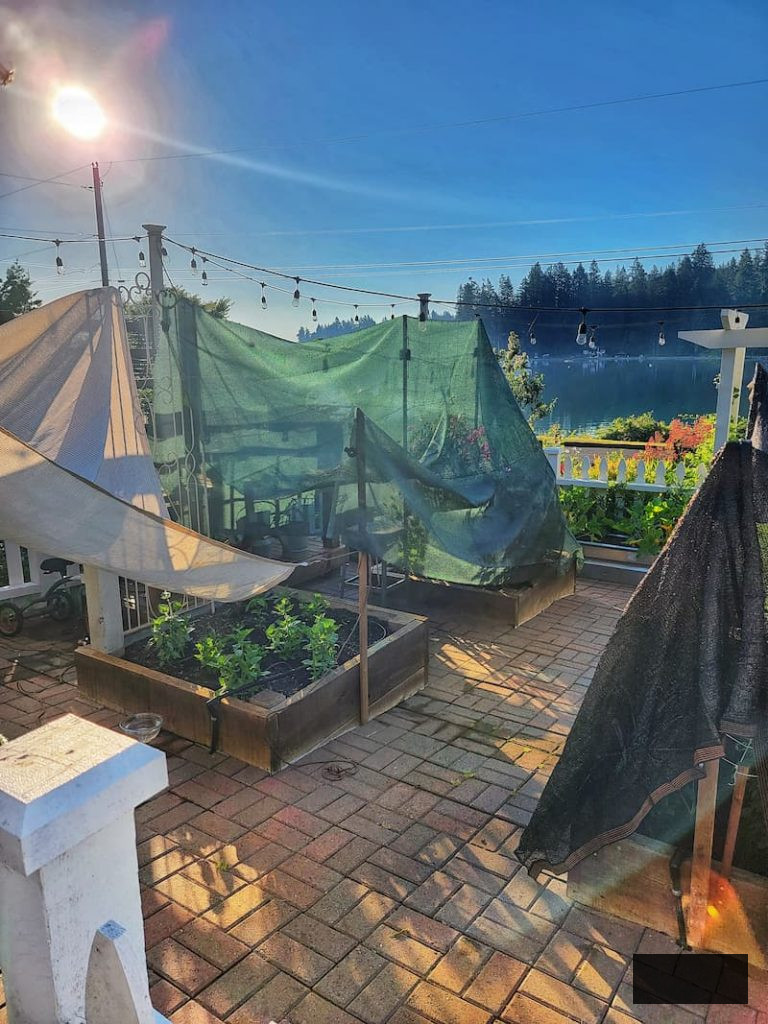
Utilize shade coverings such as shade fabric, parasols, or sailcloth. These will aid in protecting the plant from damaging UV rays during the sweltering hours, preventing scorched or wilting leaves.
Irrigation should occur early in the morning to prevent evaporation before reaching the plant’s roots.
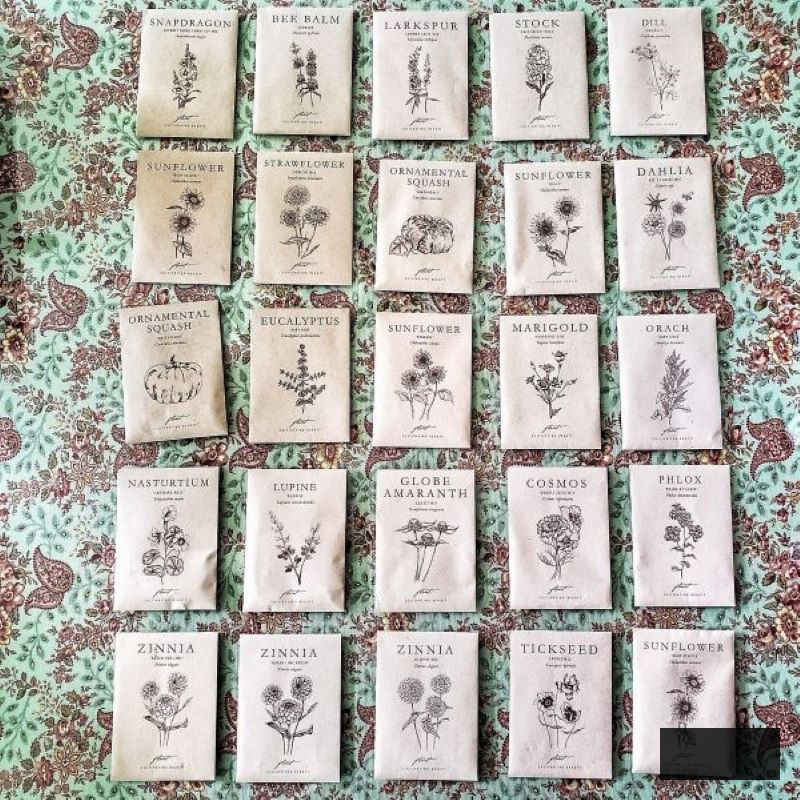
Store Unused Cut Flower Seeds
DON’T permit excess seeds to go unused. Store them appropriately to keep them feasible for upcoming seasons.
Aging seeds diminish in viability over periods, yet many will still sprout and flourish even after several years. Grasping how long seeds remain viable is crucial for a fruitful planting period.
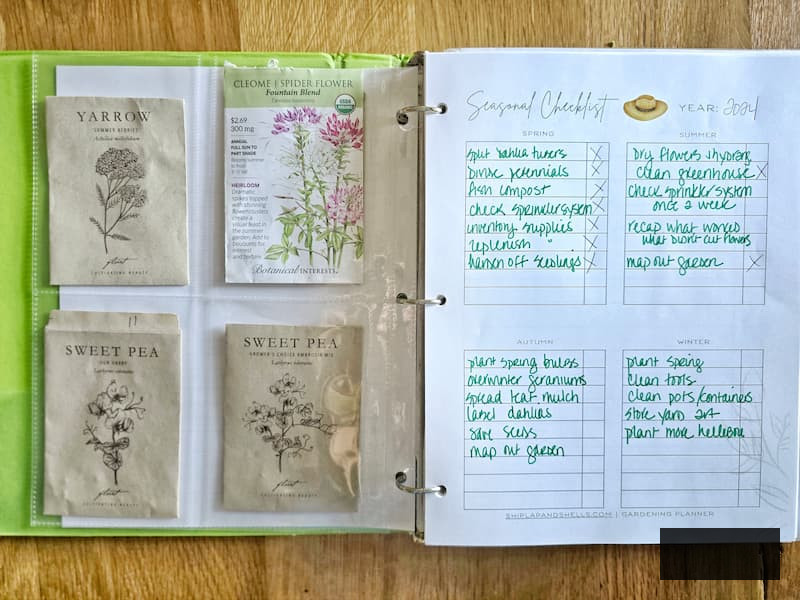
Maintain a Garden Journal
DO NOT forget to document everything in your garden journal.
A garden journal serves as one of the most invaluable instruments for a productive cut flower garden. It aids in monitoring planting timelines, climatic changes, pest challenges, and blooming periods, facilitating better planning for upcoming seasons.
By noting what succeeds (and what fails), you’ll discover which flowers flourish in your environment and how to adapt for improved outcomes. A journal also assists in staying organized with seed records, garden designs, and task lists.
Whether you favor a physical notebook or a digital application, maintaining notes will enhance your garden’s productivity and enjoyment year after year.
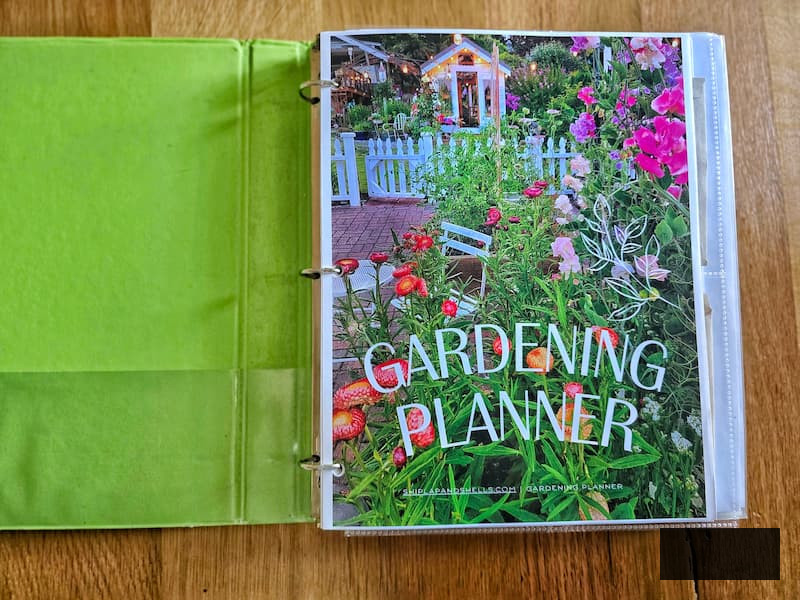
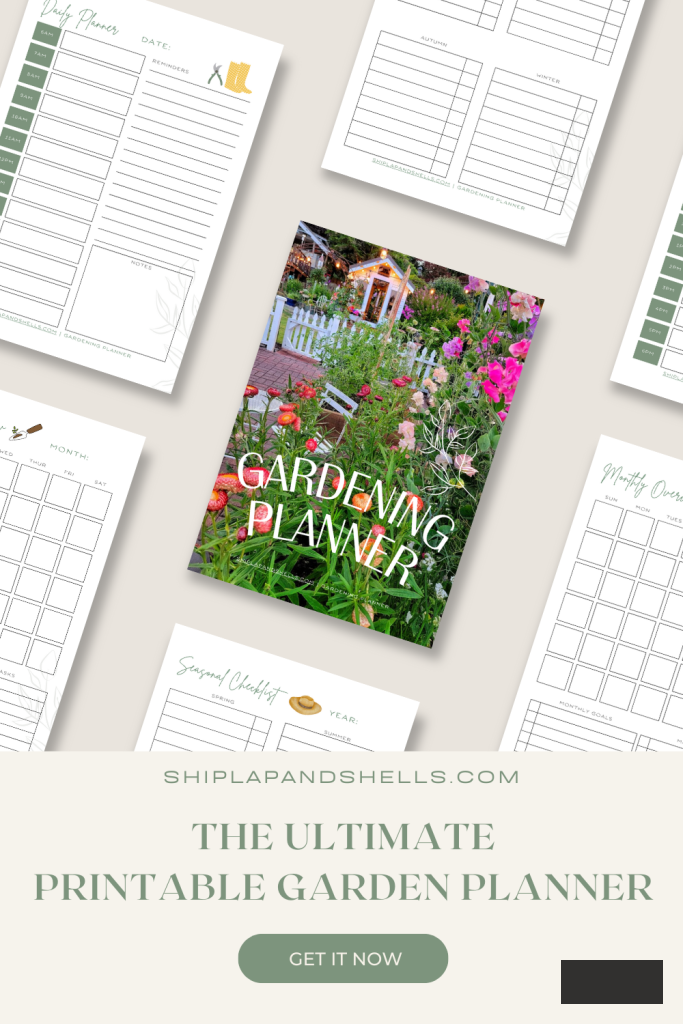
Let’s Design Your Ideal Garden With Our
Gardening Planner
Unlock Your Garden’s Possibilities.
Our 35-page Ultimate Garden Planner is crafted to assist you in organizing, monitoring, and thriving in your gardening ventures.
Acquire yours for $4.99
Common Questions Regarding Growing a Cut Flower Garden
Concluding Thoughts on Cut Flower Gardening
There are numerous advantages to maintaining a cut flower garden.
It might appear daunting at first, but with these straightforward suggestions, you will soon become an excellent flower gardener. Be sure to check out the following blog posts if you’re beginning your gardening journey:
If you have any inquiries, please leave them in the comments below. And don’t forget to share this blog post with anyone who could find these gardening insights beneficial.
Until next time,
Enjoy Gardening!
I’m a self-taught gardening enthusiast. Everything I convey on my blog is my perspective and what has proven effective for me.
ADDITIONAL POSTS
For Your Enjoyment
Connect with Me for More Motivation

From Chas’ Crazy Creations:
From Life at Bella Terra: