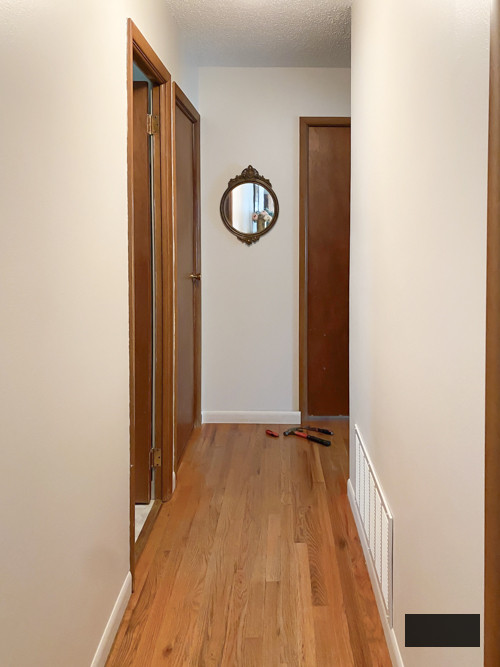
Is your corridor appearing a bit uninspired and requiring an update? Ours certainly was. I aimed to discover a method to introduce a touch of fascination to the end of our corridor, and this project accomplished just that. In this detailed DIY corridor makeover guide, we’ll walk you through a straightforward and cost-effective DIY project to revamp your corridor with a breathtaking planked wall transformation.
Why Planked Walls?
Planked walls bring rustic appeal and classic attractiveness. They not only introduce texture and personality to any area but are also surprisingly simple to install, making them ideal for DIY lovers of any expertise level. This DIY corridor transformation was an effortless approach for us to introduce visual intrigue to the end of our corridor in just a few hours.
{Affiliate links are present in this article. Click on any of the highlighted links to locate the items and sources I am referencing. You can read my disclosureHERE.}
Materials Utilized In This DIY Corridor Makeover:
PVC Planks (we adore these planks for projects like this. They simplify the process.)
Level
Measuring tape
Miter Saw (if modifying planks)
Brad nails and/or adhesive (we utilized only the nails)
Nail gun
Sander and sandpaper
Paint (we utilized the same shade as the walls)
Steps For This Makeover:
Step 1: Measure and Prepare
Start by deciding whether you are placing the planks vertically or horizontally. Next, measure the wall or walls you intend to plank. Take precise measurements to ascertain how many planks you require. Ensure you consider the spacing you prefer between them.
Time-saving advice: If you acquire the planks I linked previously, the spacing is already arranged for you. They lock into each other and provide the perfect spacing. Prepare your walls by cleaning and sanding them to ensure the planks adhere to a smooth and tidy surface.
Step 2: Cut The Planks
Utilize a miter saw to cut the planks to match the measurements of your walls.
Step 3: Sand and Finish
After cutting the planks, I recommend sanding and painting them prior to installation. This makes the process easier and afterward, you only need to do touch-ups once the planks are on the wall. If you are utilizing wooden planks and staining them, I would recommend doing that in this stage as well. The sanding ensures the planks are smooth and that the paint/stain appears flawless once dry. I merely intended to add some visual attraction to the end of our corridor, so I painted ours the same color as the rest of the walls. Allow adequate time for the paint or stain to dry before proceeding to the next phase.
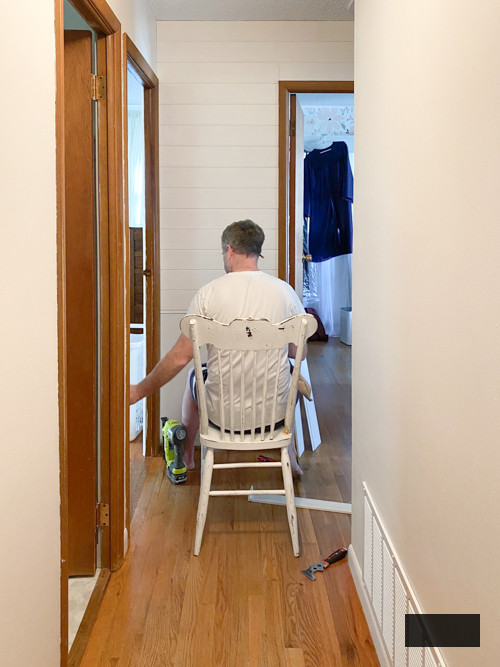
Step 4: Install the Planks
Using a level to secure even lines, commence installing the planks from the top of the wall and proceed downward. That was the sequence we followed for ours, thus the top piece would be a complete plank. Secure each plank using nails or adhesive. We opted not to use adhesives with ours, and it functioned well since it is a smaller wall. Repeat this process until the full wall is covered.
Step 5: Revel In Your New Appearance!
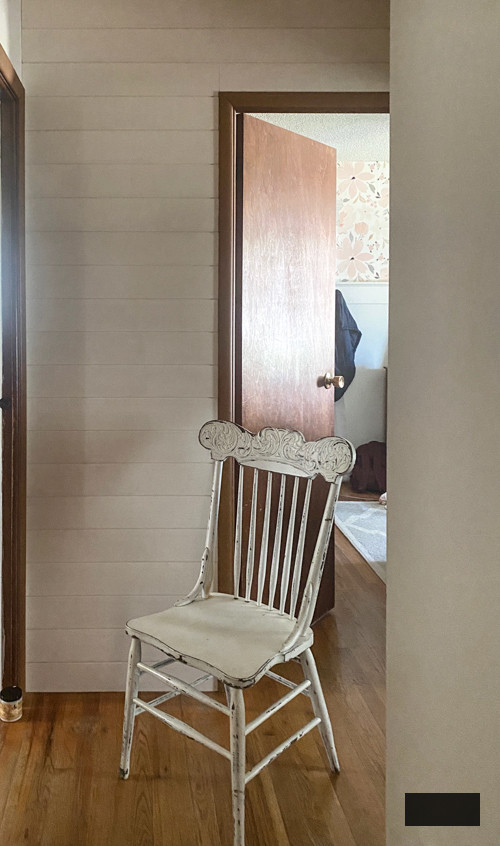
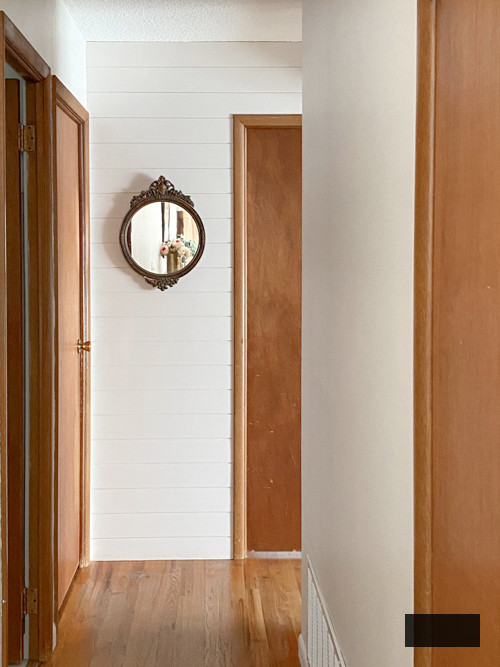
Step back and appreciate your craftsmanship! Your corridor now features a striking planked wall that introduces depth and personality to the area. Contemplate adding decorative elements like artwork or mirrors to further elevate the visual allure.
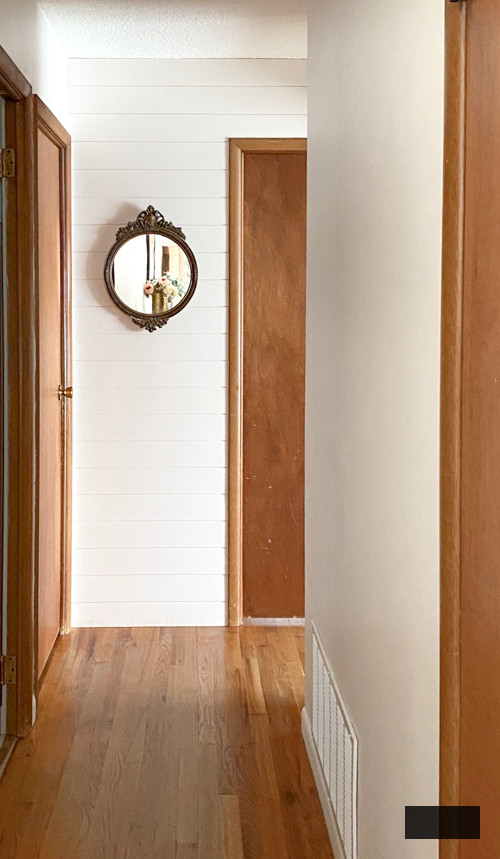
I considered creating a compact gallery wall with some vintage prints and frames I’ve been collecting, but this wall was just too limited, and I love the uncomplicated appearance of this antique mirror here.
The planks in this DIY corridor makeover introduce a hint of interest to the end of the hall that was previously dull. Now, I plan on addressing the doors to the bedrooms and bathroom. I’m still contemplating my options. Should I revamp the existing doors to keep it budget-friendly, or should we purchase new doors? The decision is still pending.
With merely a few basic materials and a touch of hard work, you can entirely revamp your corridor with a DIY corridor makeover. Whether you favor a rustic farmhouse vibe or a more contemporary aesthetic, this DIY endeavor provides limitless possibilities for customizing your space to reflect your style. Give it a shot and see your corridor come alive with newfound charm and individuality!
You can explore more of our DIY initiatives on my YouTube channel with live demonstrations! You can locate my channel HERE. Be sure to SUBSCRIBE while you’re there. I’m releasing new videos every week!
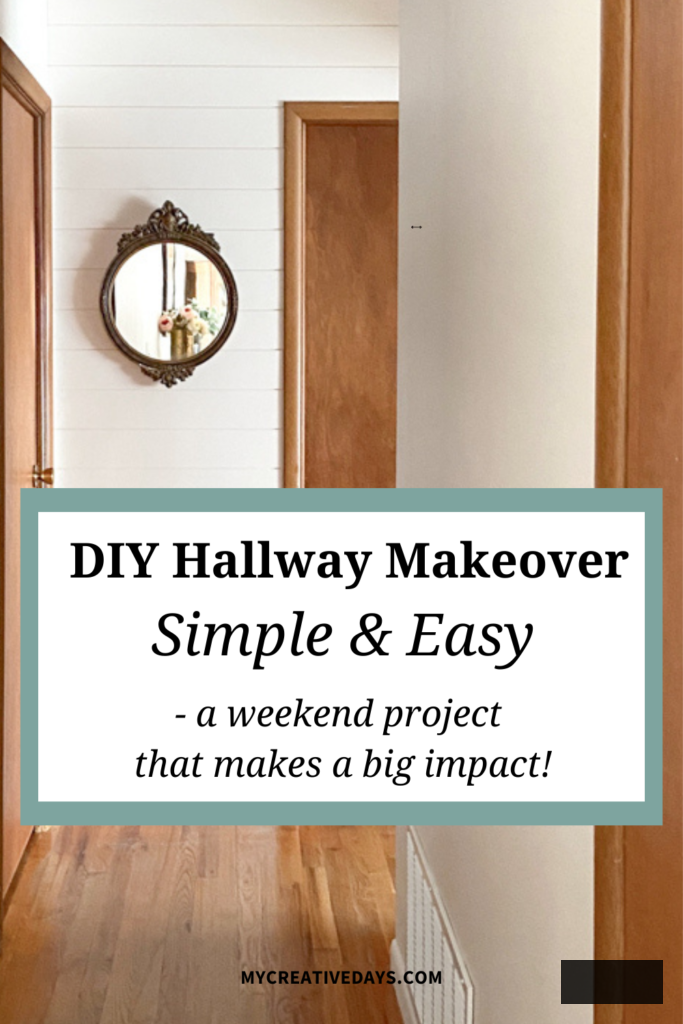
PIN THIS POST!
If you enjoyed this article, you will also appreciate these straightforward tutorials:
15 Small Bathroom Makeovers To Inspire Your Project
15 DIY Home Decor Projects Under $20
Inexpensive Kitchen Enhancements