
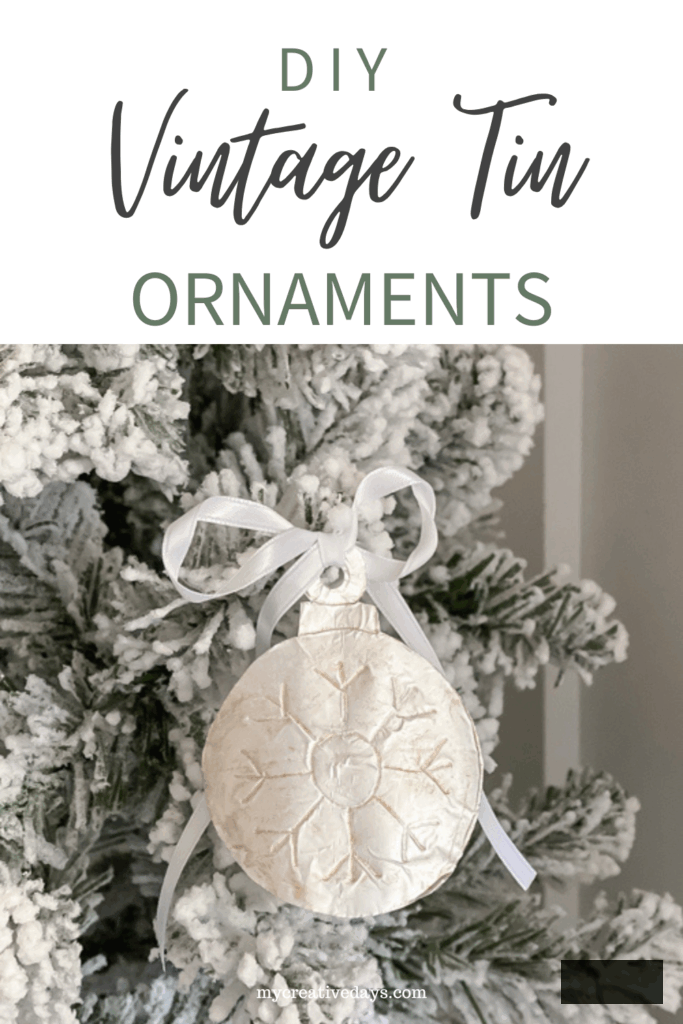
If you appreciate retro-themed Christmas embellishments, these DIY Vintage Tin Ornaments are an ideal endeavor to undertake this festive season! They resemble genuine antique tin ornaments, yet you’ll be astonished at what they’re crafted from, merely aluminum foil and cardstock!
This simple and budget-friendly craft contributes a delightful, old-world charm to your Christmas tree, garland, or gift wrapping. You can personalize the shapes, hues, and finishes for a truly unique holiday aesthetic.
{Affiliate links are incorporated in this post. Click on any of the highlighted links to locate the products I am referring to. You can read my disclosureHERE.}
Materials You’ll Require to Create DIY Vintage Tin Ornaments
Note: You can also freehand your designs!
Step-by-Step Guide: Crafting DIY Vintage Tin Ornaments

Step 1: Affix Aluminum Foil to Cardstock
Begin by adhering a sheet of aluminum foil to a piece of cardstock. Ensure the shiny side of the foil is facing down and the matte side is facing upwards.For this project, you’ll be working on the matte side. It imparts the ornaments with that vintage, aged appearance reminiscent of a true antique tin.Smooth out the foil with your hand or a clean cloth to eliminate wrinkles and air bubbles. This will provide a firm base for tracing and cutting afterward.
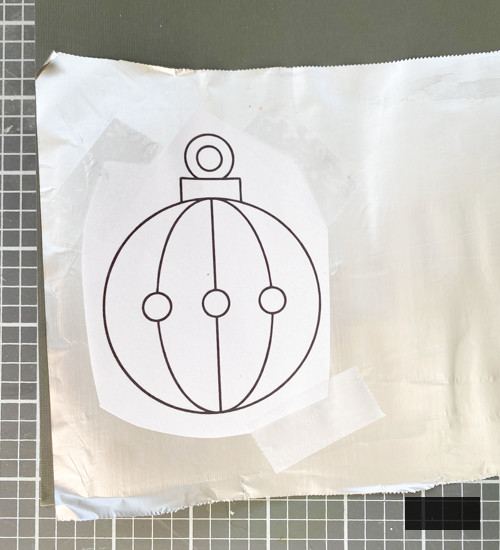
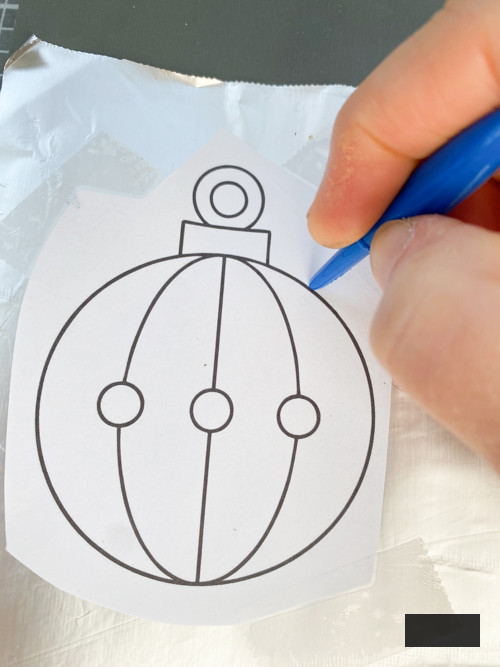
Step 2: Outline Your Ornament Template
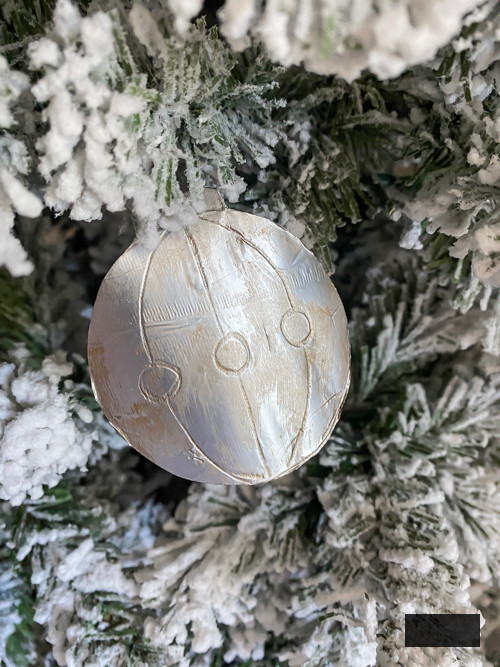
Position your ornament template atop the matte foil side and secure it with tape so it remains fixed while you trace. Use a pen cap to outline the design, applying slight pressure to create indentations in the foil. This produces that embossed “tin” appearance found on vintage ornaments.
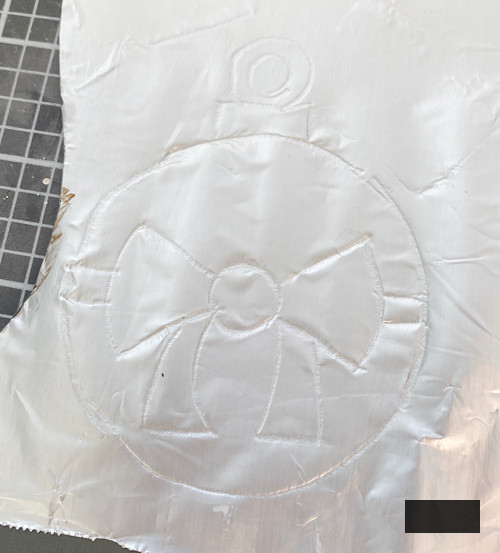
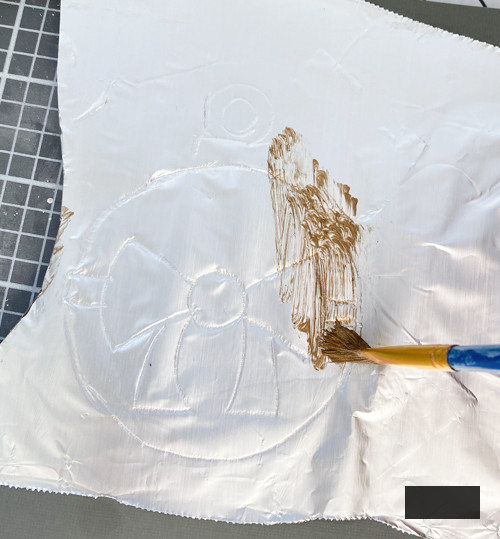
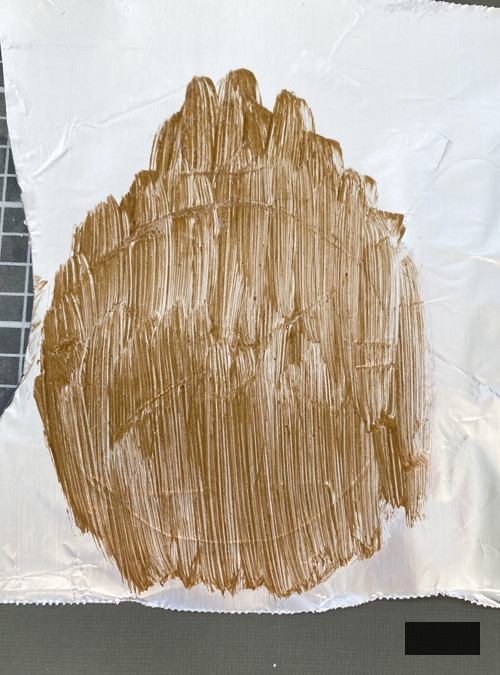
Step 3: Apply the Vintage “Tarnish”
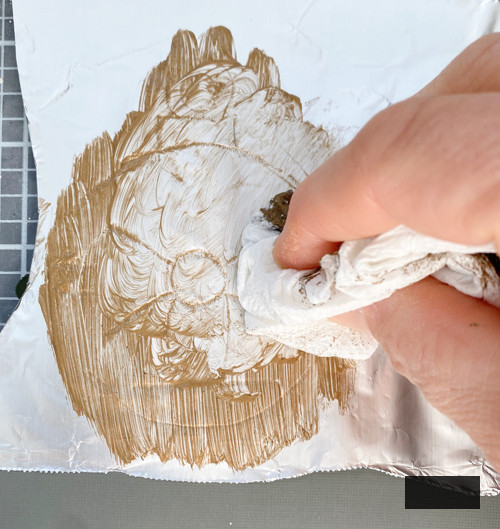
After tracing all the details, remove the template from the foil. Then, brush a small quantity of gold paint onto the embossed design. The paint will gather in the indented lines, accentuating the details and imparting your ornaments with an aged, antique appearance. Use a paper towel to erase excess paint until you achieve your desired look. I found that having a little glue on the ornament helped retain the paint in specific areas, giving the ornament a more tarnished effect.
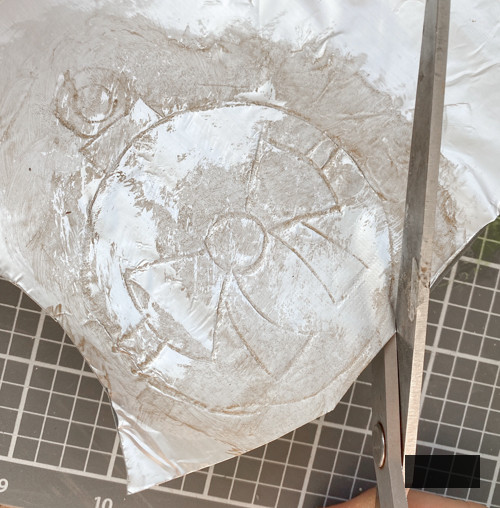
Step 4: Extract Your Ornaments
Once the paint is dried, carefully trim out each ornament using scissors. Handle gently to avoid creasing the foil.
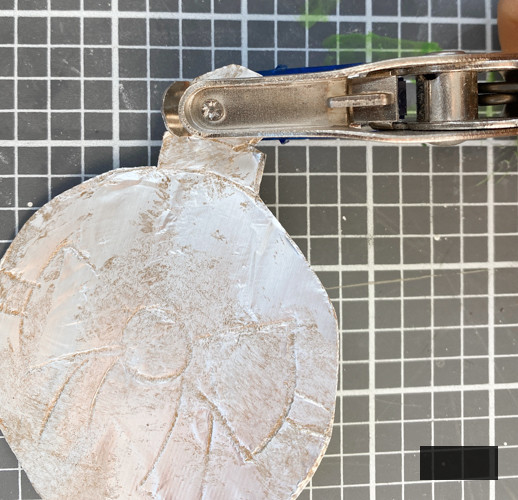
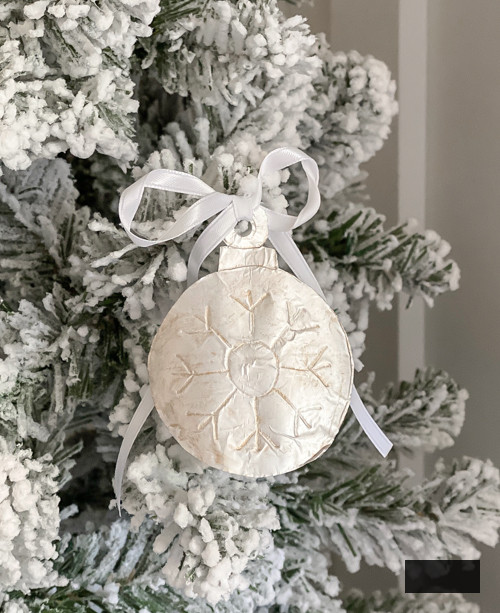
Step 5: Create a Hole and Attach Ribbon
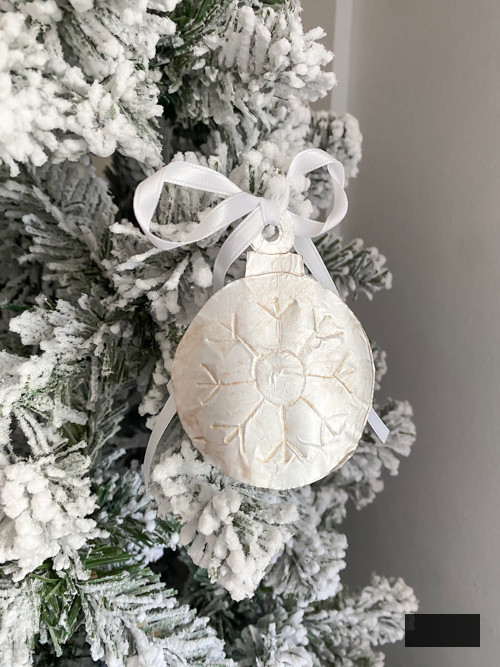
Punch a small opening at the top of each ornament, then thread a ribbon or piece of twine for hanging.
Innovative Uses for Your DIY Vintage Tin Ornaments
-
Adorn your Christmas tree with them for a handcrafted, vintage ambiance.
-
Utilize them as gift tags.
-
Connect them to form a joyful garland for your mantelpiece or windows.
-
Design various shapes such as stars, bells, angels, or snowflakes.
This endeavor is suitable for creators of all ages and adds a sentimental touch to your festive decorations without significant expense.
Watch the Complete Tutorial on YouTube
Curious about how these DIY Vintage Tin Ornaments are crafted?
Check out the full tutorial on my YouTube channel here to observe the procedure live and receive additional tips for achieving an authentically aged appearance with your ornaments!
Reasons You’ll Adore This Christmas Craft
-
Affordable and crafted with items you likely already possess.
-
Simple enough for children or novices.
-
Adjustable with any shade of paint or design.
-
Imparts a handmade, nostalgic essence to your festive decorations.
If you seek a creative and warm-hearted craft this Christmas season, these DIY Vintage Tin Ornaments will quickly become a cherished tradition. Easy materials, breathtaking results, and a touch of that classic charm!
PIN THIS POST!
If you enjoyed these DIY Vintage Tin Ornaments, you’ll also appreciate these:
DIY Wooden Christmas Stockings
Upcycled Ribbon Spool Christmas Trees
DIY Wood-Burned Christmas Tree Garland