If you adore cost-effective festive projects with significant effects, these DIY Wooden Candy Canes are going to be your new preferred Christmas activity. I crafted mine using discarded wooden canes I acquired at yard sales and thrift shops, and with just a bit of paint and stain, they transformed into the most delightful rustic candy cane ornaments. This is a straightforward task you can assemble in an afternoon, and it’s ideal for embellishing your porch, mantel, or entrance.
Why Create DIY Wooden Candy Canes?
There’s something truly enchanting about taking old, neglected items and converting them into something spectacular. These DIY Wooden Candy Canes appear upscale, yet they require very little investment to produce. Rather than purchasing new seasonal decorations annually, you can create something unique that aligns with your personal style perfectly.
{Affiliate links are present in thispost. Click on any highlighted links to discover the products and sources I am mentioning. You can read my disclosureHERE.}
Materials Needed to Create These DIY Wooden Candy Canes
Instructions: How to Create DIY Wooden Candy Canes
- Prepare the Wooden Canes
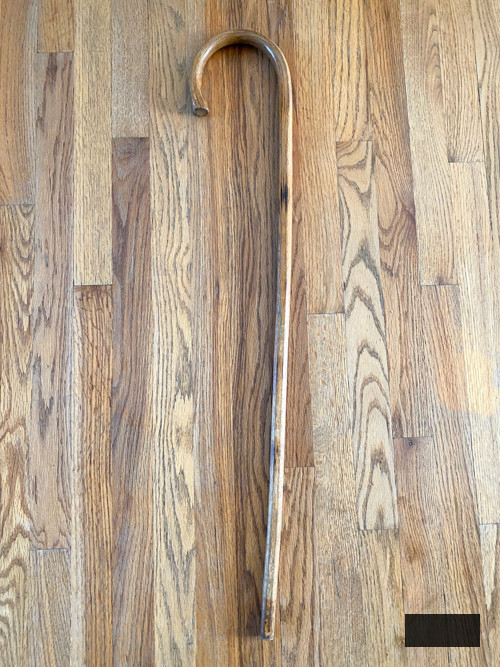
Begin by thoroughly cleaning your canes. You could sand them down as well if you think they require it. I wanted to maintain the old, weathered wood appearance on mine, so I opted not to sand at all.
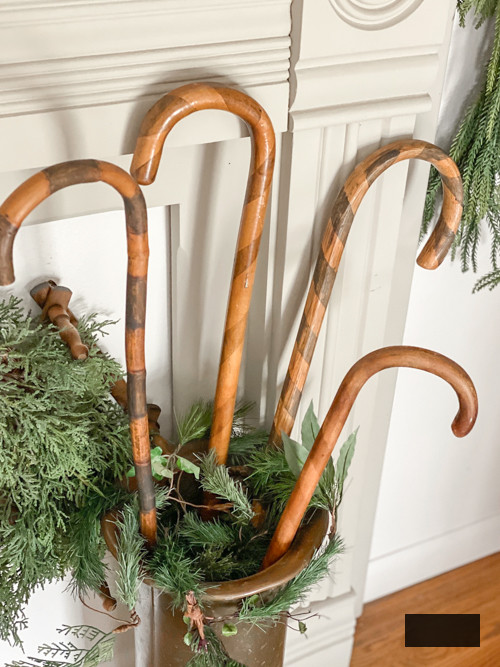
- Mask Off the Candy Cane Stripes
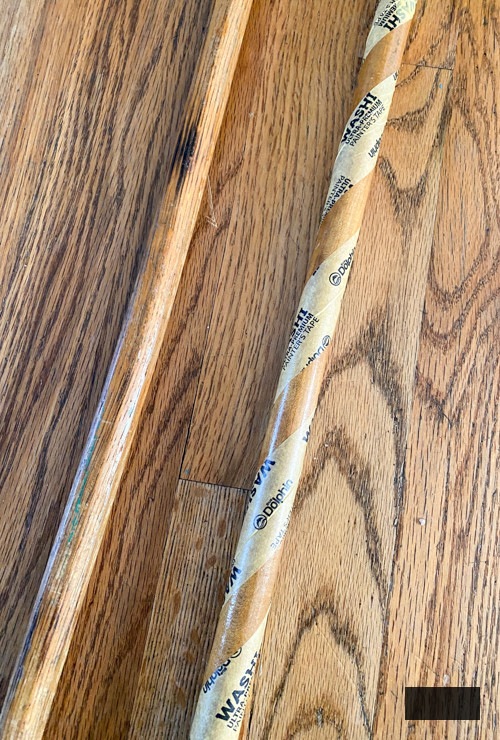
Utilize painter’s tape to form diagonal lines. I found that the 1″ tape works best on all sizes of canes. The lines don’t have to be flawless. Some imperfections add charm to this handmade creation. Ensure the tape is firmly adhered to prevent paint/stain seepage.
- Apply Paint/Stain to the Stripes
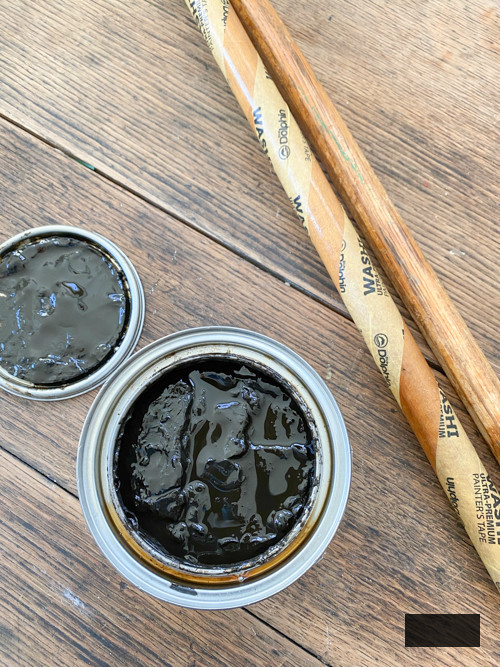
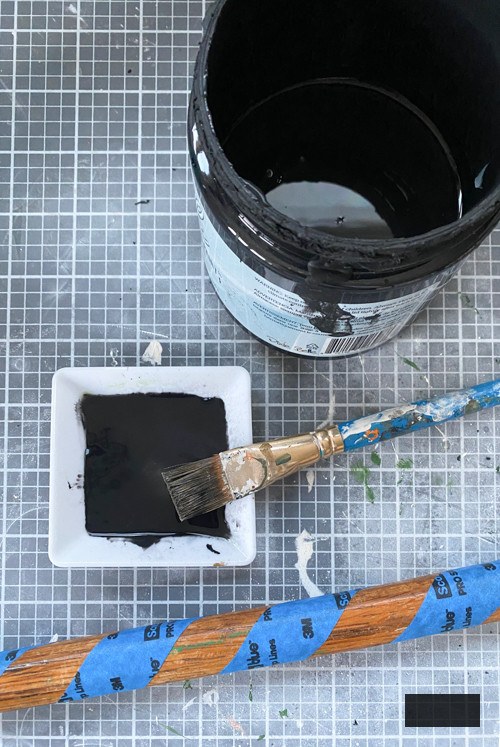
I diluted some black paint to achieve a stain-like consistency for some of my canes. You may use full paint if you desire a vibrant color. I aimed for subtle hues on mine, so I opted for deeper stains on some and the diluted black paint on others. I utilized a paintbrush to apply the paint and an old rag to apply the stain. You can personalize the appearance based on your intended style. Allow the paint to dry completely, then gently peel off the tape.
- Finalize Your Project
If desired, apply a clear sealer if your wooden candy canes will be used outdoors or handled frequently. This safeguards the paint and stain and gives the project a durable finish.
Decor Styling Ideas for Your DIY Wooden Candy Canes
There are numerous ways to adorn with these! Here are a few top suggestions:
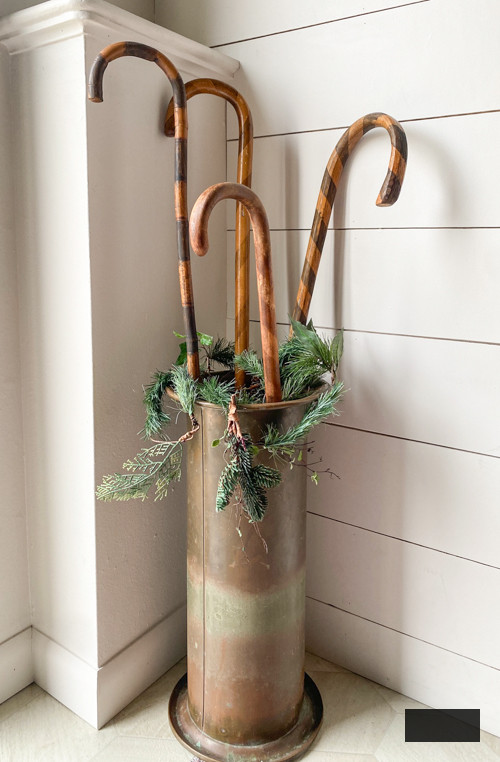
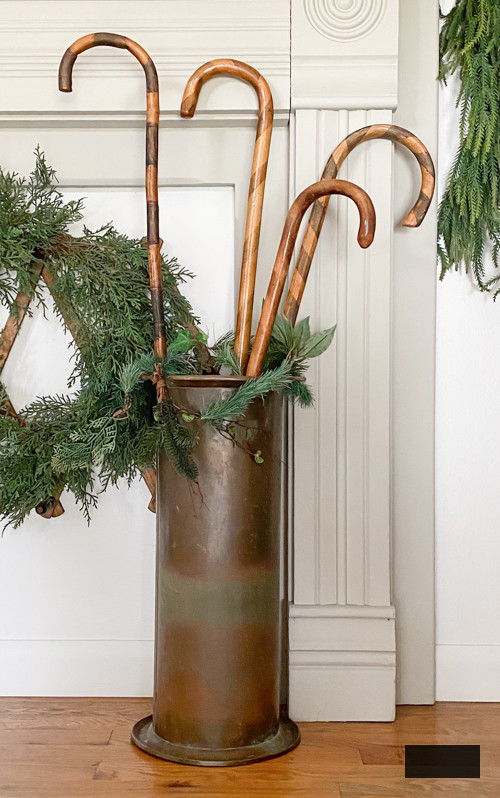
- Rest them in a crock or tall basket near your front entry.
- Showcase them on your porch with garland and fairy lights.
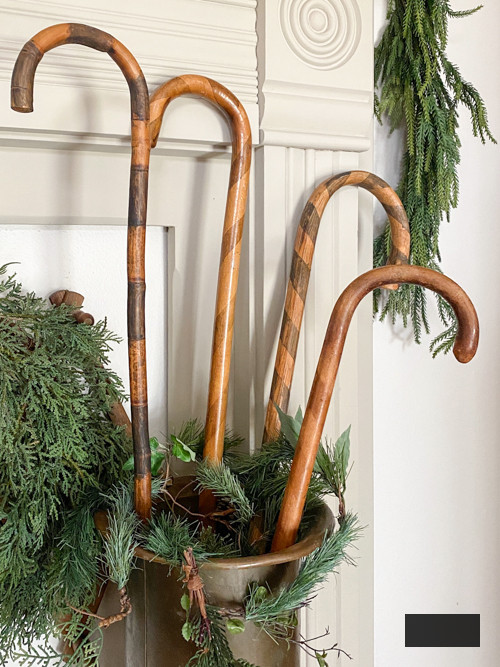
- Incorporate them into a Christmas mantel for height and texture.
- Use them in an entryway arrangement with greenery and ribbon.
- Bundle them with jute or ribbon for an adorable accent.
Why This Is the Ideal Upcycled Holiday Craft
This project is not only economical but also an excellent opportunity to breathe new life into old wooden canes that would otherwise be disregarded. The combination of stain, paint, and texture results in something that resembles boutique decor, even though it’s crafted from thrifted materials.
Projects like these demonstrate that simple DIYs can transform your home for the festive season without incurring significant expenses or acquiring new decorations each year.
If you’re seeking a delightful, uncomplicated, and affordable holiday activity, these DIY Wooden Candy Canes are an excellent selection. They are simple enough for novices, adaptable to any aesthetic, and turn out stunning every single time. Pick up some old wooden canes the next time you’re thrifting and attempt this project!
PIN THIS POST!

If you enjoyed this project, you will also appreciate these:
DIY Thrifted Advent Calendar: Repurpose a Thrift Discover into a Holiday Countdown
DIY Pipe Cleaner Wreaths for Ornaments & Gift Tags: Simple Step-by-Step
DIY Dollar Store Christmas Swags