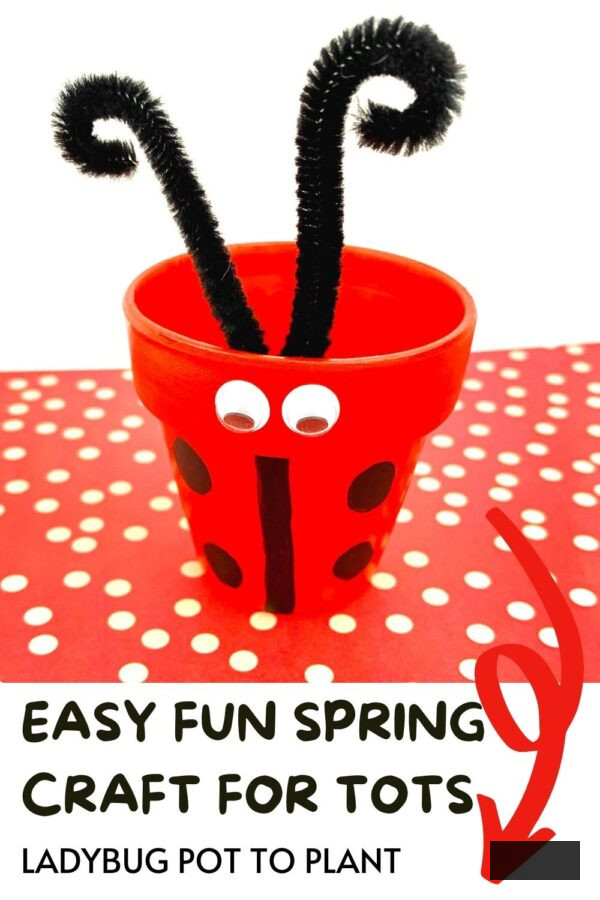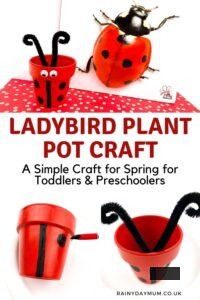
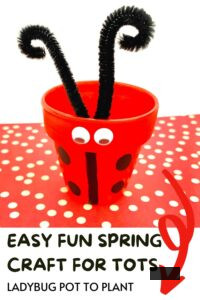

Spring is on the horizon, and our garden is teeming with one of our beloved insects, the tiny ladybird or ladybug. This delightful ladybird craft for your children to engage in will result in a beautifully adorned pot for them to plant lovely flowers that will draw ladybirds to your garden. This is a fantastic spring endeavor to undertake with your toddlers and preschoolers, and we’ve paired it with one of our cherished Ladybug storybooks too. Here we present simple ladybird decorated pots for spring flowers.
What You’ll Discover on This Page
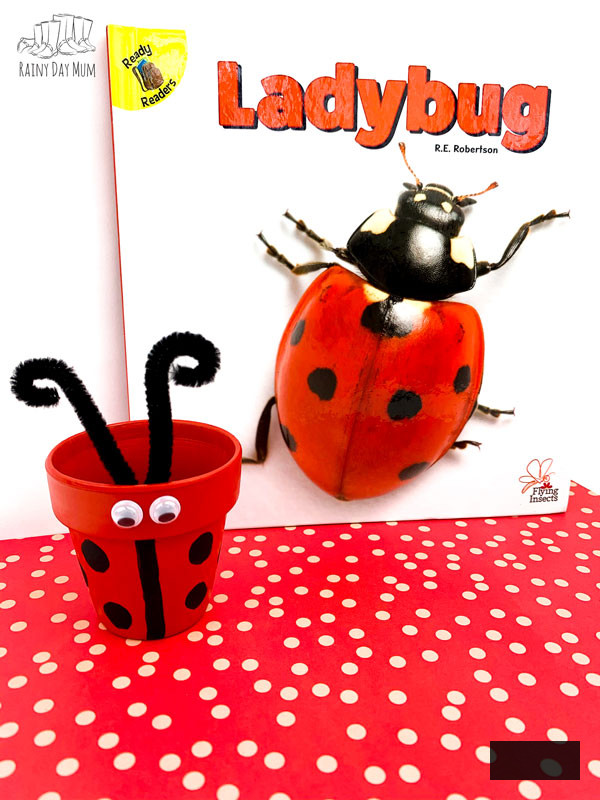
Spring Craft Ladybug Clay Pots
Nurturing plants is a wonderful activity to engage in during the spring with kids from toddlers onward, and what could be better than growing them in a pot they have crafted themselves.
This craft is uncomplicated, although it may be a touch messy for your child to do, but make sure to cover your workspace and be ready to clean up thoroughly afterwards. It also requires some time due to the drying process between applying different layers.
Once entirely dry, you can fill it with some soil or compost and then plant some seeds and nurture them to witness their growth.
Check out our best tips for nurturing plants from seeds with toddlers and preschoolers.
Supplies to create your Ladybug Pots for Spring Crafts
We’ve incorporated affiliate links to select products and resources; as an associate, we may earn from qualifying purchases.
- Small terracotta (clay) planter
- Red and black acrylic paint – this one is the collection we own
- Paintbrushes – one thick and one thin for applying color and then detailing
- Paper plate or paint palette for holding the paints
- Googly eyes; a set like this has various sizes
- Black pipe cleaner (cut into two pieces)
- Hot glue gun and glue sticks (this task should be performed by you instead of your child)
Steps to Create your Ladybug Decorated Pots
- Position the clay pot on a surface that can be easily tidied up
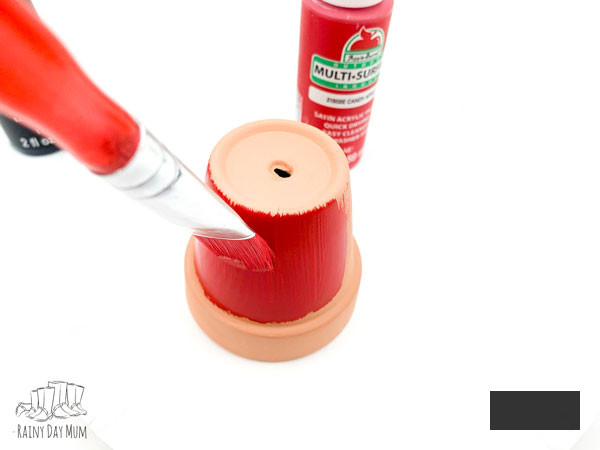
- Coat the clay pot with red paint. Set aside to dry.
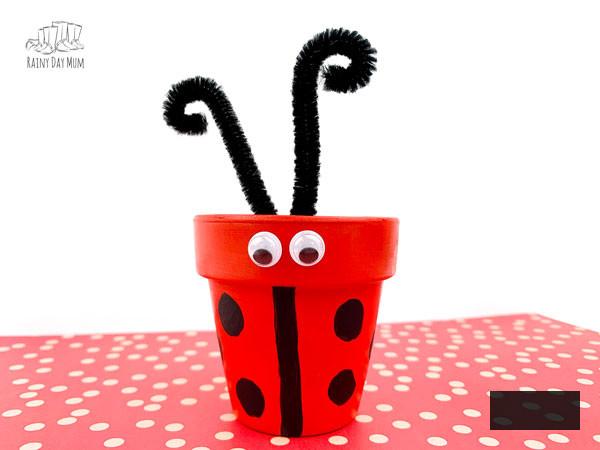
- With black paint, apply a stripe down the front of the clay pot. Add spots on either side of the line. Give time to dry.
- Fold the pipe cleaner in half. Curl the ends (to create the antennae).
- Add a small dot of hot glue at the end of the antennae.
- Attach to the inside of the clay pot just above the black line.
- Adhere the eyes. (Or opt for self-adhesive googly eyes.)
Fill with potting soil and plant some seeds.
Searching for more enjoyable garden crafts to create with your children? Check out our selection of the best!
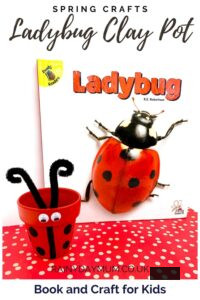
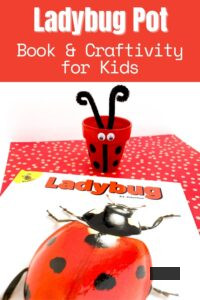
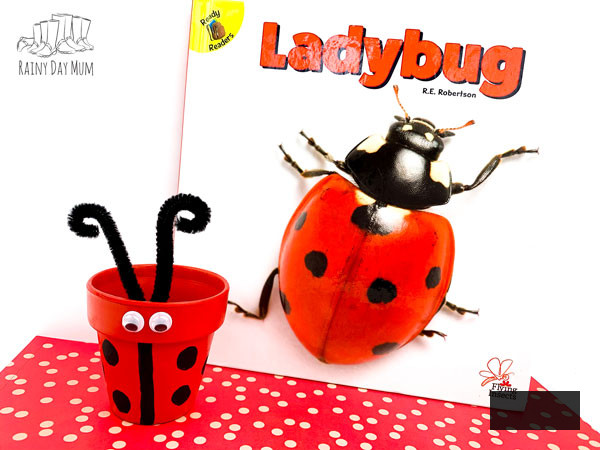
Ladybug Literature
In our crafts and activities designed for toddlers and preschoolers, I always try to recommend a book or two that complements the activity. We have a remarkable assortment of ladybug books for you to choose from, but as we beautified the pot, I wanted to highlight the form, so I selected the book “Flying Insects: Ladybug” by RE Robertson to enjoy alongside it.
This nonfiction book is excellent for any of your little ones who constantly inquire about what and why, as it delves into the different phases of the ladybug lifecycle and discusses body parts and what classifies them as insects.
Additional Ladybug Books for Toddlers and Preschoolers
If you’re seeking more recommendations, check these three suggestions below; they are wonderful reads to accompany this activity as you embark on more Ladybug-themed fun!
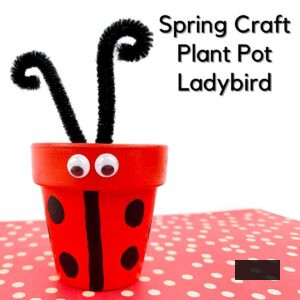
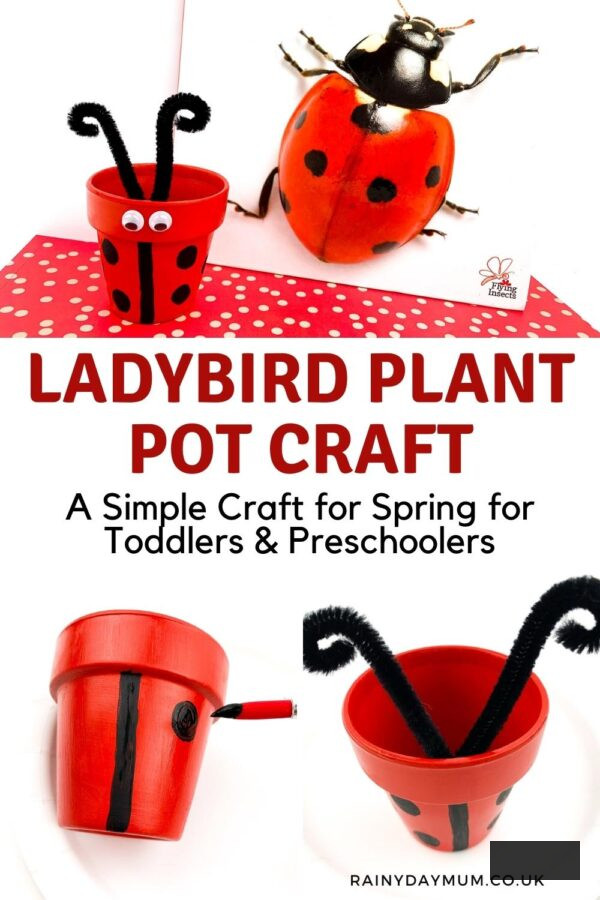
Clay Pot Ladybug Craft for Toddlers and Preschoolers
![]()
An uncomplicated and straightforward spring craft for toddlers and preschoolers to fashion a painted ladybug pot to utilize for planting some easy-to-grow spring flowers.
- 1 teracotta or clay vessel
- acrylic colors red and black
- 2 Googly Eyes large
- Hot glue sticks
- black pipecleaner cut in half
-
Position the clay pot on a surface that is easy to clean.
-
Coat the clay pot in red on both the inside and outside, then set it aside to dry.
-
With the black paint, draw a line down the front of the clay pot. Add spots on either side of the line. Allow to dry.
-
Fold the pipecleaner in half. Curl the ends (to create antennae.)
-
Apply a small dot of hot glue on the tip of the antennae.
-
Attach to the inside of the clay pot, positioned above the black line.
-
Affix the eyes onto the pot.
-
Fill with soil and add some seeds.
More Ladybird Activities for your Toddlers and Preschoolers
Searching for additional activities? Why not consider these.